How to Grow Potatoes in the UK: A Complete Guide
A practical guide to growing potatoes in British gardens. Covers seed potato selection, chitting, planting times, earthing up, harvesting, and storage for UK conditions.
Key takeaways
- Start chitting seed potatoes indoors from late January, placing them in egg boxes in a cool, bright spot
- Plant first earlies from mid-March, second earlies from early April, and maincrops from mid-April
- Earth up stems when they reach 15-20cm tall, drawing soil around the base to prevent green tubers
- First early varieties yield 1-1.5kg per plant and are ready in 10-12 weeks after planting
- Blight is the main disease risk from June onwards, particularly for maincrop varieties
- Potatoes grow well in containers, raised beds, and bags, making them ideal for small gardens
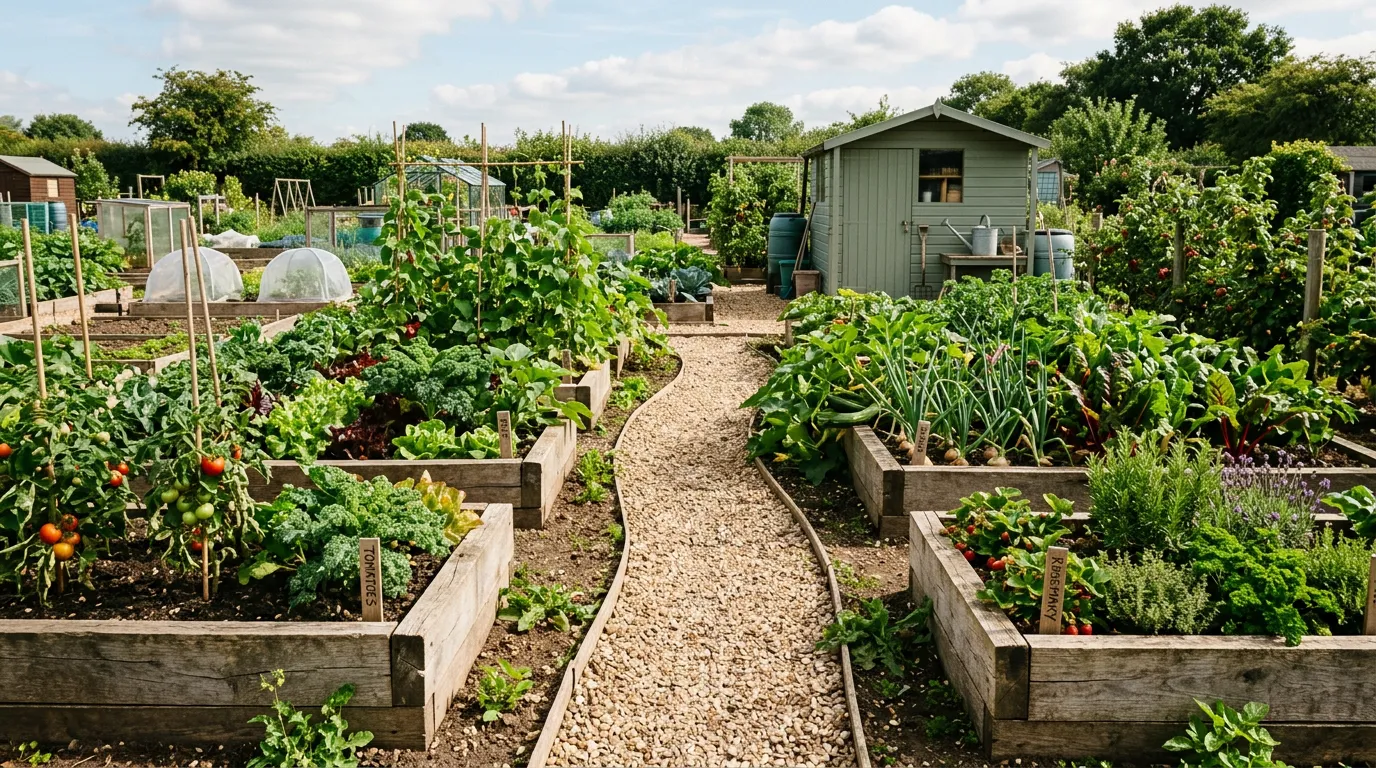
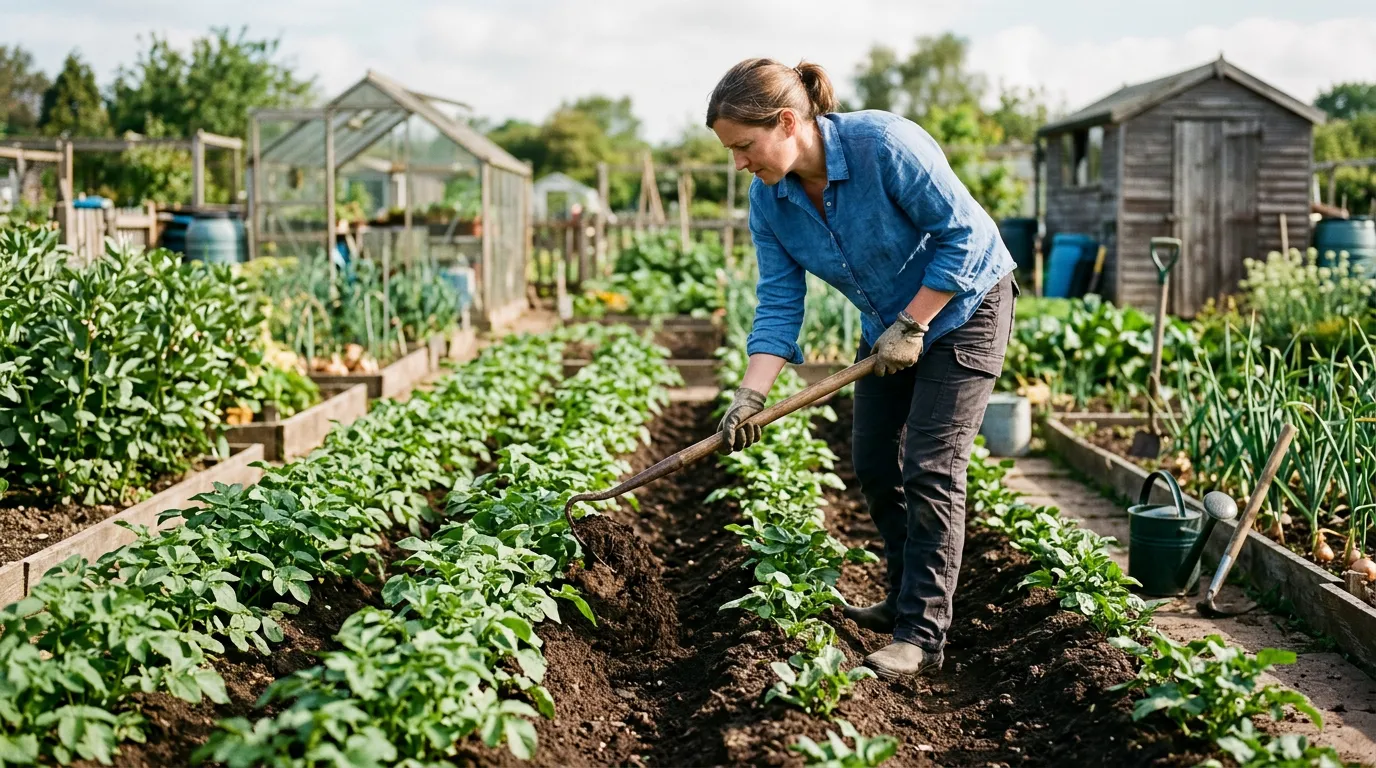
Potatoes are one of the most rewarding crops a UK gardener can grow. They are straightforward, productive, and there is nothing quite like lifting your own new potatoes in early summer. Whether you have a full allotment, a few raised beds, or just a couple of large pots on a patio, potatoes will reward you with a satisfying harvest.
This guide covers the full process from chitting through to storage, written specifically for British growing conditions. If you are new to growing food, our guide to starting a vegetable garden covers the broader essentials.
Understanding potato types
Potatoes are grouped by how long they take to mature. Choosing the right type determines when you plant, how much space you need, and when you harvest.
| Type | Plant | Harvest | Weeks to harvest | Yield per plant | Best for |
|---|---|---|---|---|---|
| First early | Mid-March | June to July | 10-12 | 1-1.5kg | New potatoes, salads |
| Second early | Early April | July to August | 13-16 | 1.5-2kg | Boiling, general use |
| Maincrop | Mid to late April | August to October | 18-20 | 2-2.5kg | Baking, roasting, storage |
First earlies produce small, waxy new potatoes and are the quickest to harvest. They are also less likely to suffer from blight because they mature before the main blight season begins in July. Second earlies bridge the gap and give slightly larger tubers. Maincrops produce the heaviest yields and store well over winter, but they occupy the ground for five months and face the highest blight risk.
Gardener’s tip: If space is limited, grow first earlies. They are in and out of the ground before midsummer, leaving the bed free for a follow-on crop of autumn brassicas or salad leaves.
Choosing varieties for UK gardens
Select certified seed potatoes from a reputable supplier. Supermarket potatoes may carry disease and are not certified for growing. The RHS potato growing guide lists recommended varieties tested in British conditions.
First earlies
- Rocket - very early, ready in as little as 10 weeks. Good-sized oval tubers with smooth skin. Strong disease resistance.
- Swift - one of the fastest to mature. Produces heavy crops of round tubers. Excellent for containers.
- Pentland Javelin - classic new potato with firm, waxy flesh. Developed at the Scottish Plant Breeding Station.
Second earlies
- Charlotte - the benchmark salad potato. Waxy, yellow flesh that holds its shape when boiled. Outstanding flavour.
- Kestrel - distinctive purple-eyed skin. Versatile all-rounder that bakes, boils, and chips well.
- Maris Peer - small, oval tubers with creamy flesh. RHS Award of Garden Merit holder.
Maincrops
- Maris Piper - the UK’s most popular potato commercially. Excellent for roasting and chipping. Moderate blight resistance.
- King Edward - a British classic since 1902. Red and white skin, floury flesh. Perfect for baking and mash.
- Sarpo Mira - bred in Hungary for blight resistance. The best choice for organic growers and wet western regions where blight pressure is highest.
Chitting seed potatoes
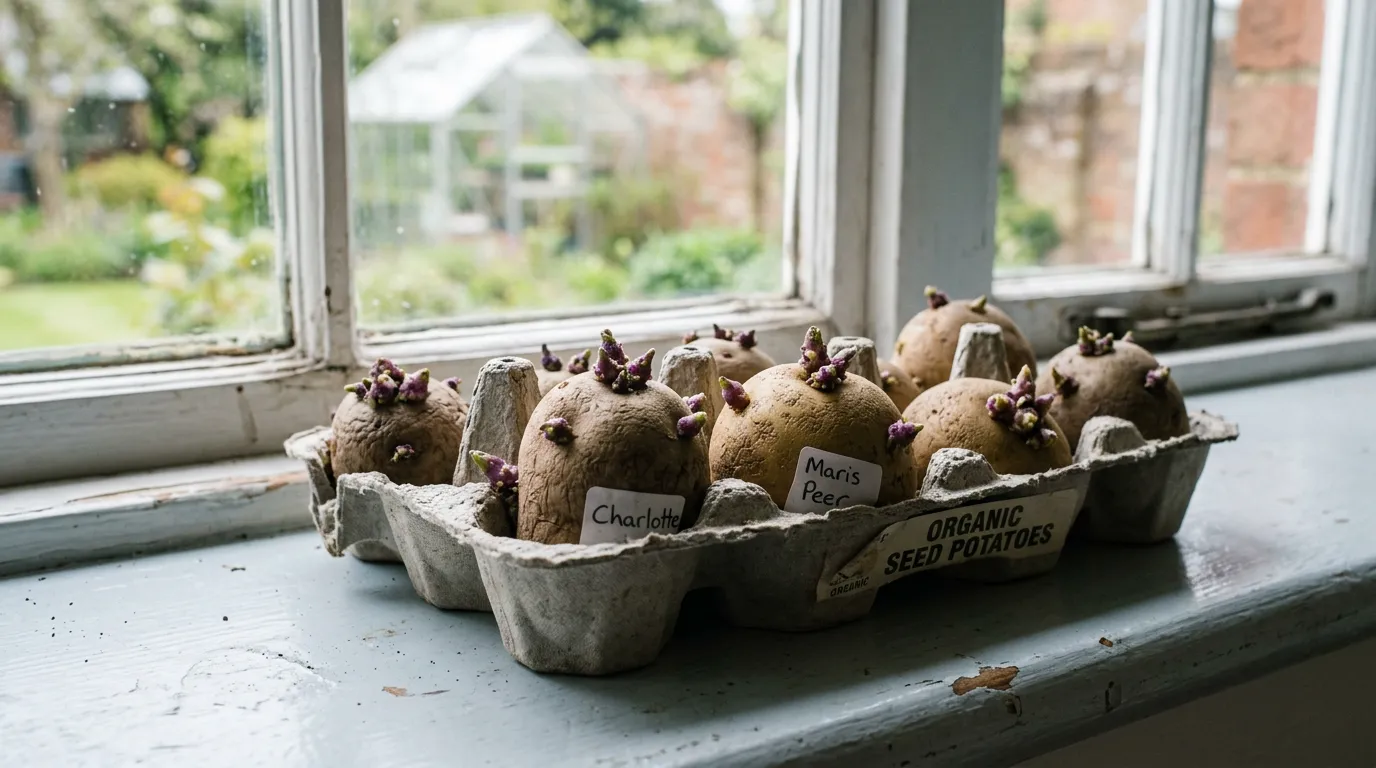
Chitting means encouraging seed potatoes to sprout before planting. Start in late January or early February.
Place seed potatoes in egg boxes or seed trays with the end that has the most eyes (the rose end) facing upward. Put them in a cool, bright room, ideally 8-10C. A spare bedroom windowsill, porch, or unheated greenhouse works well. Avoid anywhere dark, as this produces long, white, fragile shoots that snap off during planting.
After four to six weeks, the tubers should have short, sturdy shoots 2-3cm long. These are ready to plant. If shoots grow longer, the potatoes have been somewhere too warm.
Chitting gives first and second earlies a meaningful head start of around two weeks. For maincrops, the benefit is smaller, and many experienced growers skip it for later varieties.
Preparing the ground
Potatoes prefer a slightly acidic soil with a pH of 5.0-6.0. They grow best in fertile, well-drained ground that has been improved with plenty of organic matter. If you have been making compost, autumn is the ideal time to dig it into the potato bed.
Avoid liming the soil before planting potatoes. Alkaline conditions encourage common scab, a disease that produces rough patches on the skin. If you limed for a previous crop, plant potatoes elsewhere.
Dig the bed over in winter to break up compacted soil. Heavy clay benefits from the addition of coarse grit and well-rotted manure, worked in during autumn and left for frost to break down over winter.
Crop rotation
Never grow potatoes in the same spot two years running. Potato cyst nematode and other soil-borne diseases build up quickly. Follow a three or four-year rotation. A good sequence is potatoes, then legumes, then brassicas, then roots. This also benefits other crops, as potatoes break up the soil and suppress weeds, leaving clean ground for the following year.
Planting
Wait until the soil has warmed to at least 7C. In most of southern England, this happens by mid-March. In the Midlands and northern England, late March is safer. Scottish growers should wait until early to mid-April. A soil thermometer takes the guesswork out of it.
Method
- Dig a trench 10-15cm deep
- Add a layer of compost or well-rotted manure to the bottom of the trench
- Place seed potatoes with shoots pointing upward at the correct spacing (see table below)
- Cover gently with soil, taking care not to snap the shoots
- Mark the rows clearly so you know where to start earthing up
Spacing guide
| Type | Between tubers | Between rows |
|---|---|---|
| First early | 30cm | 45cm |
| Second early | 35cm | 60cm |
| Maincrop | 40cm | 75cm |
If you are growing in raised beds, you can reduce row spacing slightly, as the deeper soil makes earthing up easier.
Earthing up
This is the single most important task in potato growing. When the shoots reach 15-20cm tall, draw soil up around the stems with a hoe or rake, leaving just the top few centimetres of foliage showing. Repeat two or three times as the plants grow.
Earthing up serves three purposes. It prevents tubers from turning green (and becoming toxic), it increases the length of underground stem available for tuber formation, and it protects young shoots from late frosts. In March and April, frost remains a genuine risk across much of the UK.
If a late frost is forecast after your potatoes have emerged, cover the shoots with fleece or newspaper overnight. A hard frost will blacken exposed foliage, though the plant usually recovers from the base.
Watering and feeding
Potatoes need consistent moisture once the tubers start to form. For earlies, the critical period is when the plants flower. For maincrops, keep watering steadily from flowering through to harvest.
Water deeply once or twice a week rather than little and often. Irregular watering causes misshapen tubers, hollow heart, and cracking. In dry summers, each plant needs around 20 litres per week.
Potatoes are hungry plants. If you prepared the ground well with compost and manure, additional feeding is not essential. On poorer soils, a general-purpose fertiliser worked into the trenches at planting time provides a useful boost. Avoid high-nitrogen feeds, which promote leafy growth at the expense of tubers.
Growing potatoes in containers
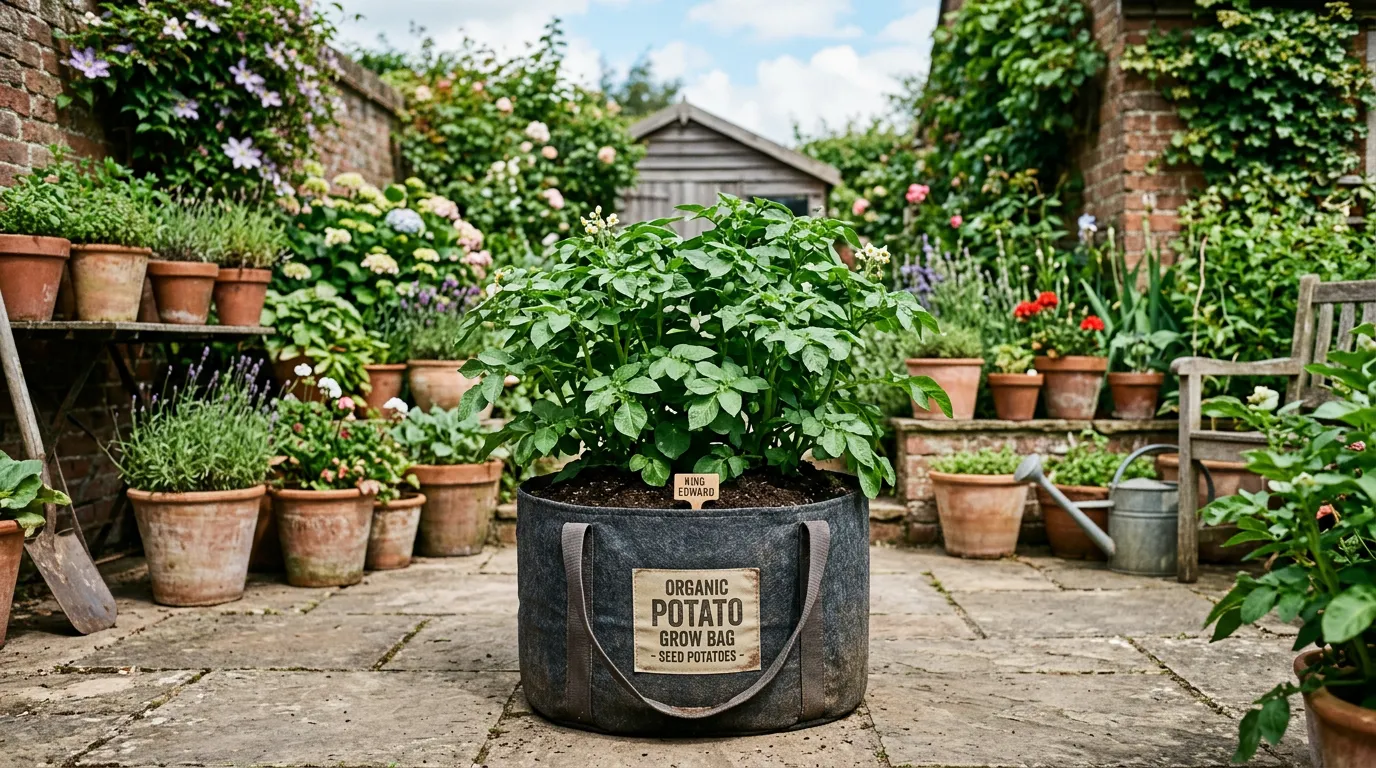
You do not need an allotment or even a border to grow potatoes. They perform well in large pots, grow bags, and purpose-made potato planters. This makes them an excellent crop for small gardens and patios.
Choose a container at least 40cm deep and 40cm wide. A 40-litre pot or a standard compost bag with drainage holes punched in the bottom both work well. Use multipurpose compost mixed with a handful of general fertiliser.
Place one or two chitted seed potatoes on 15cm of compost at the bottom. Cover with 10cm of compost and water. As shoots emerge, keep adding compost until the container is full. This replicates the earthing-up process used in open ground.
Container-grown potatoes need more frequent watering than those in the ground. Check daily in warm weather. Feed with a balanced liquid fertiliser every two weeks once the foliage is growing strongly.
Dealing with pests and diseases
Blight
Potato blight is the most serious disease facing UK growers. It is caused by the organism Phytophthora infestans, the same pathogen responsible for the Irish famine. It spreads fastest in warm, humid weather from June onwards, particularly in the wetter western regions.
Watch for dark brown patches on leaves, often with a white mould on the underside. Stems develop dark lesions. Once blight reaches the foliage, cut all the haulm (stems and leaves) back to ground level immediately to prevent spores washing down into the soil and infecting the tubers. Leave the tubers in the ground for three weeks before harvesting.
To reduce blight risk, grow first earlies (harvested before blight season), choose resistant varieties like Sarpo Mira or Sarpo Axona, and space plants generously for airflow.
Slugs
Slugs tunnel into tubers underground, leaving holes and cavities. Maincrop potatoes left in the ground into autumn are most vulnerable. Our guide to getting rid of slugs covers biological controls and other methods that work well in vegetable beds.
Harvesting promptly reduces slug damage. Varieties with some slug resistance include Kestrel, Charlotte, and Romano.
Common scab
Rough, corky patches on the skin. More cosmetic than harmful, as the flesh underneath is usually fine. It is worse in dry, alkaline soils. Water well during dry spells and avoid liming the potato bed.
Harvesting
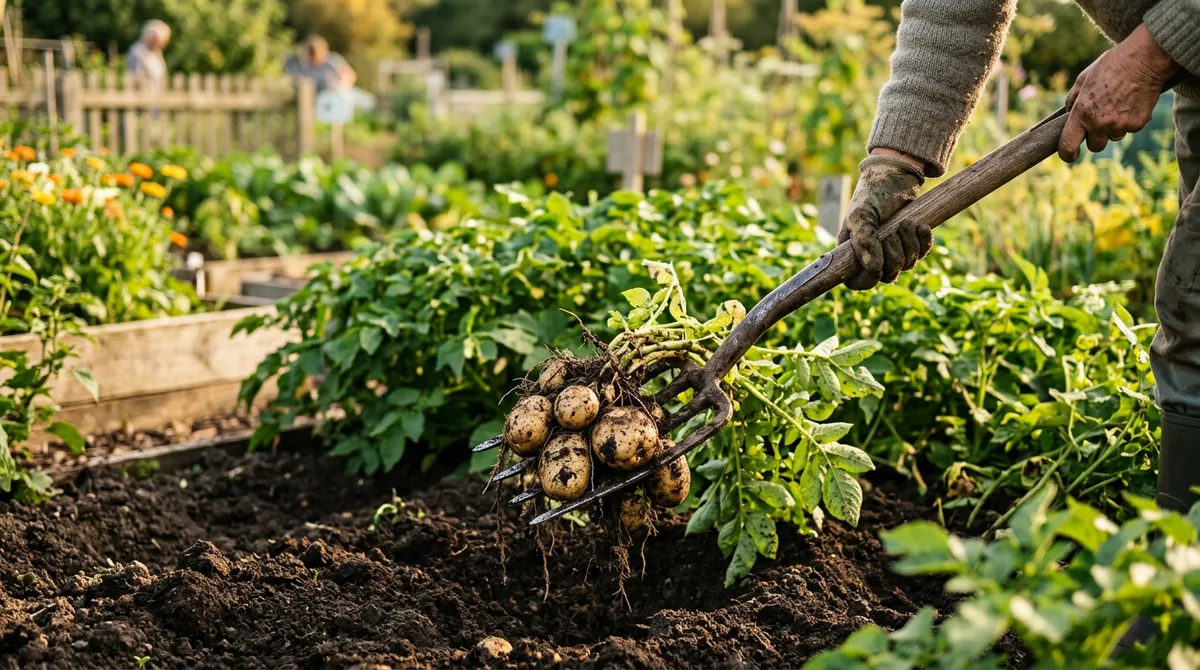
First earlies are ready when the plants begin to flower, typically in June or early July. Push a fork into the soil well away from the stem to avoid spearing tubers, and lift carefully. Harvest only what you need, as new potatoes do not store well. They are best eaten within a day or two of lifting.
Second earlies follow from July into August. Harvest as needed.
Maincrops are ready when the foliage yellows and dies back naturally, usually from August to September. Cut back the haulm and leave tubers in the ground for two to three weeks. This allows the skins to set, which is essential for storage.
Choose a dry day for lifting maincrops. Spread them on the soil surface for a few hours to dry before bringing them indoors. Discard any tubers that are green, damaged, or show signs of blight.
Storing your harvest
Only maincrop potatoes are suitable for long-term storage. Earlies have thin skins and should be eaten fresh.
After drying, place maincrops in hessian or paper sacks. Store in a cool, dark, frost-free place at 4-7C. A garage, shed, or cellar works well. Check stored potatoes every few weeks and remove any that are softening or sprouting.
Properly stored maincrops will last through to the following March, giving you home-grown potatoes for most of the year.
Month-by-month potato calendar
| Month | Task |
|---|---|
| January | Order seed potatoes, begin chitting |
| February | Continue chitting, prepare beds with compost |
| March | Plant first earlies (south), plant second earlies late month |
| April | Plant maincrops, earth up earlies, watch for frost |
| May | Continue earthing up, water in dry spells |
| June | Harvest first earlies, watch for blight |
| July | Harvest second earlies, cut blight-affected foliage |
| August | Begin maincrop harvest, dry and cure tubers |
| September | Complete maincrop harvest, store for winter |
Companion planting and follow-on crops
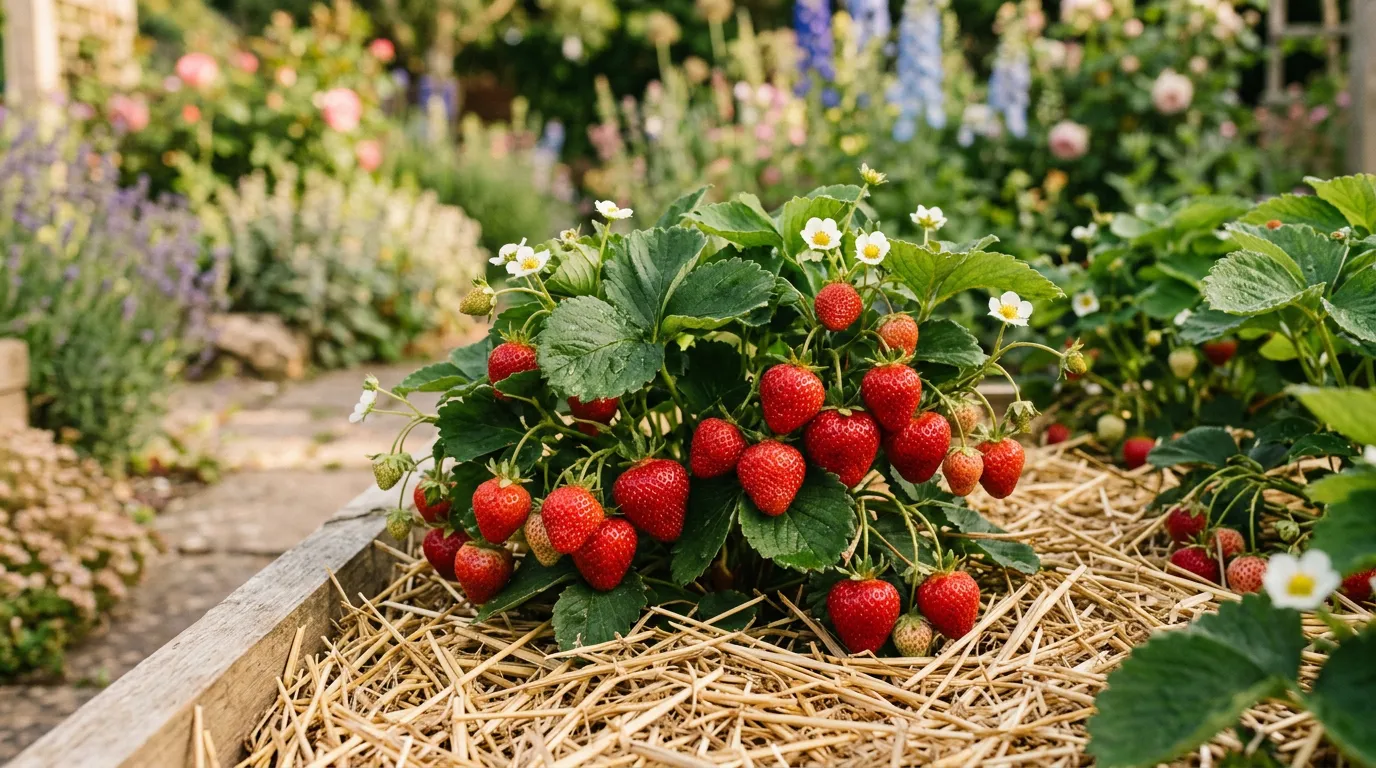
Potatoes work well in a rotation with other vegetables. After lifting earlies in June or July, the ground is clean, well-worked, and ready for a second crop. Good follow-on options include French beans, salad leaves, spring cabbage, or even a late sowing of strawberries for the following year.
Avoid planting tomatoes in the same bed as potatoes or immediately after them. Both are in the Solanaceae family and share the same diseases, particularly blight. Our tomato growing guide covers this in more detail.
Horseradish, marigolds, and beans are often planted alongside potatoes as companions. Horseradish is said to improve disease resistance, though the scientific evidence is limited. What is well established is that the dense foliage of potato plants suppresses weeds effectively, which benefits neighbouring crops.
Growing potatoes is one of the most satisfying things you can do in a British garden. The effort is modest, the results are dependable, and the flavour of a freshly dug new potato, boiled for twelve minutes with a sprig of mint, is something no shop-bought spud can match.
Lawrie has been gardening in the West Midlands for over 30 years. He grows his own veg using no-dig methods, keeps a wildlife-friendly garden, and writes practical advice based on real UK growing conditions.