How to Grow Swiss Chard in the UK
Swiss chard growing guide for UK gardens. Covers varieties, sowing times, cut-and-come-again harvesting, overwintering, containers, and cooking tips.
Key takeaways
- Sow Swiss chard from April to July for harvests from June through to the following spring
- Bright Lights and Rainbow Chard produce the most colourful stems in red, yellow, orange, and white
- Cut-and-come-again harvesting keeps a single plant producing for 12-18 months
- Swiss chard tolerates light frost to minus 5C and overwinters under fleece in most UK regions
- Each seed cluster contains 2-3 seeds, so thin to the strongest seedling at 30cm spacing
- Grows well in containers at least 30cm deep, making it ideal for patios and balconies
Swiss chard is one of the most productive and forgiving leafy vegetables you can grow in a UK garden. A single spring sowing keeps producing pickable leaves for 12 to 18 months, bridging the gap between summer abundance and winter scarcity. It tolerates frost, shrugs off drought, and grows in almost any soil. Few crops offer this combination of colour, nutrition, and low-effort harvesting.
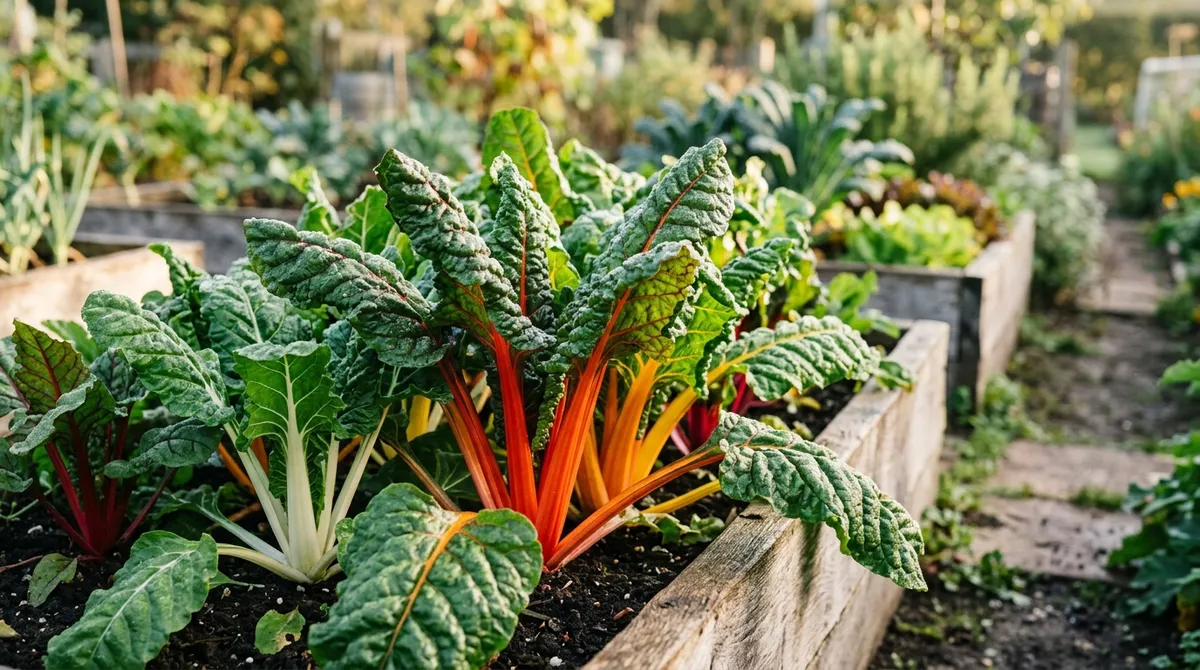
The plant belongs to the same species as beetroot (Beta vulgaris), but it has been bred for its leaves and stems rather than its roots. The stems come in striking colours: deep crimson, golden yellow, bright orange, and pure white. A row of rainbow chard in a vegetable bed looks as good as any ornamental border. It also happens to be packed with vitamins A, C, and K, plus iron, magnesium, and potassium. Unlike spinach, it rarely bolts in summer heat, making it a far more reliable leafy green for most British gardeners.
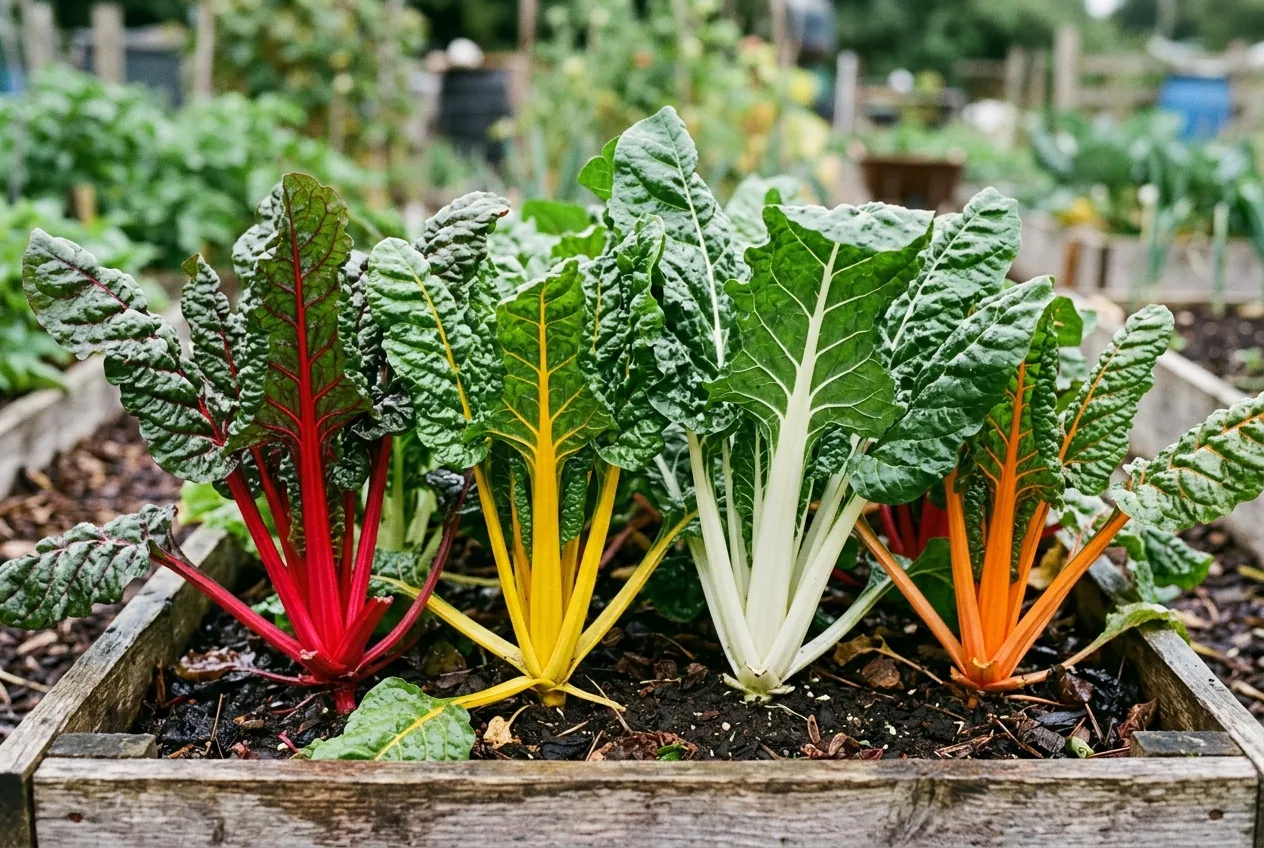 Rainbow chard varieties showing distinct stem colours side by side in a raised bed
Which Swiss chard varieties grow best in the UK?
Five varieties cover every need in a British garden. The choice comes down to whether you want the heaviest yield, the brightest colour, or the best flavour. All are hardy to at least minus 5C and produce well in UK conditions.
Bright Lights is the variety most seed catalogues lead with. It produces a mix of stem colours including red, yellow, orange, pink, and white from a single packet. The leaves are glossy dark green with prominent veining. Plants reach 45-50cm tall. The stems are thinner than Fordhook Giant but the colour display is unmatched. This is the variety to grow if you want a vegetable patch that doubles as a flower border.
Fordhook Giant is the workhorse. Thick, wide white stems and large dark green savoyed leaves make this the heaviest cropping variety available. Plants grow to 50-60cm. The flavour is mild and slightly sweet. Fordhook Giant has been the standard allotment chard for decades because it produces more harvestable weight per plant than any other variety. It holds well in cold weather and is slow to bolt.
Rhubarb Chard has vivid crimson-red stems and dark green leaves with red veining. The colour deepens in cool weather. Plants reach 40-50cm. The flavour is stronger than other varieties, with a pleasant earthy, slightly mineral taste. Rhubarb Chard is the most ornamental single-colour variety and works well in flower borders. The RHS gives chard an Award of Garden Merit for good reason.
Lucullus is the variety for gardeners who want green stems and maximum bolt resistance. The pale green-white stems are wide and fleshy. Leaves are light green, large, and heavily crinkled. Plants grow to 50cm. Lucullus is the best choice for early spring sowings because it tolerates the cold snaps that trigger bolting in other varieties. The flavour is the mildest of all chard types.
Rainbow Chard is a mix of coloured varieties similar to Bright Lights. Most seed companies sell their own blend under this name. Expect a range of red, yellow, orange, and white stems. The exact colour proportions vary by supplier. Rainbow Chard is widely available and usually cheaper than named varieties. It is a good starting point for first-time growers.
Swiss chard variety comparison
| Variety | Stem colour | Height | Flavour | Bolt resistance | Best for |
|---|---|---|---|---|---|
| Bright Lights | Mixed (red, yellow, orange, white, pink) | 45-50cm | Mild | Good | Colour display, borders |
| Fordhook Giant | White | 50-60cm | Mild, sweet | Good | Heavy cropping, allotments |
| Rhubarb Chard | Deep crimson | 40-50cm | Earthy, mineral | Moderate | Ornamental, strong flavour |
| Lucullus | Pale green-white | 50cm | Very mild | Excellent | Early sowings, bolt-prone areas |
| Rainbow Chard | Mixed (varies by supplier) | 45-50cm | Mild | Good | Beginners, mixed colour |
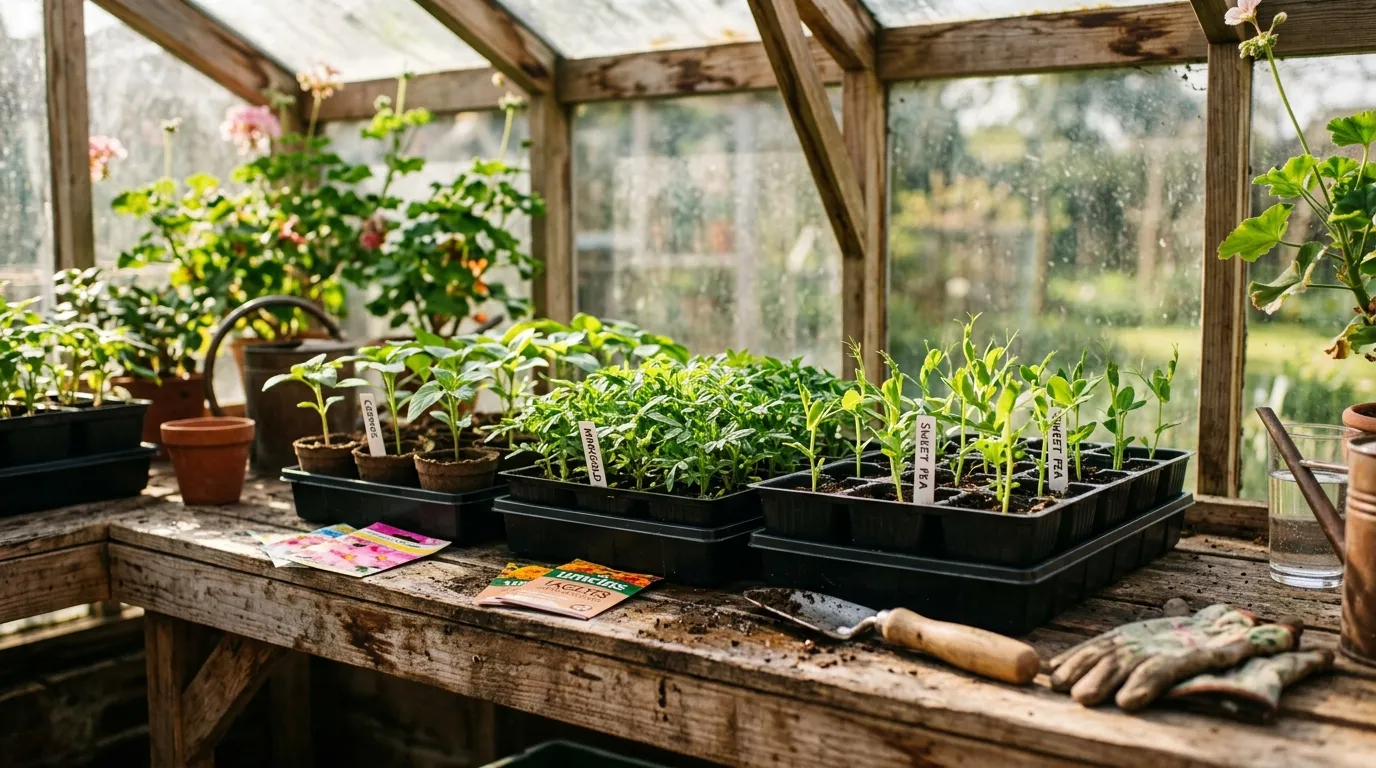
When and how to sow Swiss chard
Swiss chard seeds are multi-germ clusters, just like beetroot. Each wrinkly seed ball contains 2 to 3 individual seeds, so thinning is unavoidable. Soaking seeds in warm water for 2 hours before sowing softens the outer coating and speeds up germination.
Direct sowing outdoors
Sow directly into prepared ground from mid-April to July. The soil temperature needs to be at least 10C for reliable germination. In northern England and Scotland, wait until late April or early May.
Make drills 2cm deep and 40cm apart. Space seeds 10cm apart along the row. Water the drill before sowing if the soil is dry. Cover with soil and firm gently. Seedlings appear in 10 to 14 days. When seedlings reach 5cm tall, thin to 30cm apart. Use the thinnings in salads.
Starting indoors
For an earlier harvest, sow in modules on a windowsill or in an unheated greenhouse from March. Use 7cm pots or module trays filled with seed compost. Sow one seed cluster per module, 1cm deep. Keep at 15-18C. Transplant outdoors after the last hard frost, typically late April in southern England or mid-May further north.
Module-raised plants establish faster and suffer less slug damage than direct-sown seedlings. They also let you fill gaps in raised beds with strong, healthy transplants rather than hoping every seed germinates.
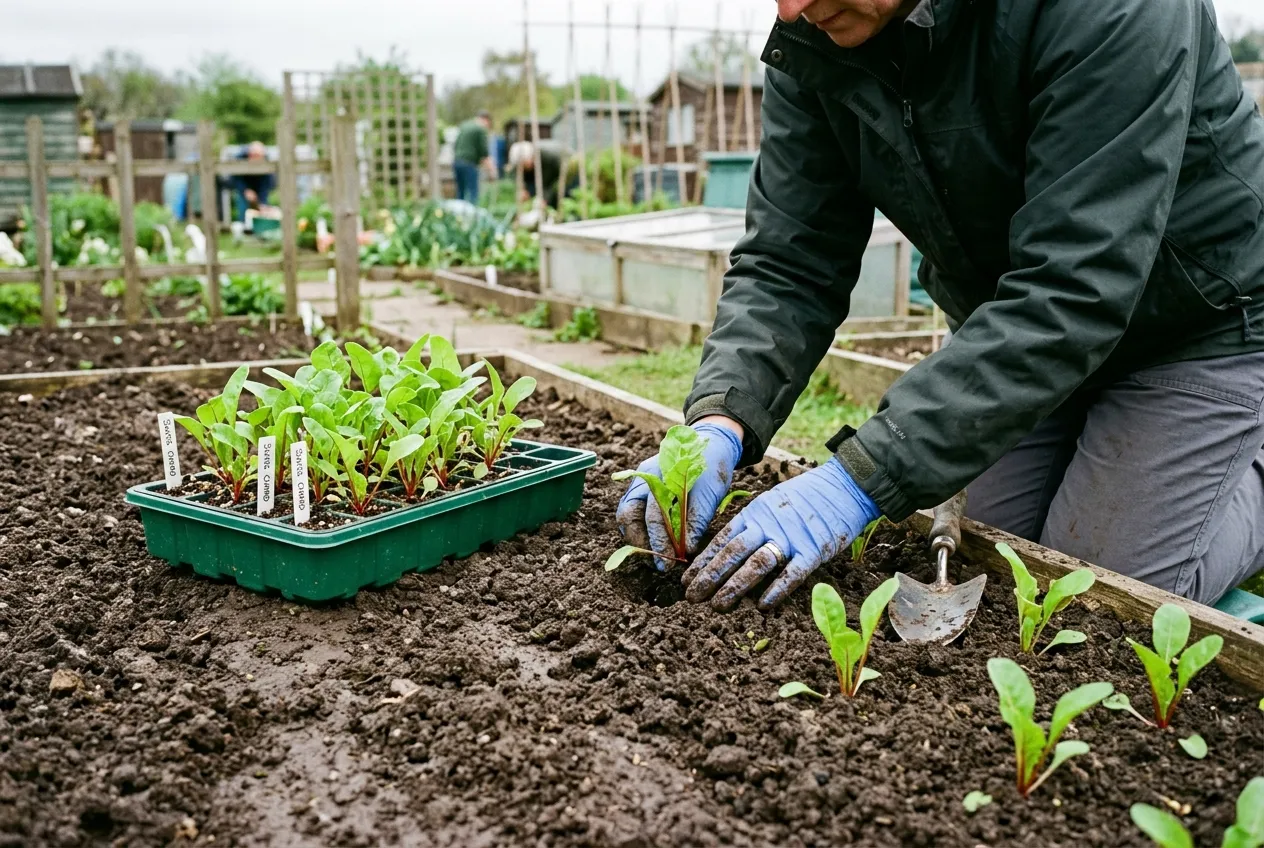 Transplanting module-raised Swiss chard seedlings into prepared ground at an allotment
Succession sowing for continuous harvests
A single sowing of Swiss chard produces leaves for months, so you do not need to succession sow as frequently as lettuce or spinach. Two sowings give the longest harvesting window. Sow the first batch in April for summer and autumn picking. Sow a second batch in July for autumn, winter, and spring harvests. This approach follows the same logic as a succession planting schedule but with fewer sowings because chard keeps producing for so long.
How to grow Swiss chard successfully
Swiss chard is not fussy. It grows in full sun or partial shade, in heavy clay or light sandy soil. But a few things make the difference between average plants and outstanding ones.
Soil and position
Chard prefers fertile, moisture-retentive soil with a pH of 6.0 to 7.5. Dig in plenty of garden compost or well-rotted manure before sowing. A 5cm layer worked into the top 20cm is enough. Full sun produces the strongest stems and richest colours, but partial shade works well, especially in summer when it reduces water stress.
Avoid waterlogged ground. Chard tolerates dry spells far better than wet feet. On heavy clay, grow in raised beds where drainage is better. Adding horticultural grit at 50:50 with compost improves drainage on problem soils.
Watering and feeding
Water regularly during dry spells. Chard needs about 2.5cm of water per week in summer. Inconsistent watering causes tough stems and bitter leaves. Mulch around plants with a 5cm layer of compost or straw to retain moisture and suppress weeds.
Feed with a balanced liquid fertiliser every 3 to 4 weeks from June onwards. A seaweed-based feed works well. Avoid high-nitrogen feeds, which produce large soft leaves prone to aphid attack. If plants look pale or growth slows, a side-dressing of pelleted chicken manure along the row gives a quick boost.
Common problems
Leaf miners are the most frequent pest. The larvae tunnel between the upper and lower leaf surfaces, leaving white serpentine trails. Remove affected leaves immediately and bin them. Cover plants with fine mesh netting (Enviromesh) from May to prevent adults laying eggs. Leaf miners do not kill the plant, but heavily mined leaves are inedible.
Slugs and snails target young seedlings. Protect transplants with copper tape around pots, beer traps, or nematode biological controls applied in April. Once plants are established and growing strongly, slug damage becomes cosmetic rather than fatal.
Downy mildew appears as yellow patches on upper leaf surfaces with grey fuzz underneath. Good air circulation prevents it. Space plants at the full 30cm and remove any crowded or overlapping leaves. Avoid overhead watering in the evening.
Bolting is uncommon in spring-sown chard during its first year. If plants do bolt, cut the flower stalk at its base immediately. The plant often resumes leaf production. Autumn-sown plants that overwinter are more prone to bolting the following spring as day length increases.
Cut-and-come-again harvesting
This is where Swiss chard excels. A single plant keeps producing new leaves from its central growing point for 12 to 18 months if you harvest correctly.
Start picking when leaves reach 15-20cm long. This is typically 8 to 12 weeks after sowing. Smaller leaves are more tender with thinner stems. Larger leaves develop thick, fibrous stems that need more cooking.
Always pick outer leaves first. Work from the outside of the plant inward. Snap or cut each leaf at the base of the stem, as close to the soil as possible. Leave the central growing point untouched along with at least 4 to 5 inner leaves.
Harvest little and often. Picking 3 to 4 outer leaves from each plant every week encourages steady new growth. Leaving plants unpicked for weeks produces a mass of tough, oversized leaves. Regular picking keeps the plant in active production mode.
Remove any yellowing or damaged leaves even if you are not eating them. Decaying leaves harbour slugs and fungal spores. Keeping the plant tidy extends its productive life.
A row of 10 plants harvested this way provides enough chard for a family of four to eat a generous portion every week for most of the year.
Growing Swiss chard in containers
Swiss chard is one of the best leafy vegetables for container growing. The colourful stems look striking on a patio or balcony, and the cut-and-come-again habit means a few pots provide a steady supply of leaves.
Use containers at least 30cm deep and 30cm wide for a single plant. A 50cm trough holds 3 plants comfortably. Large wooden planters or half-barrels work well for a small row.
Fill with multipurpose compost mixed with 20% perlite for drainage. Water daily in summer, as containers dry out far faster than open ground. Feed with a balanced liquid fertiliser every 2 weeks from June to September.
Move containers to a sheltered spot against a south-facing wall in winter. The stored heat from the wall protects roots during hard frosts. Cover with fleece if temperatures drop below minus 5C.
Rainbow varieties look particularly good in containers. Plant Rhubarb Chard alongside Fordhook Giant for a contrast of crimson and white stems. Three different varieties in a long trough creates a display as attractive as any bedding plants.
Overwintering Swiss chard
Swiss chard is hardier than most gardeners expect. Established plants survive light frost to minus 5C without protection. In mild coastal and southern areas, chard often crops through winter with no covering at all.
For colder inland gardens, protect plants from November onwards. Horticultural fleece draped over the plants and anchored with stones or pegs provides 2 to 3 degrees of extra frost protection. This is usually enough for most of England and Wales.
In Scotland and exposed northern sites, use cloches or a cold frame for more protection. Plants may die back to the crown in severe frosts but usually regrow strongly in March as temperatures rise.
Overwintered plants bolt in their second spring, typically between April and June. Harvest heavily before the flower stalk appears. Once you see the stalk forming, the leaves turn bitter within days. Replace overwintered plants with a fresh spring sowing.
How to cook Swiss chard
Swiss chard has two distinct textures in every leaf. The stems are crunchy and slightly sweet. The green leafy parts cook down like spinach. Treating them separately gives the best results.
Separate stems and leaves. Cut along either side of the central stem to remove the green leaf. Slice the stems into 2cm pieces. Tear or roughly chop the leaves. The stems need 3 to 4 minutes more cooking time than the leaves, so start them first.
Quick sauteing is the simplest method. Heat olive oil in a pan, add chopped stems, cook for 3 minutes, then add the leaves and cook for 2 minutes more. Season with salt, black pepper, a squeeze of lemon, and a grating of nutmeg.
Steaming preserves the most nutrients. Steam stems for 4 minutes, add leaves on top, and steam for 2 minutes more. Dress with butter and flaky sea salt.
Raw in salads, young leaves under 15cm are tender enough to eat uncooked. Shred finely and mix with other salad leaves. The stems add crunch to coleslaws and grain bowls.
Blanching and freezing preserves a glut. Blanch separated stems and leaves for 2 minutes in boiling water. Plunge into ice water. Drain thoroughly and freeze in portions. Frozen chard keeps for 6 months and works well in soups, curries, and pasta dishes.
One grown plant produces roughly 2kg of edible leaves and stems per season. That is the equivalent of buying 10 to 12 supermarket bunches at around 90p each, making home-grown chard genuinely good value.
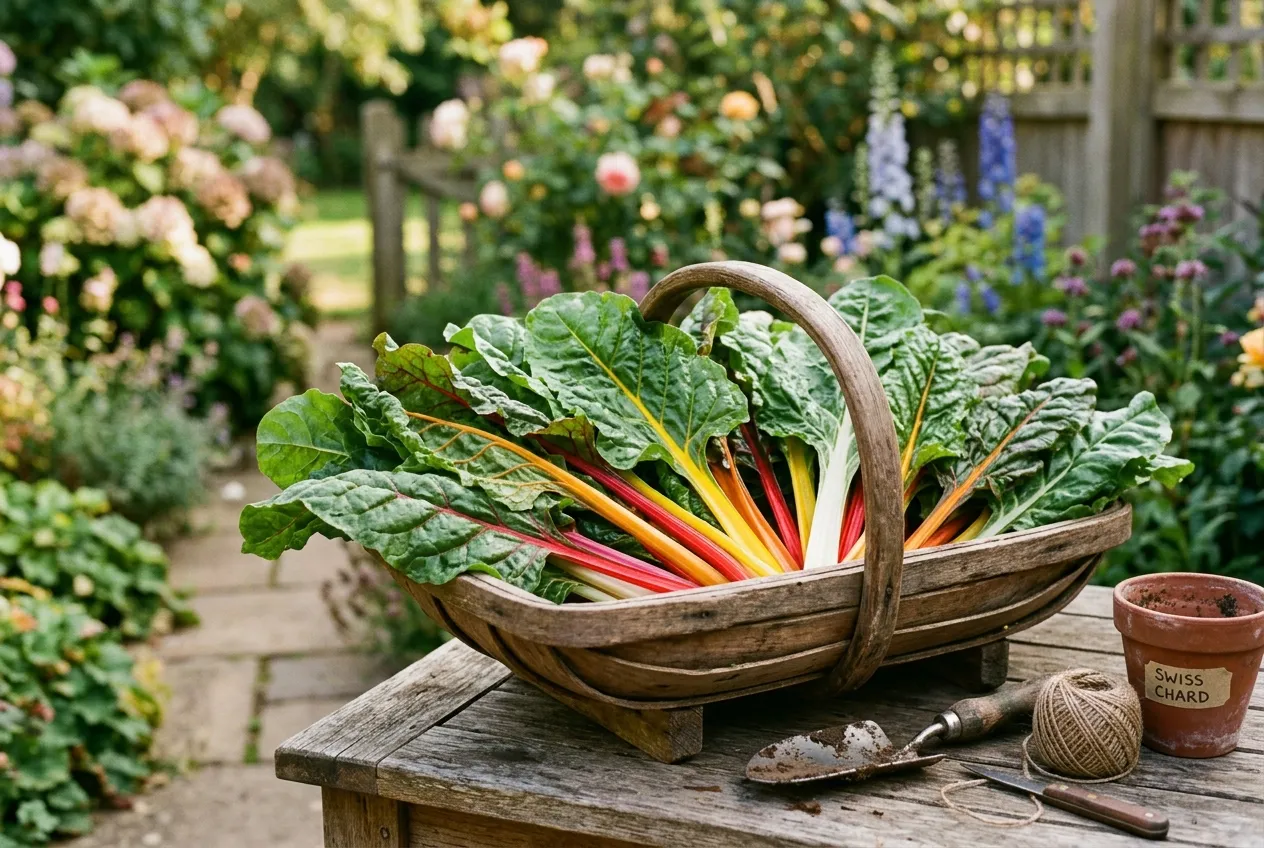 A wooden trug of freshly picked rainbow chard ready for the kitchen
Swiss chard growing calendar for the UK
| Month | Task |
|---|---|
| March | Sow indoors in modules on a windowsill at 15-18C |
| April | Direct sow outdoors once soil reaches 10C. Transplant indoor-raised seedlings in southern regions |
| May | Thin direct-sown seedlings to 30cm. Transplant module-raised plants in northern regions. Water regularly |
| June | Begin harvesting outer leaves when 15-20cm long. Start liquid feeding every 3-4 weeks |
| July | Second sowing for autumn and winter harvest. Continue picking outer leaves weekly |
| August | Continue harvesting. Watch for leaf miners and remove affected leaves |
| September | Reduce feeding. Plants continue producing as temperatures cool |
| October | Harvest well before first frosts. Mulch around base of plants with 5cm compost |
| November | Apply fleece protection in colder regions. Pick any remaining good leaves |
| December-February | Harvest overwintered plants sparingly. Plants may die back in hard frost |
| March (year 2) | Overwintered plants regrow. Harvest heavily before spring bolting begins |
Swiss chard or kale for a winter garden?
Both crops fill the winter gap, but they suit different situations. Kale is hardier, surviving temperatures down to minus 15C. Swiss chard manages minus 5C to minus 8C with protection. For exposed northern gardens, kale is the safer bet.
Swiss chard produces a bigger total harvest over its lifetime because it starts cropping earlier in summer and continues longer in spring. Kale typically produces from September to March. Chard produces from June to the following April or May.
In terms of flavour, they are quite different. Chard has a mild, slightly sweet taste similar to spinach. Kale is earthier with a slight bitterness that improves after frost. For cooking versatility, chard works better in Mediterranean-style dishes. Kale suits winter stews, braises, and roasting.
The smartest approach is to grow both. Chard covers summer and early autumn. Kale takes over from late autumn through winter. Between the two, you have fresh leafy greens in every month of the year.
Companion planting with Swiss chard
Swiss chard grows well alongside most vegetables. A few combinations are particularly effective.
Lettuce and salad leaves benefit from the light shade that mature chard plants provide during hot summer days. Plant lettuce between chard rows from May onwards.
Beans and peas fix nitrogen in the soil, which chard then uses for leaf production. Plant climbing beans at the back of a bed with chard in front.
Onions and garlic deter leaf miners and aphids with their strong scent. Interplant a row of spring onions between chard plants.
Avoid planting near sweetcorn or sunflowers, which create too much shade and compete heavily for water.
Garden Organic recommends rotating chard with other beet-family crops on a 3-year cycle to prevent the build-up of soil-borne diseases. Do not plant chard where beetroot, spinach beet, or perpetual spinach grew in the previous two seasons.
Frequently asked questions
When should I sow Swiss chard in the UK?
Sow Swiss chard outdoors from April to July. Seeds germinate in 10 to 14 days when soil temperature reaches 10C. April sowings give the longest harvest window, with leaves ready from June through to the following spring. Start seeds indoors from March for earlier crops.
Is Swiss chard frost hardy?
Swiss chard tolerates frost down to minus 5C. Established plants survive most UK winters in southern and coastal areas without protection. In colder inland regions, cover with horticultural fleece from November. Plants may die back in severe cold but regrow from the crown in March.
How often should I harvest Swiss chard?
Pick 3 to 4 outer leaves per plant every week. This keeps the plant in active growth and prevents a build-up of tough, oversized leaves. Start harvesting when leaves reach 15 to 20cm long, typically 8 to 12 weeks after sowing.
Can I save Swiss chard seeds?
Swiss chard is wind-pollinated and cross-pollinates freely with beetroot and perpetual spinach. If you grow any of these crops nearby, saved seed produces unpredictable offspring. For reliable results, buy fresh seed each year. Chard seed remains viable for 4 to 5 years when stored in a cool, dry place.
Does Swiss chard grow back after cutting?
Yes, Swiss chard regrows repeatedly after cutting. A single plant produces new leaves for 12 to 18 months if you always leave the central growing point and several inner leaves intact. This cut-and-come-again habit makes it one of the most productive leafy vegetables for UK gardens.
Lawrie has been gardening in the West Midlands for over 30 years. He grows his own veg using no-dig methods, keeps a wildlife-friendly garden, and writes practical advice based on real UK growing conditions.