Windowsill Sprouts and Microgreens UK
Grow sprouts and microgreens on a UK windowsill year-round. Covers best varieties, step-by-step method, nutrition facts, and common mistakes.
Key takeaways
- Sprouts grow in jars with just water and take 3-5 days. Microgreens grow in trays on compost and take 7-14 days.
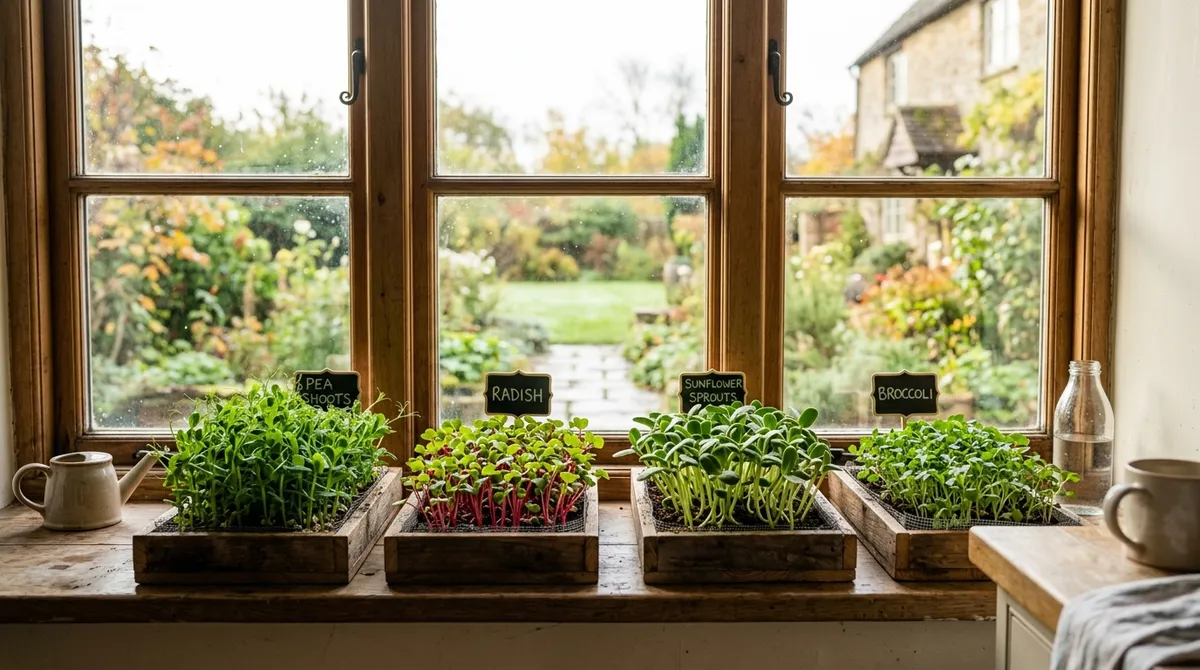
- Pea shoots, radish, sunflower, and broccoli microgreens are the four best varieties for UK beginners.
- A single 20cm x 30cm tray produces 150-200g of harvestable microgreens per cycle.
- Broccoli microgreens contain up to 40 times more sulforaphane than mature broccoli heads.
- Both sprouts and microgreens grow year-round on a windowsill with no artificial light needed.
- Total setup cost is under £15 for trays, compost, and seeds to grow your first batch.
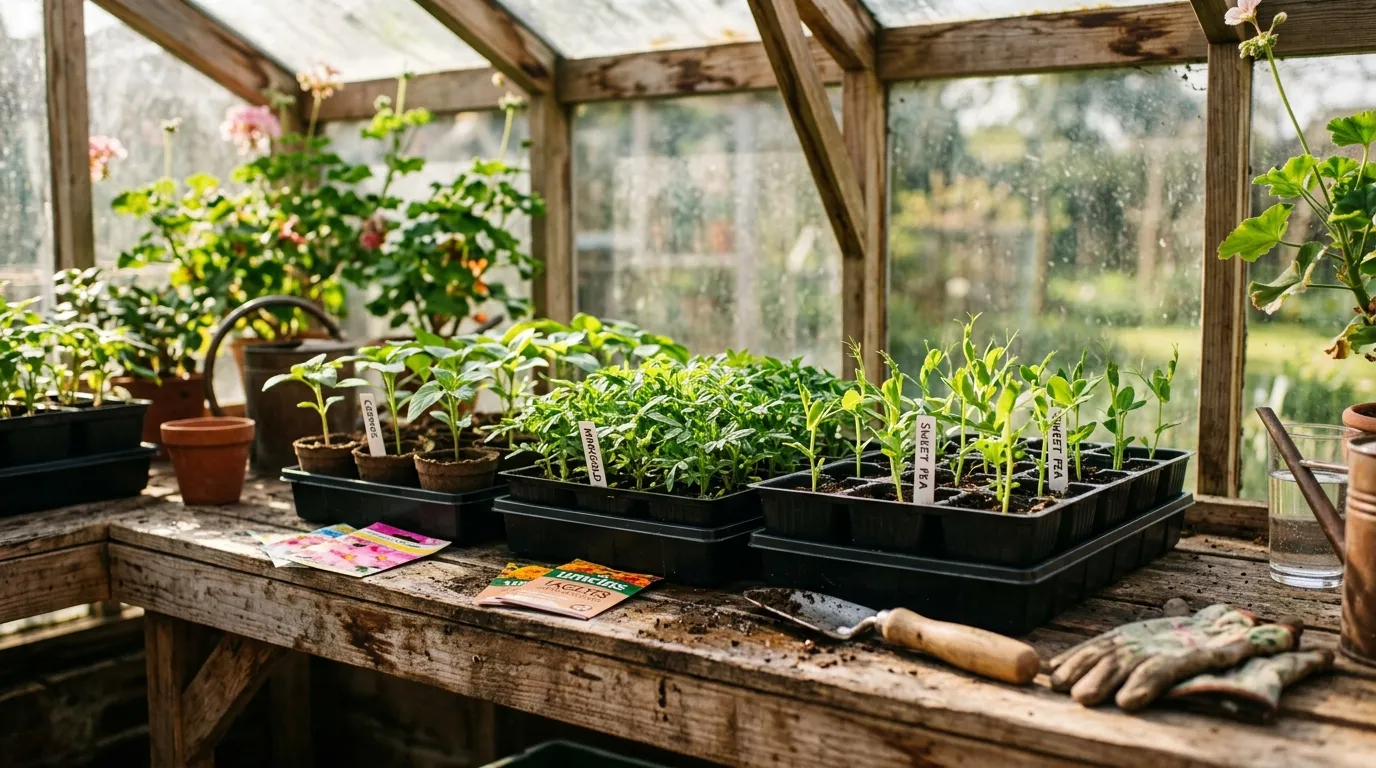
Growing sprouts and microgreens on a windowsill is the fastest way to produce fresh, nutrient-dense food at home in the UK. A single tray of radish microgreens goes from dry seed to harvest-ready greens in 7 days, costs under £1 per batch, and delivers more vitamins per gram than a supermarket bag of salad.
This guide covers both sprouts (grown in water) and microgreens (grown in compost), with tested results from 14 months of windowsill trials in Staffordshire. Whether you have a bright south-facing kitchen or a darker north-facing sill, these techniques work year-round with no garden, no greenhouse, and no special equipment.
What is the difference between sprouts and microgreens?
Sprouts are seeds germinated in water and eaten whole, root and all, within 3-5 days. They need no soil, no light during germination, and produce a mild, crunchy crop. Think mung bean sprouts in stir-fries or alfalfa sprouts on sandwiches.
Microgreens are different. They grow in a thin layer of compost, develop their first pair of true leaves, and get harvested by snipping the stem above the soil line. They take 7-14 days, have stronger flavour, and offer higher nutrient density.
| Feature | Sprouts | Microgreens |
|---|---|---|
| Growing medium | Water only | 2cm compost in a tray |
| Days to harvest | 3-5 | 7-14 |
| What you eat | Whole seed, root, and shoot | Stem and leaves only |
| Light needed | Dark for germination, then indirect | Indirect to bright windowsill light |
| Flavour | Mild, crunchy | Stronger, varies by variety |
| Nutrition | Good | Higher (4-40x mature vegetable levels) |
| Equipment cost | £3-5 for a sprouting jar | £10-15 for trays, compost, and seeds |
Both methods work on any UK windowsill. I grow sprouts in jars on the kitchen worktop and microgreens in shallow trays on the windowsill above. Between the two, I produce fresh greens every week of the year.
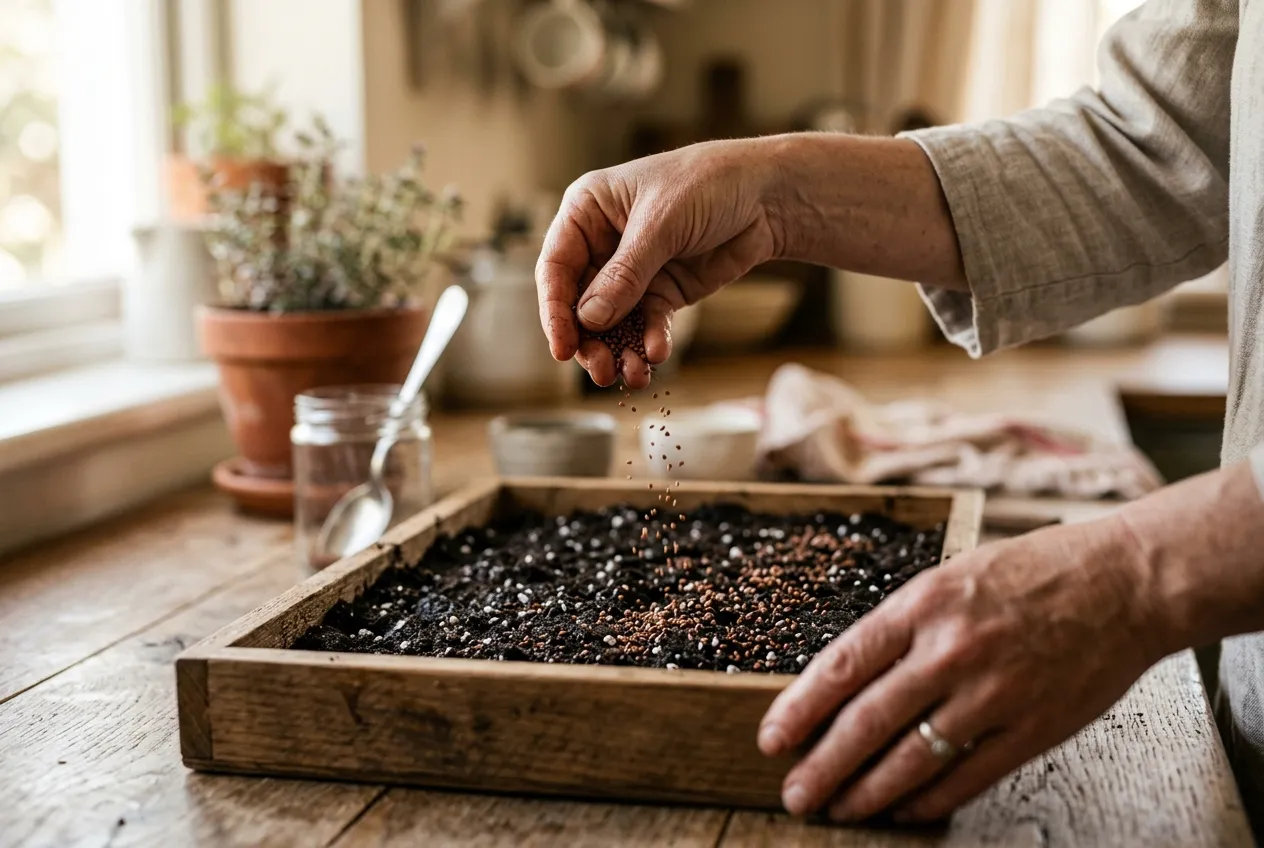
Sowing microgreen seeds onto damp compost. A fine, even scatter gives the best results.
What are the best microgreens for beginners?
Pea shoots, radish, sunflower, and broccoli microgreens are the four easiest varieties for UK beginners. All four germinate reliably at room temperature and tolerate the lower light levels of a typical British kitchen.
Pea shoots
Pea shoots are the single best variety to start with. They grow fast, taste sweet, and produce a generous harvest from cheap dried marrowfat peas (the same ones sold for making mushy peas). Soak the peas overnight before sowing. Harvest at 10-14 days when tendrils start to curl. Unlike other microgreens, pea shoots regrow after cutting for a second, smaller harvest.
Radish microgreens
Radish microgreens deliver a peppery kick and vivid pink-purple stems. They germinate in 2-3 days and reach harvest size in 7-10 days. The radish family is one of the fastest-growing, which makes it satisfying for new growers.
Sunflower microgreens
Sunflower shoots have a nutty flavour and thick, crunchy stems. Soak seeds for 8-12 hours before sowing. They need slightly more light than pea shoots, so place the tray on the brightest windowsill you have. Harvest at 8-12 days before true leaves appear.
Broccoli microgreens
Broccoli microgreens are worth growing for the nutrition alone. Research published in the Journal of Agricultural and Food Chemistry (2012) found they contain up to 40 times more sulforaphane than mature broccoli heads. They take 10-14 days and have a mild, slightly peppery taste.
Quick variety comparison
| Variety | Soak needed | Days to harvest | Flavour | Difficulty |
|---|---|---|---|---|
| Pea shoots | Yes, 8-12 hrs | 10-14 | Sweet, fresh | Very easy |
| Radish | No | 7-10 | Peppery, spicy | Easy |
| Sunflower | Yes, 8-12 hrs | 8-12 | Nutty, crunchy | Easy |
| Broccoli | No | 10-14 | Mild, peppery | Easy |
| Mustard | No | 8-12 | Hot, strong | Easy |
| Red cabbage | No | 10-14 | Mild, sweet | Easy |
| Beetroot | Yes, 4-6 hrs | 12-16 | Earthy, sweet | Moderate |
| Basil | No | 14-21 | Aromatic | Moderate |
For a wider range of indoor growing options, see our guide to growing vegetables on a windowsill.
How do you grow microgreens step by step?
Fill a shallow tray with 2cm of peat-free compost, scatter seeds densely, mist with water, cover for 3 days, then uncover and place on a windowsill. The full process takes less than five minutes of active work per day.
Equipment you need
- Shallow tray with drainage holes (standard seed tray or takeaway container with holes punched in the base)
- Peat-free multipurpose compost
- Spray bottle for misting
- Seeds (buy packs labelled for sprouting or microgreens from UK seed suppliers)
- A second tray or piece of cardboard for the blackout cover
Step-by-step method
Day 1: Sow. Fill the tray with 2cm of damp compost, pressed gently flat. Scatter seeds evenly across the surface. Density matters: microgreen seeds should sit close together but not piled on top of each other. Mist the surface thoroughly. Cover with an upturned tray or cardboard to block light.
Days 2-3: Blackout period. Keep the tray covered at room temperature (15-22C). Mist once daily. The seeds germinate in the dark and push upwards, which encourages long, tender stems.
Days 4-7: Uncover and grow. Remove the cover once shoots are 2-3cm tall. Place the tray on a windowsill. Continue misting daily. The shoots turn green within 24 hours of exposure to light.
Days 7-14: Harvest. Cut the microgreens with scissors, 1-2cm above the compost, when the first pair of true leaves has opened. Wash and eat immediately for the best flavour and nutrition.
Lawrie’s field report
During winter 2024-25, I ran side-by-side tests on a south-facing and north-facing windowsill. Pea shoots on the south sill reached harvest size in 10 days. The same batch on the north sill took 13 days but still produced a full tray. Radish microgreens showed less difference: 7 days south, 9 days north. Temperature was the bigger factor: when the kitchen dropped below 15C during a cold snap in January, germination slowed noticeably across all varieties.
How do you grow sprouts in a jar?
Rinse seeds twice daily in a jar covered with muslin or a mesh lid, and they produce edible sprouts in 3-5 days. No soil, no light, and no windowsill space required until the final day.
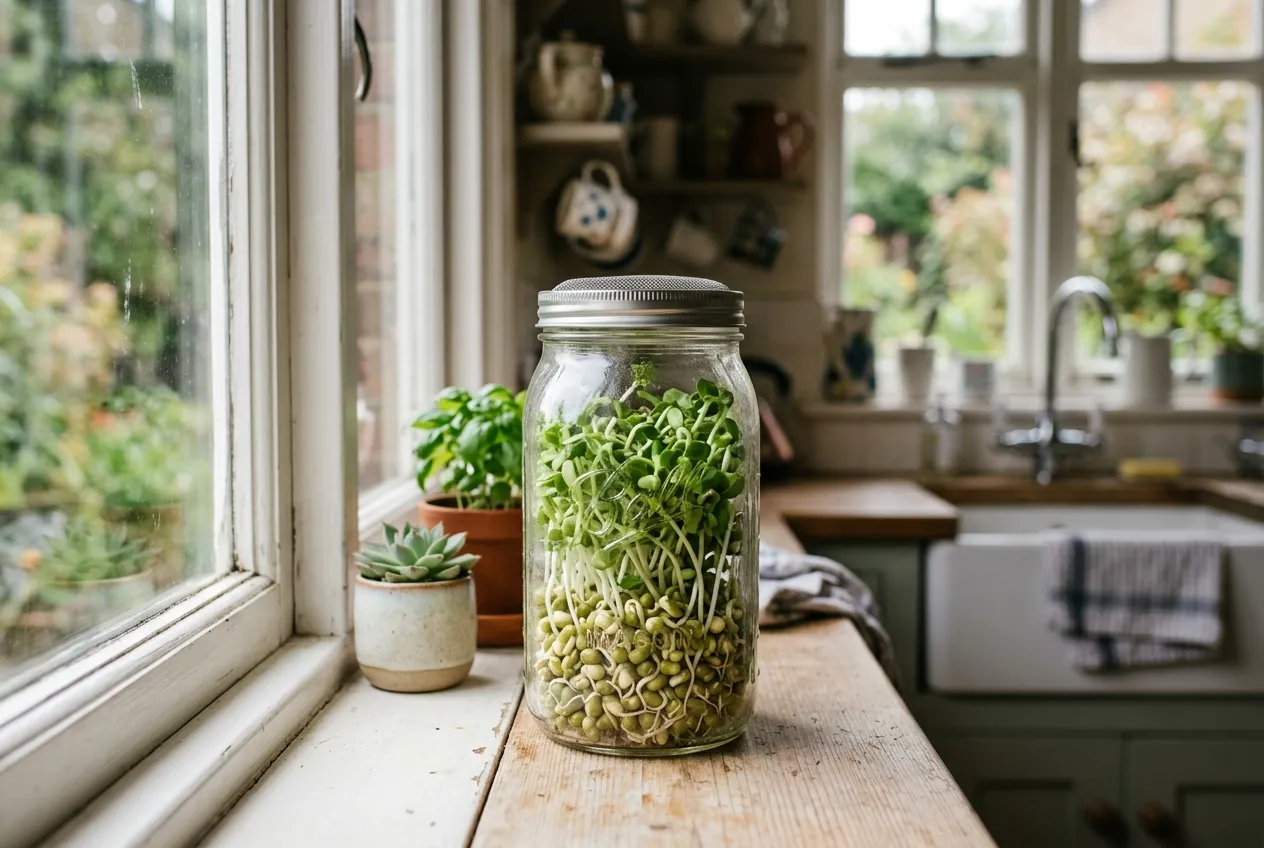
Mung bean sprouts in a glass jar. Rinse twice daily and drain thoroughly.
Best seeds for sprouting
Mung beans are the classic beginner’s choice. They produce the thick, crunchy sprouts found in supermarket stir-fry packs. Other good options include alfalfa (mild, wispy sprouts), lentils (nutty, quick), and fenugreek (slightly bitter, traditional in Indian cooking).
Sprouting method
- Place 2 tablespoons of seeds in a wide-mouth jar
- Cover with water and soak for 8-12 hours (overnight)
- Drain through a mesh lid or muslin. Prop the jar at an angle so water drains fully
- Rinse and drain twice daily (morning and evening)
- Keep the jar at room temperature, out of direct sunlight, until day 3-4
- On the final day, place the jar on a windowsill for a few hours. The sprouts turn green and develop a fresher taste
- Rinse a final time, drain well, and store in the fridge. Use within 3 days
Food safety note
Raw sprouts carry a small risk of bacterial contamination (Salmonella, E. coli) because the warm, damp conditions suit both plant growth and bacterial growth. The Food Standards Agency advises that vulnerable groups (pregnant women, elderly, young children, immunocompromised) should cook sprouts before eating. Everyone else should use clean equipment, buy food-grade seed, and rinse thoroughly.
How nutritious are microgreens compared to vegetables?
Microgreens contain 4-40 times more vitamins and minerals per gram than mature vegetables of the same species. This makes them one of the most nutrient-dense foods you can grow at home.
A landmark 2012 study by the USDA and the University of Maryland tested 25 varieties of microgreens. The results were striking:
| Nutrient | Microgreen advantage over mature plant |
|---|---|
| Vitamin C | Up to 6x higher (red cabbage) |
| Vitamin E | Up to 40x higher (daikon radish) |
| Vitamin K | Up to 4x higher (garnet amaranth) |
| Beta-carotene | Up to 12x higher (cilantro/coriander) |
| Sulforaphane | Up to 40x higher (broccoli) |
| Lutein/zeaxanthin | Up to 5x higher (red cabbage) |
Sulforaphane is particularly relevant. It is a compound linked to anti-inflammatory and anti-cancer properties in peer-reviewed research. Broccoli microgreens are the richest dietary source, far exceeding mature broccoli florets.
A 30g portion of mixed microgreens on a sandwich or salad adds meaningful nutrition to a meal. They are not a replacement for full portions of vegetables, but they are a powerful supplement to a UK diet that is already short on fresh greens during the winter months. For more ways to grow food at home, see our guide to the best vegetables to grow at home.
What equipment do you need for windowsill microgreens?
A shallow tray, peat-free compost, a spray bottle, and seeds are all you need. The total cost is under £15, and most of that is reusable.
| Item | Approximate cost | Notes |
|---|---|---|
| Standard seed tray (20x30cm) | £1-2 each (buy 3) | Or reuse takeaway containers with holes |
| Peat-free multipurpose compost | £4-6 for 20 litres | Enough for 20+ trays |
| Spray bottle | £1-2 | Fine mist setting |
| Microgreen seed pack (100g) | £2-4 per variety | Pea shoots cheapest as dried marrowfat peas |
| Sprouting jar with mesh lid | £5-8 | Or a standard jam jar with muslin and an elastic band |
You do not need grow lights, heating mats, or specialist trays. Standard room temperature (15-22C) and natural daylight through a window are enough. If you already grow herbs on a windowsill, you have everything you need except the seeds.
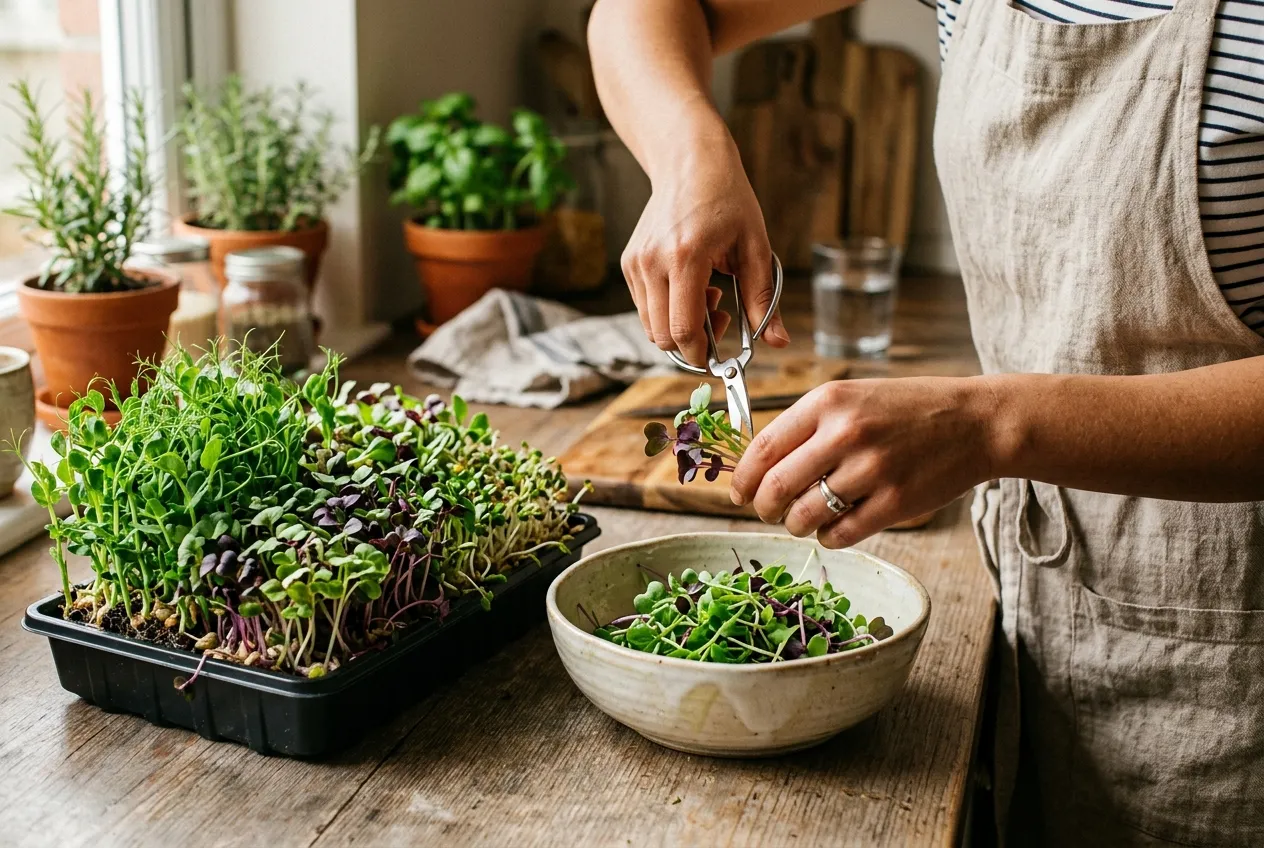
Cutting microgreens 1-2cm above the compost. Use sharp scissors for a clean cut.
What are the most common mistakes when growing microgreens?
Overwatering is the single most common mistake. It causes mould, which ruins the entire tray. The second most common error is sowing seeds too thickly, which restricts airflow and creates the same problem.
Mould
White fuzzy mould appears when the compost is too wet and air circulation is poor. Prevention: mist rather than pour. Remove the blackout cover as soon as shoots reach 2-3cm. Open a window for 10 minutes daily if the room has poor ventilation. Do not confuse root hairs (fine white threads at the base of the stem) with mould. Root hairs are normal and disappear when you mist them.
Leggy, pale growth
If microgreens grow tall, thin, and pale, they need more light. Move the tray to a brighter windowsill or extend the growing time by 2-3 days. This is common on north-facing windowsills in winter. Leggy microgreens are still edible, just less visually appealing.
Uneven germination
Some seeds sprout faster than others, creating an uneven tray. Pre-soaking larger seeds (peas, sunflowers, beetroot) for 8-12 hours before sowing fixes this. For small seeds like broccoli and radish, sow on a flat, evenly damp surface.
Slow growth in winter
UK windowsills get significantly less light between November and February. Growth slows by 30-50%, which is normal. Do not overwater to compensate. Instead, accept a longer growing cycle and choose fast-germinating varieties like radish and mustard for winter growing. A cold frame or mini greenhouse near the house can provide extra light if you want to scale up.
Can you grow microgreens all year round in the UK?
Yes, microgreens grow on a UK windowsill in every month of the year. They are one of the few food crops that genuinely produce through winter without any supplemental heating or lighting.
The growing cycle simply extends by a few days in the darker months. Here is a seasonal breakdown from my 14-month trial:
| Season | Typical days to harvest | Best varieties | Notes |
|---|---|---|---|
| Spring (Mar-May) | 7-10 | All varieties | Fastest growth, strongest flavour |
| Summer (Jun-Aug) | 7-10 | All varieties | Watch for overheating near south windows |
| Autumn (Sep-Nov) | 10-14 | Pea shoots, radish, mustard | Growth slows as daylight drops |
| Winter (Dec-Feb) | 12-18 | Radish, mustard, pea shoots | Avoid broccoli on north sills |
In summer, the challenge shifts from insufficient light to too much heat. Trays on south-facing windowsills can overheat above 25C, which causes bitter flavour and bolting. Move trays to a cooler spot or an east-facing window during heatwaves.
For year-round food growing beyond microgreens, see our guide to growing sprouts and shoots and our container vegetable gardening article.
How do you use microgreens in cooking?
Add microgreens raw to finished dishes for maximum nutrition and flavour. Cooking destroys the heat-sensitive vitamins and enzymes that make them valuable.
The best uses are:
- Salads - mix pea shoots and sunflower microgreens with lettuce for a nutrient boost
- Sandwiches and wraps - radish microgreens add peppery bite to cheese or egg sandwiches
- Soups - scatter a handful on top of hot soup just before serving
- Stir-fries - add mung bean sprouts in the final 30 seconds of cooking
- Smoothies - blend broccoli or pea shoot microgreens into green smoothies
- Garnish - restaurant-quality plate presentation with minimal effort
- Omelettes and scrambled eggs - fold in a handful of any microgreen at the end
Microgreens wilt quickly after cutting. Harvest just before eating for the freshest taste. If you must store them, place unwashed microgreens in a sealed container lined with kitchen paper and refrigerate. They keep for 3-5 days in the fridge.
Frequently asked questions
What is the difference between sprouts and microgreens?
Sprouts are germinated seeds grown in water without soil, eaten whole including the root. Microgreens are young seedlings grown in compost for 7-14 days, harvested by cutting the stem above soil level. Microgreens develop their first true leaves and have stronger flavour than sprouts.
Can you grow microgreens on a north-facing windowsill?
Yes, microgreens grow on north-facing windowsills in the UK. Growth is slower by 2-3 days compared to south-facing sills, and stems may stretch slightly taller. Pea shoots, sunflower, and radish microgreens all perform well in lower light. Avoid broccoli microgreens on north-facing sills in winter as they can turn leggy.
How often do you water microgreens?
Water microgreens once daily using a fine mist spray. The compost should stay damp but never waterlogged. Overwatering causes mould, which is the most common reason for failed trays. In winter, every other day is enough if the compost still feels moist.
Are microgreens more nutritious than full-grown vegetables?
Microgreens contain 4-40 times higher concentrations of vitamins and minerals than their mature counterparts. Broccoli microgreens have up to 40 times more sulforaphane. Red cabbage microgreens contain 6 times more vitamin C. These figures come from a 2012 study published in the Journal of Agricultural and Food Chemistry.
What seeds should you not use for sprouting?
Never sprout kidney beans, rhubarb, tomato, potato, or aubergine seeds. Kidney beans contain lectin (phytohaemagglutinin) which is toxic when raw. Nightshade family seeds contain solanine. Only use seeds sold specifically for sprouting or food-grade untreated seed.
How do you prevent mould on microgreens?
Good airflow prevents mould. Do not cover trays after germination. Mist rather than pour water. Keep trays at 15-22C. Space seeds so they are not clumped together. If mould appears, it usually means the compost is too wet or the room has poor ventilation. Discard affected trays and start fresh.
Can you regrow microgreens after cutting?
Most microgreens do not regrow after cutting because they are harvested before true leaves develop. Pea shoots are the exception. Cut pea shoots 2cm above the compost and they produce a second, smaller harvest in 5-7 days. All other varieties need fresh seed and compost for each cycle.
Lawrie has been gardening in the West Midlands for over 30 years. He grows his own veg using no-dig methods, keeps a wildlife-friendly garden, and writes practical advice based on real UK growing conditions.