How to Grow Celeriac in the UK
Practical guide to growing celeriac in UK gardens. Covers varieties, sowing indoors, transplanting, watering, side shoot removal, and winter storage.
Key takeaways
- Sow indoors from late January to March on the compost surface, as seeds need light to germinate
- Celeriac has one of the longest growing seasons of any UK vegetable, taking 6-8 months from sowing to harvest
- Transplant outdoors after the last frost in late May, spacing plants 30cm apart in rich, moist soil
- Water consistently throughout the growing season, as even short dry spells cause woody, hollow roots
- Remove outer leaves and side shoots from midsummer onwards to encourage the root bulb to swell
- Harvest from October to March, leaving roots in the ground with straw mulch for frost protection
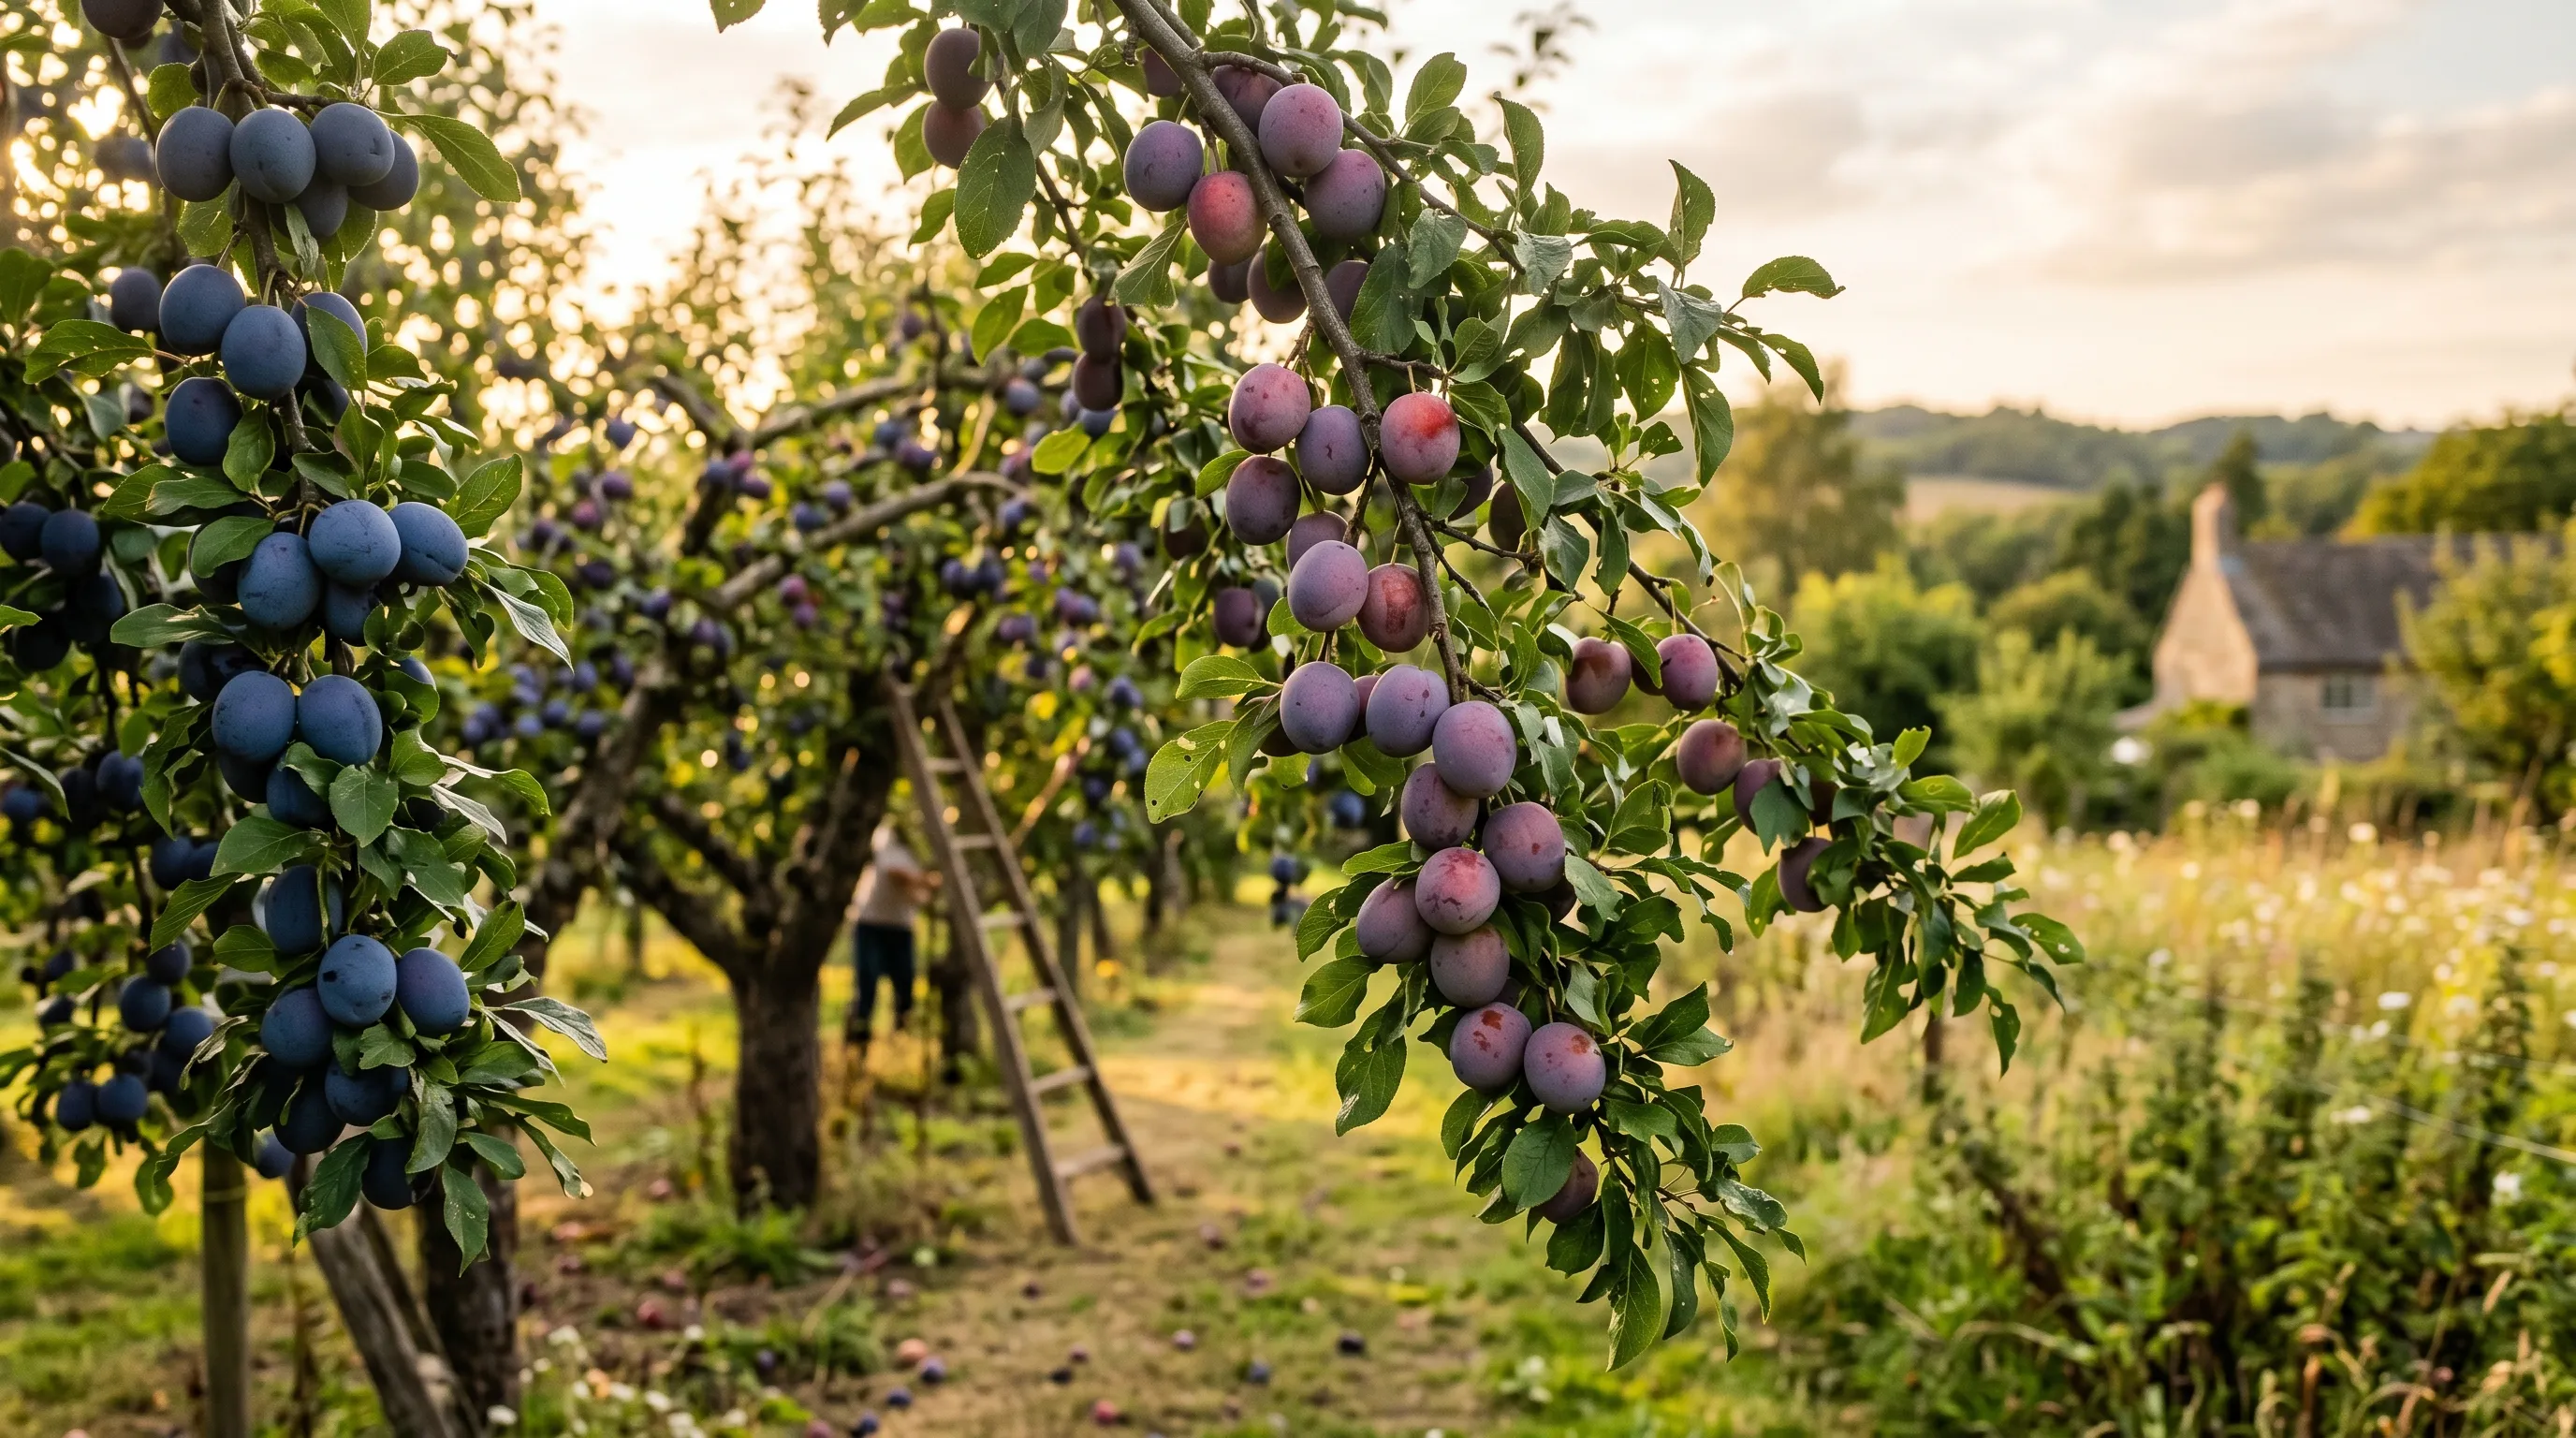
Celeriac is one of the most underrated root vegetables in British gardens. It produces large, knobby roots with an intense celery flavour that works brilliantly in soups, mash, gratins, and remoulade. The raw root has a crisp, nutty taste that no other vegetable quite matches. Yet very few UK gardeners grow it.
The reason most people avoid celeriac is its reputation for difficulty. It does demand patience. The growing season stretches from February to October at minimum, making it one of the longest crops in the vegetable garden. But the actual work involved is modest once you understand the key requirements: early indoor sowing, consistent watering, and a willingness to wait. If you can manage those three things, you can grow celeriac successfully anywhere in the UK. This guide covers the full process from seed to plate, written for British growing conditions and seasons. For general vegetable growing advice, our guide to starting a vegetable garden covers the essentials of planning, soil, and tools.
Which celeriac varieties grow best in the UK?
Choosing a reliable variety is important with celeriac. Some produce smoother roots with fewer side shoots. Others resist bolting or tolerate less-than-perfect conditions. All of the varieties below are available from UK seed suppliers and bred for European growing seasons.
Monarch is the most widely recommended variety for UK gardens. It produces large, smooth roots with fewer side shoots than older varieties. The flesh is white, dense, and strongly flavoured. Monarch has good resistance to bolting and handles variable British summers well. It stores reliably through winter.
Prinz is a modern variety with excellent root quality. The skin is smoother than most, reducing waste during peeling. Roots are uniform in size and shape. Prinz has good disease resistance and copes well with cooler northern conditions. It is a strong choice for first-time celeriac growers.
Giant Prague is the traditional heritage variety and still widely grown. The roots are large and well-flavoured, though rougher-skinned than newer types. Giant Prague is vigorous and forgiving, tolerating heavier soil better than most. It takes slightly longer to mature.
Brilliant produces notably smooth, round roots with a clean white flesh. The flavour is milder and slightly nuttier than Monarch. It has strong disease resistance, particularly to celery leaf spot. Brilliant is a good choice if you want a less intensely flavoured root for mash and gratins.
Mars is a compact variety that matures slightly earlier than others. The roots are smaller but very dense and well-flavoured. Mars is useful for smaller gardens or raised beds where space is limited. It also performs well in containers, though a deep pot of at least 30cm is essential.
Variety comparison
| Variety | Root size | Skin smoothness | Flavour strength | Disease resistance | Best for |
|---|---|---|---|---|---|
| Monarch | Large | Good | Strong | Good | All-round reliability, storage |
| Prinz | Medium-large | Excellent | Medium-strong | Very good | Beginners, northern gardens |
| Giant Prague | Large | Rough | Strong | Moderate | Heritage growing, heavy soil |
| Brilliant | Medium | Excellent | Mild-medium | Very good | Mash, gratins, smooth peeling |
| Mars | Small-medium | Good | Strong | Good | Small spaces, containers, earlier harvest |
Gardener’s tip: Monarch and Prinz are the two safest choices for UK growers. If you have room, grow both and compare the results. Seed packets cost under two pounds and contain enough for a full season.
How to sow celeriac indoors
Celeriac must be started indoors. The growing season is far too long for direct outdoor sowing in the UK. Seeds need gentle heat to germinate and the seedlings grow very slowly for the first few weeks. Starting early gives the roots enough time to reach a worthwhile size before autumn.
When to sow
Sow from late January to early March. February is the ideal month for most UK growers. This gives a growing season of roughly 7-8 months before October harvest. Sowing later than mid-March risks undersized roots.
Sowing method
Celeriac seeds are tiny and need light to germinate. This is the single most important thing to know. Do not cover the seeds with compost. Buried seeds will not sprout.
- Fill small pots or module trays with fine seed compost
- Water the compost thoroughly and let it drain
- Scatter 2-3 seeds on the surface of each pot or module
- Press the seeds gently onto the compost surface using a flat piece of card
- Do not cover with compost or vermiculite
- Place in a heated propagator at 15-18C
- Cover with a clear lid to retain humidity while allowing light through
- Keep in a bright spot, ideally on a windowsill or under grow lights
Germination takes 14-21 days and is often uneven. Some seeds may take longer. Do not give up on a tray too early. Keep the compost moist but not waterlogged during this period. A fine mist spray is better than watering from above, which can wash the tiny seeds off the surface.
For detailed guidance on indoor seed starting, including equipment and temperature control, see our guide to sowing seeds indoors.
Early seedling care
Celeriac seedlings grow frustratingly slowly for the first 4-6 weeks. This is completely normal. The tiny plants barely seem to change from week to week. Resist the urge to over-water or over-feed at this stage.
When seedlings have two true leaves, thin to the strongest plant per module or pot. If growing in pots, prick out individual seedlings into 7cm pots of multipurpose compost. Handle the seedlings by the leaves, never the stem.
Keep seedlings at 15-18C in good light. Growth accelerates from April onwards as light levels increase. Begin hardening off in early May by placing plants outside during the day and bringing them in at night. Do this for 7-10 days before transplanting.
Transplanting celeriac outdoors
Celeriac is not frost hardy. Transplant outdoors after the last frost, typically in late May or early June. In sheltered southern areas, late May is usually safe. In northern England and Scotland, wait until the first or second week of June.
Site and soil preparation
Celeriac needs rich, moisture-retentive soil in a sunny or lightly shaded position. It is a hungry, thirsty crop that struggles in thin, dry ground.
- Dig in plenty of well-rotted compost or composted manure several weeks before planting
- The soil should be moisture-retentive but not waterlogged
- A slightly acidic to neutral pH of 6.0-7.0 is ideal
- Avoid exposed, windy sites that dry out the soil surface quickly
Celeriac grows well in raised beds filled with rich compost, though the bed must be deep enough (at least 30cm) and watering becomes even more critical.
Planting method
- Space plants 30cm apart in rows 40cm apart
- Dig a planting hole slightly larger than the root ball
- Plant at the same depth as the seedling was growing in its pot
- Do not bury the crown, as this encourages side shoots and reduces root quality
- Water thoroughly after planting
- Apply a mulch of compost or well-rotted straw around each plant
Plants look small and vulnerable at this stage. Growth is slow for the first few weeks after transplanting. The roots begin to swell visibly from midsummer onwards.
Caring for celeriac through the growing season
Celeriac is not difficult to maintain once planted, but it does need consistent attention to two things above all else: water and leaf management.
Watering
This is where most people go wrong with celeriac. Any period of drought produces woody, fibrous, hollow roots. The damage is irreversible. A root that dries out in July will still be woody when you harvest it in November, no matter how much water you apply afterwards.
Water deeply and regularly throughout the growing season. In dry spells, soak the soil around each plant thoroughly twice a week at minimum. A drip irrigation system or leaky hose laid along the row is ideal, as it delivers water steadily without wetting the foliage.
Mulching is essential. Apply a 5-8cm layer of well-rotted compost, straw, or grass clippings around the plants in June. This retains soil moisture, suppresses weeds, and keeps the soil cool. Top up the mulch through summer as it breaks down.
Feeding
Celeriac is a moderately heavy feeder. Apply a balanced liquid feed (a seaweed-based fertiliser works well) every two weeks from June to September. Avoid high-nitrogen feeds after midsummer, which push excessive leaf growth at the expense of the root.
If you prepared the soil well with compost before planting, additional feeding may not be necessary in fertile gardens. Sandy or thin soils benefit more from regular feeding.
Removing outer leaves and side shoots
From July onwards, begin removing the oldest outer leaves from each plant. These lower leaves are often yellowing or lying on the ground. Removing them allows light and air to reach the developing root and reduces the risk of disease.
At the same time, check for side shoots growing from the base of the main root. These small secondary roots divert energy from the main bulb. Snap or cut them off cleanly as soon as you spot them. Inspect every 2-3 weeks through summer and into autumn.
By late summer, each plant should have a crown of upright leaves growing from the top of a swelling root. The root sits partially above the soil surface. This is normal for celeriac.
Earthing up
Some growers earth up around the swelling root with soil or compost to blanch it and improve the flavour. This is optional. It does produce a slightly milder, more tender outer layer, but it also provides hiding places for slugs. On balance, most modern varieties produce good results without earthing up.
Pests and diseases affecting celeriac
Celeriac shares its pest and disease profile with celery. The most serious problem in UK gardens is celery leaf spot, also known as septoria leaf spot.
Celery leaf spot
This fungal disease causes small brown spots with tiny black dots (fruiting bodies) on the leaves. Spots merge as the disease progresses, eventually killing entire leaves. It spreads rapidly in wet weather and through water splash.
Prevention and control:
- Remove and destroy affected leaves immediately
- Do not compost diseased foliage
- Avoid overhead watering, which splashes spores between plants
- Space plants at 30cm to allow good air circulation
- Some varieties (Brilliant, Prinz) have improved resistance
- As a last resort, copper-based fungicides approved for organic use can slow the spread
The RHS provides detailed guidance on celery leaf spot identification and management.
Slugs and snails
Young transplants are vulnerable to slug damage in the first few weeks after planting. Slugs can destroy a newly planted row overnight. Protect plants with slug pellets (ferric phosphate), copper tape around raised beds, or beer traps. Once the plants are established and growing strongly, slug damage becomes less of an issue.
Carrot fly
Celeriac is in the same botanical family as carrots and parsley. Carrot fly occasionally attacks celeriac, though it is not as common a problem as with carrots themselves. If carrot fly is a known issue in your garden, erect a fine mesh barrier at least 60cm high around the celeriac bed. Companion planting with onions or garlic can help mask the scent that attracts the fly.
Bolting
Celeriac can bolt (run to seed) if exposed to prolonged cold temperatures below 10C after transplanting. This is most likely in cold springs or if plants are put out too early. Wait until after the last frost and harden off properly to minimise the risk.
Month-by-month celeriac growing calendar
This calendar covers the full season from sowing to winter storage. Adjust timings by two weeks later for northern England and Scotland.
| Month | Task |
|---|---|
| January (late) | First sowings indoors in a heated propagator at 15-18C. Sow on compost surface, do not cover |
| February | Main sowing window. Prick out early seedlings into individual 7cm pots. Keep at 15-18C |
| March | Final sowing deadline. Continue pricking out. Begin feeding seedlings with dilute liquid fertiliser |
| April | Pot on strongest plants into 9cm pots if roots fill the smaller containers. Growth accelerates |
| May | Harden off plants from early May. Transplant outdoors after last frost (late May in the south) |
| June | Transplant in northern areas. Water regularly. Apply 5-8cm mulch around plants. Begin liquid feeding |
| July | Begin removing oldest outer leaves. Check for and remove side shoots from root base |
| August | Continue leaf and side shoot removal. Water deeply twice weekly in dry spells. Maintain mulch |
| September | Roots swelling visibly. Reduce feeding. Continue watering. Remove any diseased foliage |
| October | First harvests after the initial frost. Apply straw mulch around remaining plants for winter protection |
| November | Continue harvesting as needed. Roots improve in flavour through cold weather |
| December-March | Harvest from the ground as required. Replace straw mulch if it breaks down or blows away |
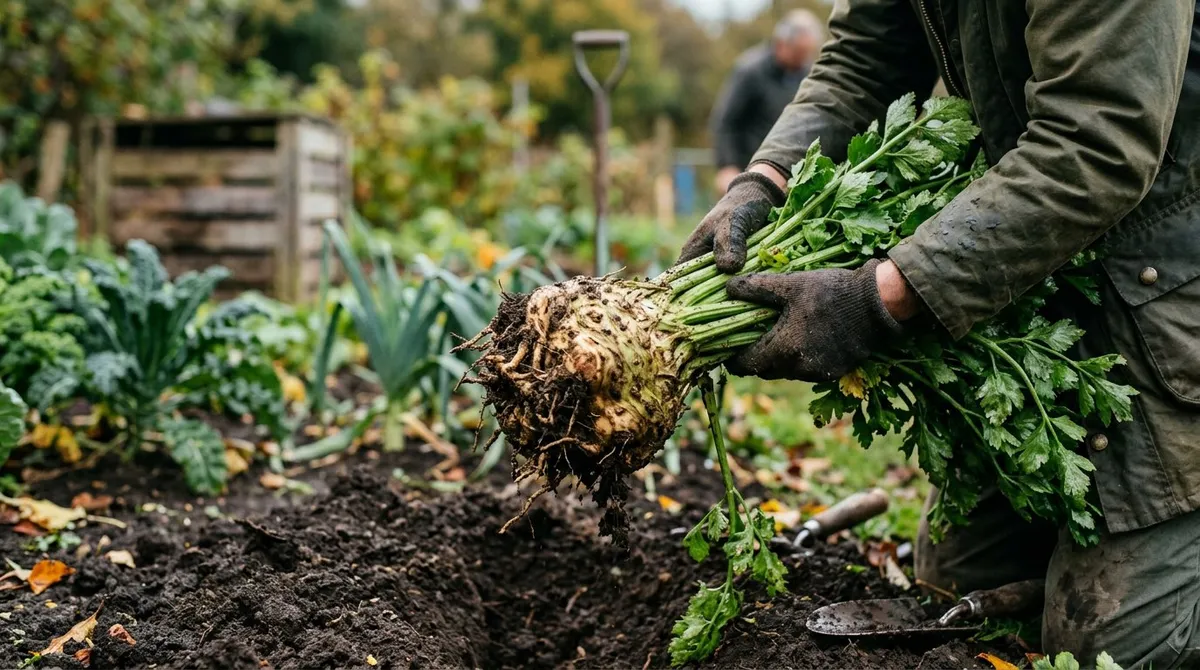
Harvesting celeriac
Celeriac is ready to harvest from October onwards, once roots have reached 10-15cm across. There is no rush to lift everything at once. The roots store perfectly well in the ground through the entire winter.
When to start
The flavour of celeriac improves after the first frost. Cold temperatures convert starches in the root to sugars, giving a sweeter, more complex taste. Wait until you have had at least one or two frosty nights before your first harvest if possible.
Roots harvested in October are perfectly usable, but those lifted in December or January often have noticeably better flavour.
How to harvest
- Cut away the outer leaves close to the crown
- Push a garden fork into the soil 15cm from the root
- Lever the root upward gently
- Lift the root and shake off loose soil
- Trim the roots and remaining leaf stems
The roots are large and knobbly, typically weighing 500g-1.5kg each. Do not be put off by the rough exterior. Once peeled, the dense white flesh inside is the reward.
Leaving roots in the ground
The simplest and best storage method for celeriac is to leave it in the ground and harvest as needed. Apply a thick layer of straw mulch (10-15cm) around and over the remaining plants in October. This insulates the roots against hard frost.
In most of England and Wales, this method works reliably from October through to March. In very cold areas or during harsh winters, the straw may not provide enough protection against sustained frost below minus 10C. In these conditions, lift the remaining roots in December and store indoors.
How to store celeriac after lifting
If you prefer to lift roots rather than leave them in the ground, or if you need to clear the bed, celeriac stores well for several months.
Sand storage
- Trim leaves to 3cm above the crown
- Brush off loose soil but do not wash
- Layer roots in boxes of damp sand so they do not touch
- Store in a cool, dark, frost-free place at 1-4C
- Check monthly and remove any roots showing softness or mould
Roots stored in sand keep for 2-3 months. A garage, unheated shed, or cellar at the right temperature works well.
Freezing
Peel and dice the root into 2cm cubes. Blanch in boiling water for 3 minutes, cool rapidly in iced water, drain, and freeze in portions. Frozen celeriac keeps for 6 months and works well in soups, stews, and mash. The texture softens on thawing, so freezing is best for cooked dishes.
Cooking and using celeriac
Celeriac is remarkably versatile in the kitchen. Celeriac remoulade (grated raw with mustard mayonnaise) is the classic French preparation and shows the crisp, nutty raw flavour. Celeriac mash (boiled and mashed with butter and cream) is richer and more interesting than standard potato mash. Roasted celeriac develops deep, caramelised flavour. It also works well in gratins, soups, and as a low-carbohydrate chip alternative when sliced thin and baked.
Five common mistakes when growing celeriac
These are the errors that cause most failures with celeriac in UK gardens. Avoid all five and your chances of success increase dramatically.
1. Covering the seeds
This is the most frequent cause of failed germination. Celeriac seeds must have light to germinate. Sow them on the surface of the compost and press gently. Do not cover with compost, vermiculite, or anything else. A clear propagator lid keeps humidity high while allowing light through.
2. Sowing too late
Celeriac has one of the longest growing seasons of any UK vegetable. Seeds sown after mid-March rarely produce worthwhile roots. The plants run out of growing time. Aim for a February sowing to give the crop 7-8 months of growth before the October harvest begins.
3. Letting the soil dry out
Drought is the enemy of good celeriac. Even a few days of dry soil during the main growing season (June to September) causes irreversible damage to the developing root. The tissue becomes fibrous, woody, and develops hollow pockets in the centre. Consistent watering and thick mulch are non-negotiable. Set a reminder if you tend to forget watering.
4. Neglecting side shoot removal
Side shoots and small secondary roots growing from the base of the main bulb divert energy and produce a misshapen, smaller root. Check every 2-3 weeks from July onwards and snap off any side shoots. Also remove the lowest yellowing leaves to improve air circulation and direct the plant’s energy into the main root.
5. Harvesting too early
Impatience costs flavour. Celeriac roots harvested before the first frost taste starchier and less sweet than those left in the ground into November or December. The cold weather triggers a starch-to-sugar conversion that dramatically improves the eating quality. Unless you need to clear the bed, leave the roots in the ground under straw mulch and harvest through the winter months.
Growing celeriac in raised beds and containers
Celeriac is not the first choice for containers, but it will grow in a sufficiently large pot. Raised beds are a better option and solve many of the drainage and soil quality issues that affect celeriac in open ground.
Raised beds
A raised bed at least 30cm deep, filled with a rich compost-based mix, provides ideal conditions. The soil warms up faster in spring, drainage is better controlled, and you can ensure the moisture-retentive growing medium that celeriac demands.
Space plants 30cm apart in all directions. Water and mulch exactly as for open-ground growing. Raised beds dry out faster than ground-level soil, so extra vigilance with watering is needed. Check our guide to starting a vegetable garden for soil mix and setup advice.
Containers
Use a pot at least 30cm deep and 30cm wide per plant. Fill with a 50:50 mix of multipurpose compost and loam-based compost (John Innes No. 3). The loam-based compost retains moisture better than peat-free multipurpose alone.
Container-grown celeriac needs daily watering in warm weather and liquid feeding every week from June onwards. The results are typically smaller roots than ground-grown plants, but the flavour is just as good. Mars is the best variety for containers due to its compact habit.
Why we recommend Monarch for UK celeriac growing: After 30 seasons of trialling celeriac varieties, Monarch consistently produces the largest, smoothest roots with the fewest side shoots to remove. In a comparison across five varieties grown on the same plot, Monarch delivered an average root weight of 780g at harvest against 540g for the next best variety, with noticeably less time spent on side shoot removal through the summer. Its resistance to bolting in cool springs makes it particularly dependable in northern UK gardens.
Companion planting with celeriac
Celeriac grows well alongside several common garden crops. The strong celery scent of the foliage can help deter some pests from neighbouring plants.
Good companions include leeks, onions, garlic, brassicas (cabbage, broccoli, kale), and bush beans. Leeks and onions are particularly good partners, as they share similar soil and watering requirements and the combined scents confuse carrot fly.
Avoid planting celeriac near carrots, parsley, or other umbellifers (the carrot family). They share pests and diseases, and grouping them together increases the risk of carrot fly infestation and celery leaf spot spread.
In a crop rotation, celeriac fits into the same group as carrots, parsnips, and celery. Follow celeriac with legumes (peas and beans) or brassicas the following year. Do not grow celeriac in the same spot more than once every four years. Check our vegetable planting calendar for rotation planning.
Now you’ve mastered celeriac, read our guide on growing carrots in the UK for another rewarding root vegetable with similar soil preparation requirements.
Frequently asked questions
When should I sow celeriac in the UK?
Sow indoors from late January to early March. Celeriac needs a very long growing season of 6-8 months, so early sowing is essential. Use a heated propagator set to 15-18C and sow on the compost surface. Do not cover the seeds, as they require light to germinate. Germination takes 14-21 days and is often patchy, so sow more than you need.
Why do celeriac seeds need light to germinate?
Celeriac is a light-dependent germinator. The seeds contain a photoreceptor that triggers germination only when exposed to light. Covering them with compost blocks this signal and prevents sprouting. Press seeds gently onto the surface of moist compost and keep them uncovered. A clear propagator lid retains humidity while letting light through.
Can I sow celeriac directly outdoors?
No, direct outdoor sowing does not work in the UK. The growing season is too short for roots to develop fully. Celeriac needs 6-8 months to mature, and seeds germinate poorly in cold outdoor soil. Always start indoors with gentle heat from late January onwards. The seedlings grow very slowly at first and need protection until late May.
Why is my celeriac woody and hollow inside?
Woody roots are caused by drought stress. Celeriac needs constant moisture throughout its growing season. Even a few days without water during summer causes the root tissue to become fibrous and develop hollow pockets. Mulch around plants with compost or straw and water deeply twice a week in dry periods. Consistency matters more than volume.
When is celeriac ready to harvest?
Harvest celeriac from October onwards, once roots reach 10-15cm across. The flavour actually improves after the first autumn frost, which converts starches to sugars. Leave roots in the ground through winter and lift as needed, protected with a thick straw mulch. The harvest window runs from October right through to March in most UK regions.
How do I store celeriac after harvesting?
The best storage method is leaving roots in the ground under straw mulch. For lifted roots, trim the leaves to 3cm above the crown, brush off loose soil, and store in boxes of damp sand at 1-4C. A cool garage or frost-free shed works well. Stored roots keep for 2-3 months. Alternatively, peel, dice, and blanch before freezing for up to 6 months.
What diseases affect celeriac in the UK?
Celery leaf spot is the most common disease. It causes brown spots with tiny black dots on the leaves and spreads rapidly in wet weather. Remove affected leaves immediately and destroy them. Avoid overhead watering and space plants at 30cm for good air circulation. Slugs attack young transplants, so use protection at planting time. Carrot fly occasionally targets celeriac, prevented with fine mesh barriers 60cm high.
Lawrie has been gardening in the West Midlands for over 30 years. He grows his own veg using no-dig methods, keeps a wildlife-friendly garden, and writes practical advice based on real UK growing conditions.