Key takeaways
- EPDM and butyl liners last 30 to 50 years and stay flexible below freezing; PVC lasts only 15 to 20 years
- Liner length = pond length + (2 x max depth) + 60cm; use the same sum for the width
- Dig a marginal shelf 23cm deep and 30cm wide, plus a central zone at least 45 to 60cm deep for fish
- Always lay underlay: pond fleece, old carpet or 5cm of soft sand stops most puncture failures
- Budget roughly £8 to £15 per square metre for underlay plus EPDM together
- Let a filled pond stand 3 to 7 days to dechlorinate before adding any plants or fish
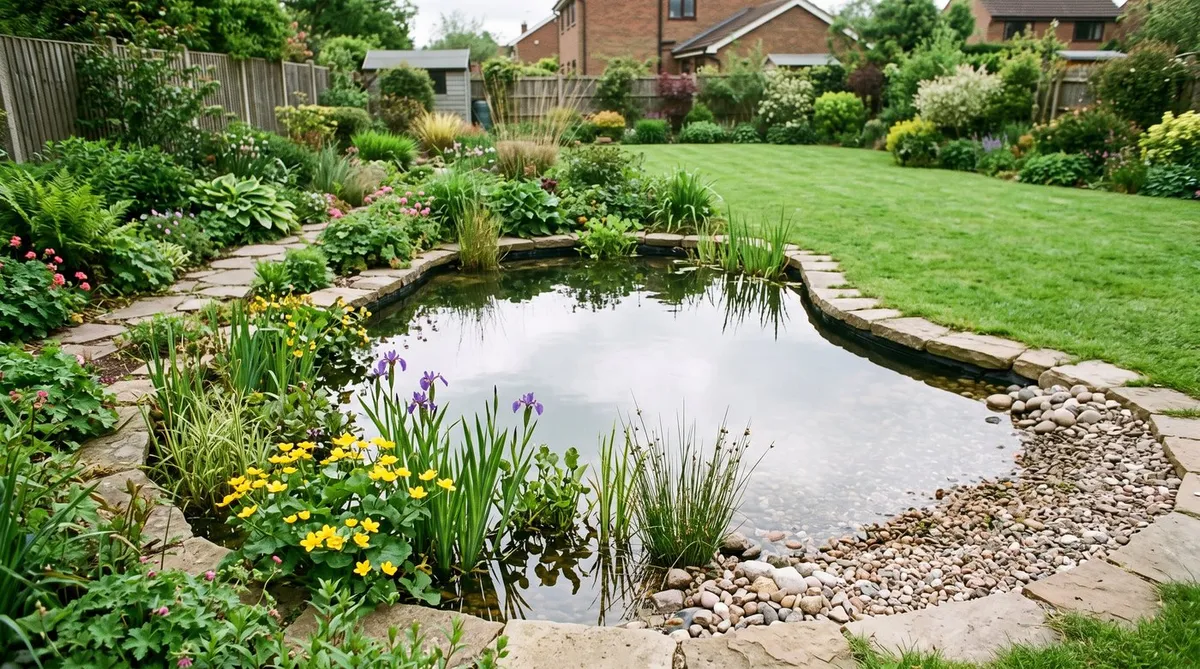
Learning to install a pond liner is the difference between a pond that holds water for decades and one that leaks by its second summer. A flexible pond liner in EPDM rubber or butyl moulds to any shape you dig, which is why it beats a rigid preformed shell in most home gardens. Get three things right and the rest is straightforward: the size of the liner, the underlay beneath it, and a dead-level rim. This guide walks through every stage, from marking the shape to hiding the edge, drawing on four ponds lined on heavy Staffordshire clay since 2016. It covers the size formula, the dig profile, wildlife access, and exactly how long to wait before adding fish.
Which pond liner lasts longest: EPDM, butyl, PVC or preformed
EPDM rubber is the best flexible pond liner for most UK gardens. It stays supple in frost, moulds into tight corners, and lasts three to five decades. Butyl performs almost identically but costs more per square metre. PVC is the budget option, cheaper up front but stiffer and shorter-lived, cracking in cold once it ages.
The table ranks the common choices by real-world performance in a garden pond. Lifespan and cold flexibility matter most, because a liner that stiffens in a hard UK winter is a liner that splits.
| Liner type | Lifespan | Cost per sq m | Flexibility in cold | Best for | Ranking |
|---|---|---|---|---|---|
| EPDM rubber | 30-50 years | £6-10 | Excellent, supple below -20C | Most garden and wildlife ponds | 1st, gold standard |
| Butyl rubber | 30-50 years | £9-14 | Excellent | Formal and premium ponds | 2nd |
| Box-welded EPDM | 30-50 years | £10-16 | Excellent | Large or square formal ponds | 3rd |
| PVC | 15-20 years | £3-6 | Poor, stiffens and cracks | Budget or short-term ponds | 4th |
| Rigid preformed | 10-25 years | £40-200 per unit | Rigid, no flex | Tiny ponds under 1m across | 5th |
How to work out what size pond liner you need
The liner size formula is simple and it is the step people get wrong most often. Buy too small a liner and there is no way to stretch it: the whole job stops. Measure your deepest point, not the rim, then apply the formula to both dimensions.
Liner length = maximum pond length + (2 x maximum depth) + about 60cm overlap. Liner width = maximum pond width + (2 x maximum depth) + about 60cm overlap.
The 60cm is 30cm of spare liner on each side, which you trim and bury later. Work an example. For a pond 3m long, 2m wide and 0.6m deep:
- Length = 3 + (2 x 0.6) + 0.6 = 4.8m
- Width = 2 + (2 x 0.6) + 0.6 = 3.8m
So you order a liner 4.8m by 3.8m, which is about 18 square metres. Order the same size of underlay. Always round up to the next standard liner size rather than down, because the offcut costs pennies and a shortfall costs the entire liner.
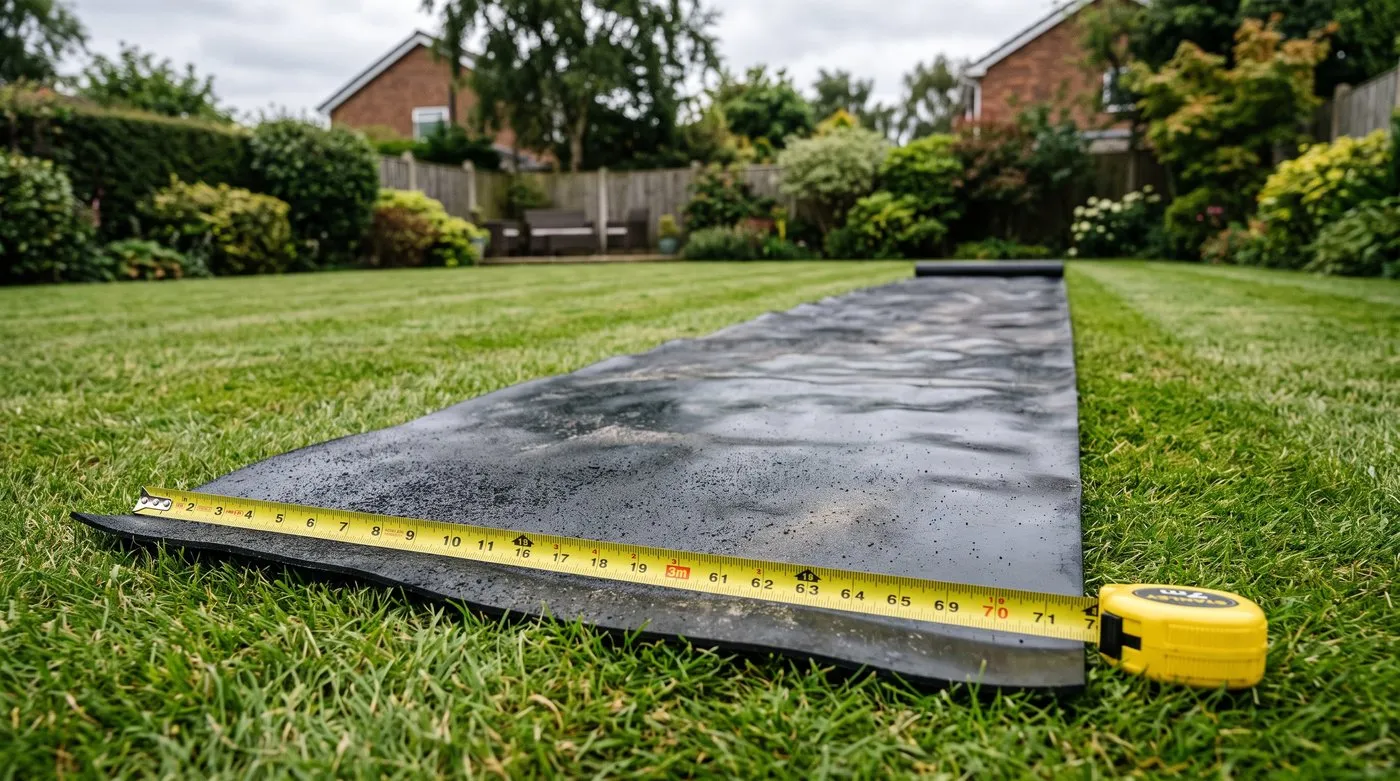 Measuring an EPDM sheet against the size formula before it goes in the hole. The deepest point, not the rim, drives the sum.
Marking out and digging the pond profile
Start by laying a hosepipe or rope on the grass to trace the pond outline. Walk indoors and look at it from the house and the main windows. The shape always reads differently from inside, so adjust the curve now, before a single spade goes in.
Dig the profile in three levels. Cut a marginal shelf about 23cm deep and 30cm wide around part of the edge, which holds baskets of marginal plants at the right depth. Then excavate a central zone at least 45 to 60cm deep. That depth keeps water at the bottom above freezing, so fish can sit out a hard winter below the ice. Slope the sides at roughly 20 degrees so the soil holds and wildlife can walk out.
Keep the spoil. Heavy clay-loam subsoil is useful for banking the edge or building a bog garden alongside. For a build aimed squarely at nature, our wildlife pond guide shows how to shape gentler slopes and shallow margins that pull in the most species.
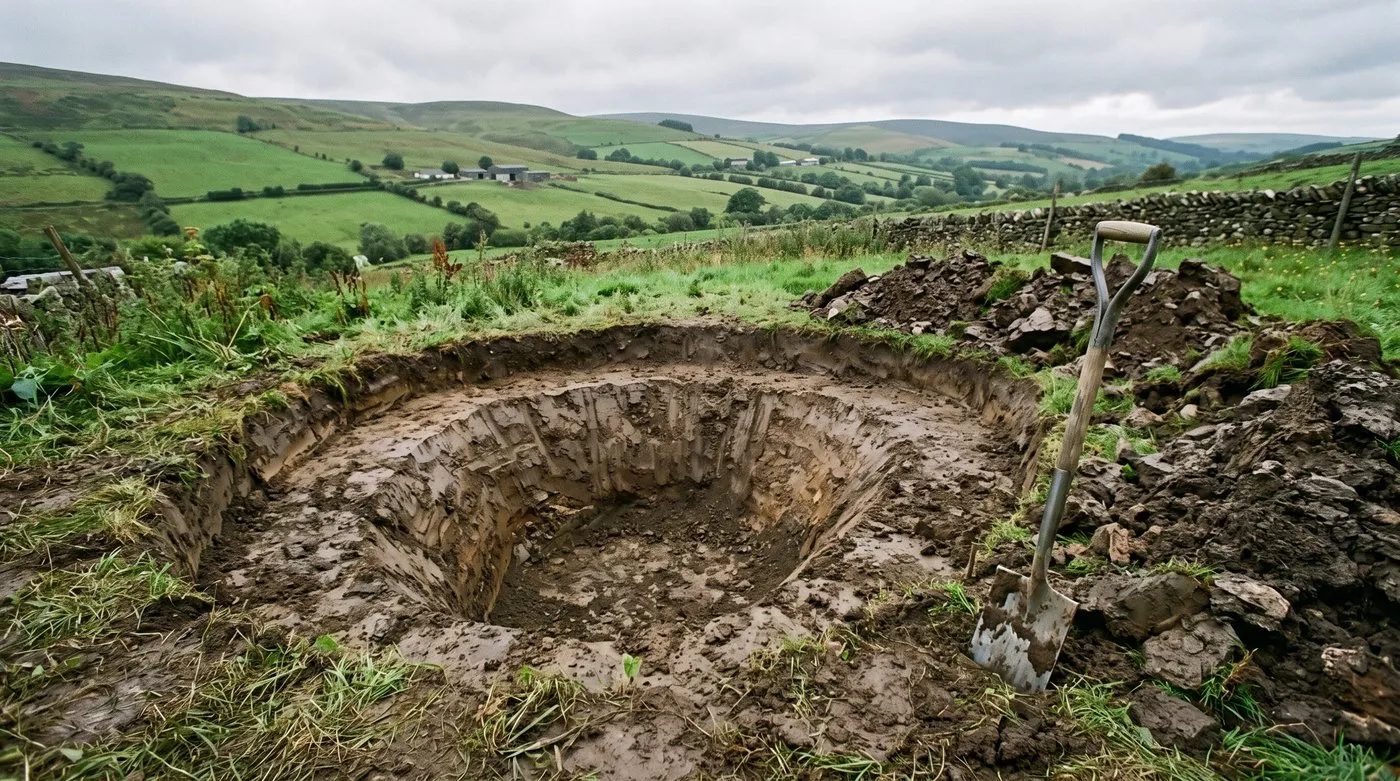 The three-level dig: a shallow marginal shelf, sloping sides, and a deep central zone for fish. Cut the shelf into firm soil so it holds baskets.
Why underlay stops your liner failing
The commonest reason a new pond leaks is not a fault in the liner. It is a sharp stone or root pressing up from below as the water weight bears down. This is the root cause most guides skip, and it is entirely preventable with underlay.
Before the liner goes anywhere near the hole, pick out every flint, brick fragment and cut root by hand. Then lay a protective layer over every surface, including the shelf and the walls of the deep zone. You have three good options:
- Proprietary pond fleece (around 300gsm) is the gold standard, rot-proof and easy to shape.
- Old carpet works well if it is synthetic, not wool, which rots.
- A firmed 5cm layer of soft builders’ sand suits flat bases but slumps on steep sides.
Rest a straight plank across the hole with a spirit level on it and check the rim is dead level before the underlay goes in. A rim even 20mm out shows a strip of bare liner on the low side for the life of the pond.
 Pond fleece pressed into every contour before the liner. This 300gsm layer is what stops a buried flint puncturing the rubber under load.
Installing the pond liner step by step
With the hole dug, cleared and lined with fleece, the liner itself goes in quickly. Choose a warm day: EPDM and butyl relax and drape far more easily at 18 to 22C than they do cold, when the rubber is stiff and fights every fold.
Carry the folded liner to the centre of the hole and open it out loosely across the fleece. Leave an even 30cm overlap on all four sides and let the middle sag into the deep zone. Do not pull it tight. The slack is what lets the liner mould into the shelf and corners without straining at the seams.
Weight the overlapping edges temporarily with a few bricks or smooth stones so the liner cannot slide as you start to fill. Check once more that it sits centred, with roughly equal spare on every side. A quick recount now saves a soaked, half-full restart later.
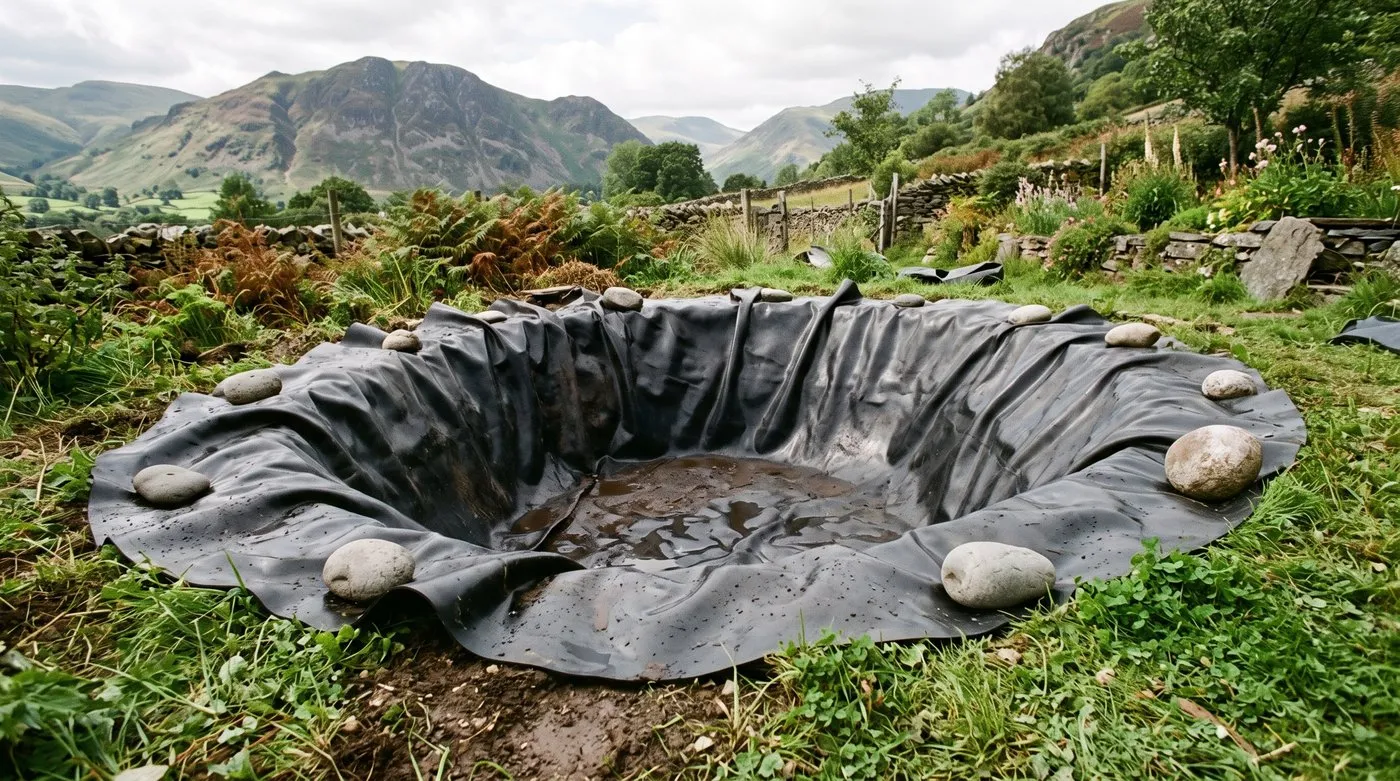 The liner draped loose, not stretched, with a full 30cm spare all round. Slack rubber pleats neatly; taut rubber tears.
Filling slowly and tucking the pleats
Filling is where a rushed job shows. Run a hose in gently, ideally with rainwater from a butt, and let the pond fill over an hour or two rather than blasting it. As the water rises, its weight presses the liner into the contours, and your job is to guide that.
Work round the edge folding the slack into neat, flat pleats as the level climbs. Curved ponds always throw up folds; the trick is to gather each one into a single tidy tuck rather than letting the liner bunch randomly in one place. Press each pleat flat and move on.
By the time the pond is full, the liner should sit snug against fleece and soil with a few clean pleats round the curves. Only now is it settled enough to trim.
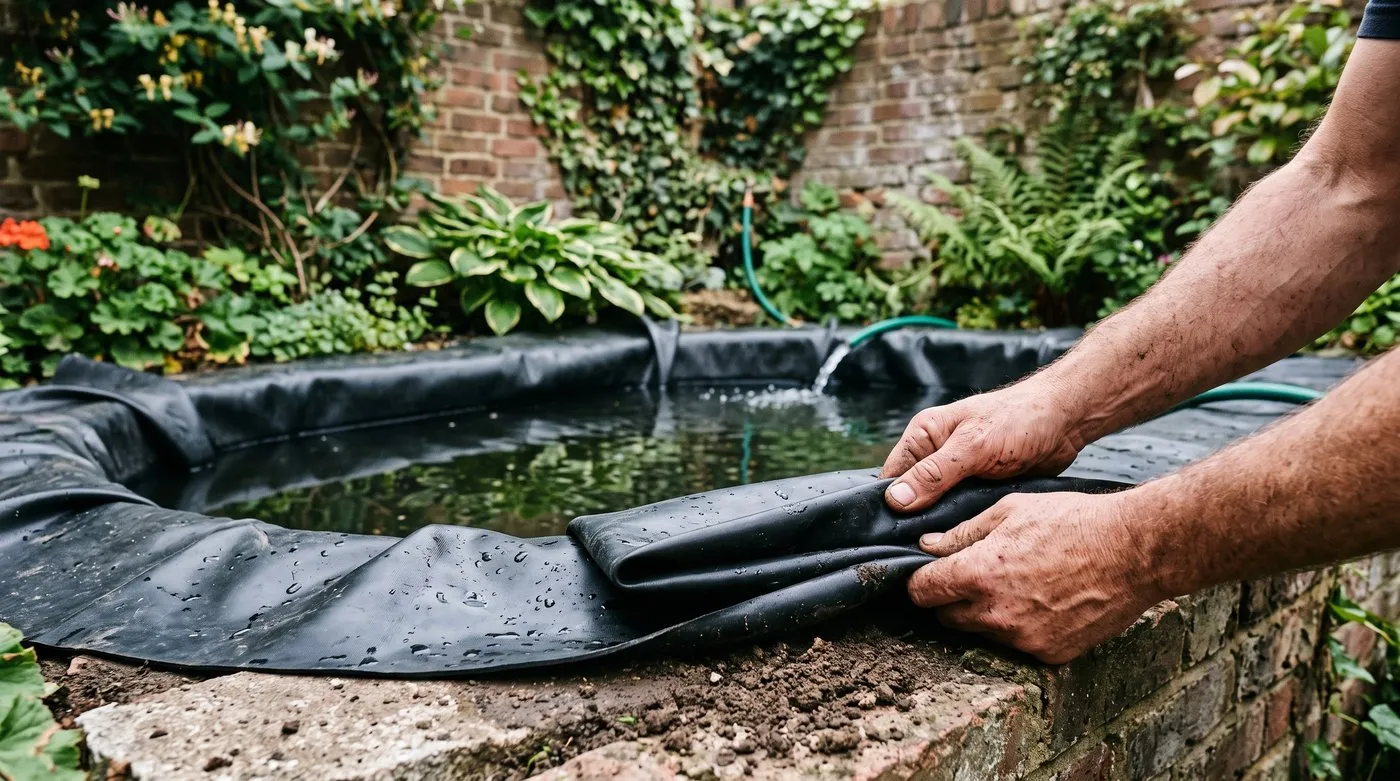 Easing the slack into a single flat pleat as the water rises. Gather each fold into one tidy tuck rather than letting the liner bunch.
Gardener’s tip: Fill from rainwater where you can, and if you must use tap water, do it slowly in stages over a couple of days. Slow filling lets you correct every pleat while the liner still has slack, and it keeps the chlorine dose low enough to gas off faster before you plant up.
Trimming, edging and wildlife access
Once the pond is full and the liner has stopped shifting, trim the excess with sharp scissors, leaving about 30cm all round to secure. Cut conservatively, a little at a time, because you cannot put liner back.
Fold that 30cm margin back and hide it. Bury the edge under turf, topsoil, paving slabs or stones so no black rubber shows above the water. A ring of stones or a paving lip set just proud of the water level holds the level up and screens the liner in one move.
Then build in an exit. On at least one side, run a gently sloping pebble beach or lay a rough plank from the bank down into the water. Hedgehogs fall in and drown in ponds with sheer sides, and this simple ramp lets them, frogs and birds get out. A well-planted margin does the same job; see our roundup of the best pond plants for UK gardens for species that soften and screen the edge.
Warning: Any open water is a drowning risk to young children. A pond only 30cm deep can be fatal to a toddler. If small children use the garden, fence the pond, fit a rigid steel mesh grille just below the surface, or delay building until they are older. Never rely on supervision alone.
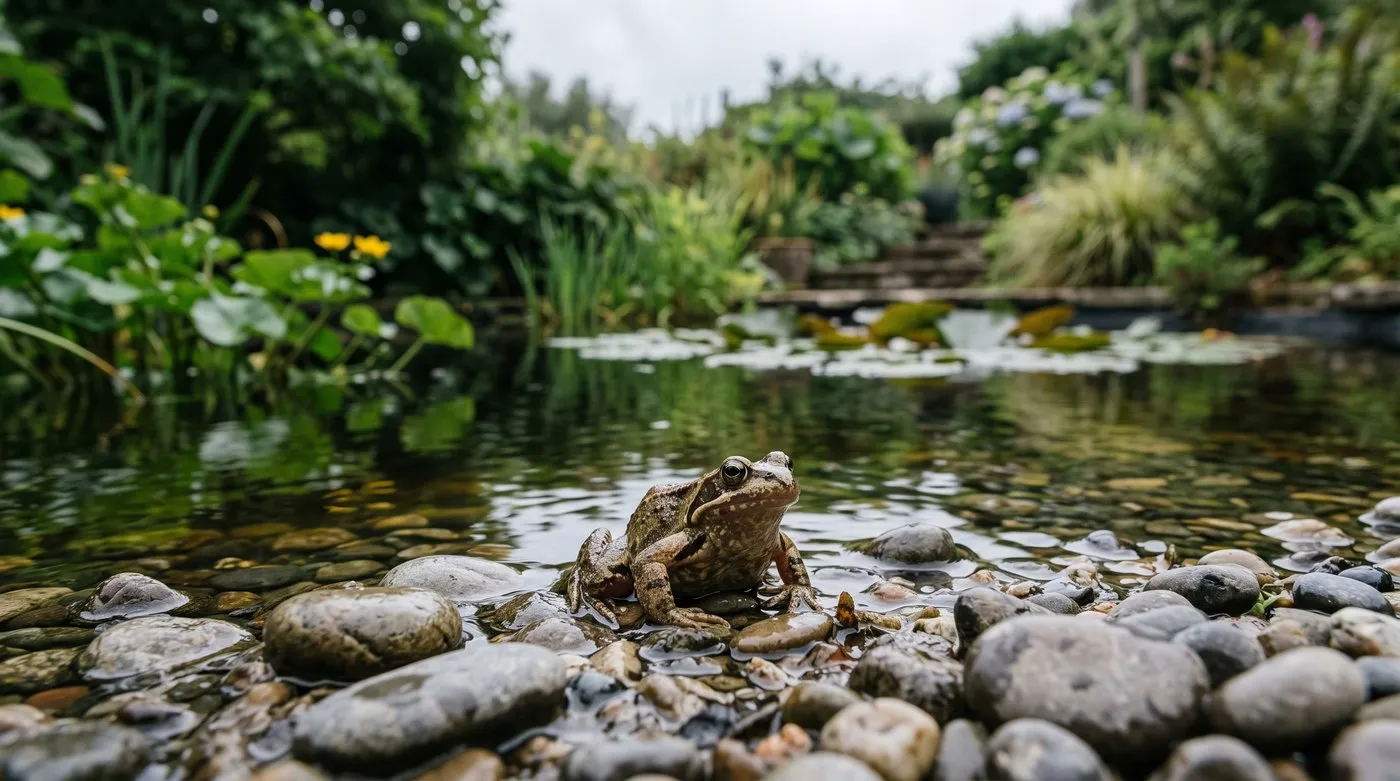 A shallow pebble beach on one side gives frogs, hedgehogs and birds a safe way in and out. It is the single most useful wildlife feature you can add.
Dechlorinating before you add plants and fish
New tap water is not safe for pond life straight away, and this catches out first-time pond owners. UK mains water carries either chlorine or the more stable chloramine, both added to kill bacteria. They kill pond bacteria and fish gills just as readily.
Chlorine off-gasses on its own. A filled pond left to stand 3 to 7 days in warm weather sheds most of its free chlorine into the air. Chloramine does not break down that way, so if your water company uses it, add a dechlorinator dosed to the pond volume before anything goes in.
There is a biological reason to wait beyond the chemistry. A new pond has no filter bacteria to process fish waste. Give it two to four weeks with plants in first, so the water settles and beneficial bacteria colonise the surfaces. Oxygenating plants speed this up: our guide to the best oxygenating pond plants covers the submerged species that get a new pond balanced fastest.
| Contaminant | How to remove it | Time needed | Safe for fish after |
|---|---|---|---|
| Chlorine | Let water stand and off-gas | 3 to 7 days | Once level tests near zero |
| Chloramine | Add a dechlorinator to volume | Immediate on dosing | Same day, after plants settle |
| Fish waste (no filter yet) | Add plants, let bacteria build | 2 to 4 weeks | After the pond clears and steadies |
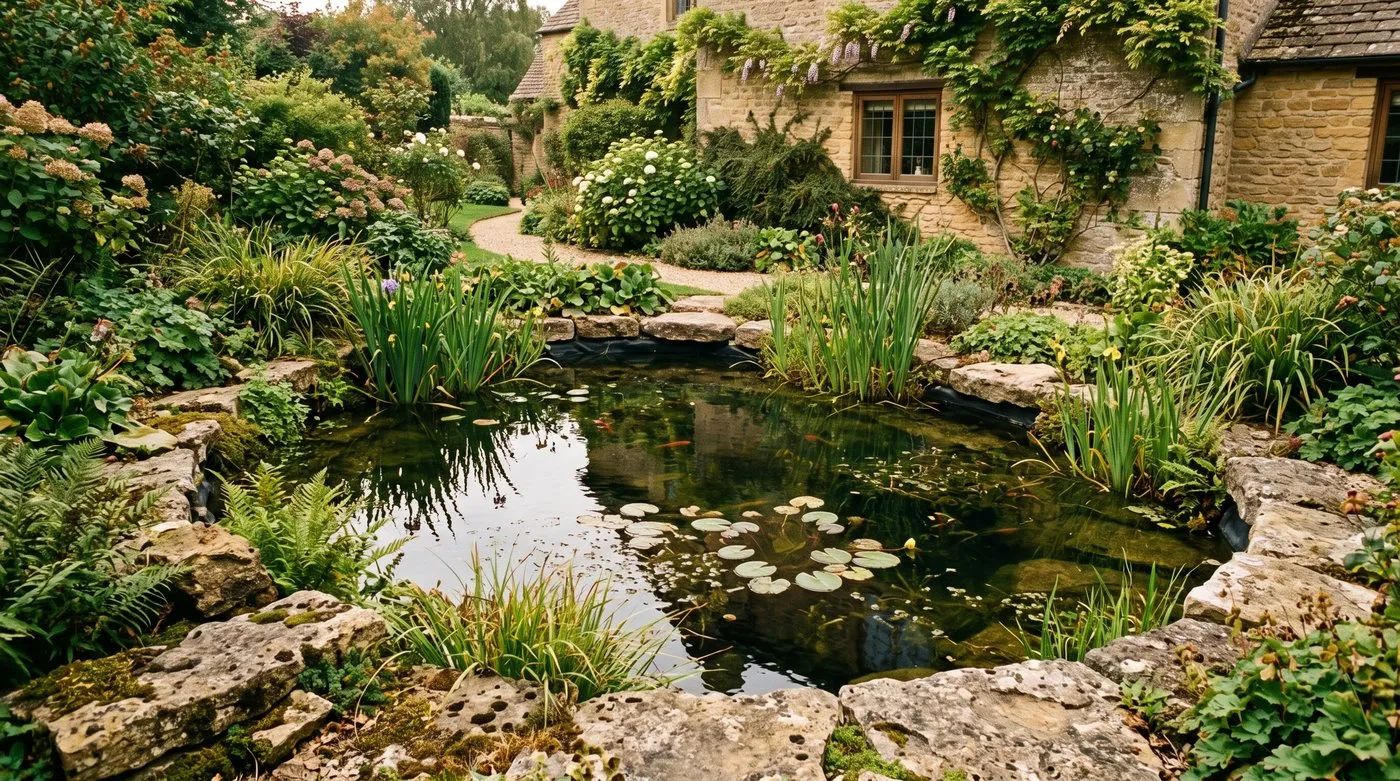 The 2018 relined pond eight years on. EPDM over fleece, edge buried under local stone, still holding level through eight Staffordshire winters.
Best time of year and a project timeline
The best window to install a pond liner in the UK is April to September, when the ground is workable and the rubber drapes warm. Digging waterlogged winter clay is heavy, messy work, and cold liner fights every fold. Aim to finish planting by late summer so margins establish before autumn.
Use this timeline as a running checklist for a weekend build.
| Stage | Task | Rough time |
|---|---|---|
| Day 1 morning | Mark out, check the shape from the house, lift turf | 1 to 2 hours |
| Day 1 | Dig the shelf, slopes and deep zone; barrow out spoil | 3 to 5 hours |
| Day 1 end | Clear sharp stones, level the rim with a plank | 30 minutes |
| Day 2 morning | Lay underlay, drape the liner, weight the edges | 1 hour |
| Day 2 | Fill slowly, tuck the pleats as the level rises | 2 to 3 hours |
| Day 2 end | Trim the liner, bury the edge, build the wildlife beach | 1 to 2 hours |
| Week 1 | Let it stand, dechlorinate, test the water | 3 to 7 days |
| Weeks 2 to 4 | Add oxygenators and marginals, wait, then add fish | 2 to 4 weeks |
Common mistakes when installing a pond liner
- Skipping the underlay. Laying the liner straight onto dug soil invites a stone or root puncture within a year or two. Always fleece, carpet or sand every surface first. This one shortcut causes most home pond leaks.
- Digging the sides too steep. Near-vertical sides slump, will not hold liner against the wall, and trap wildlife. Slope them to about 20 degrees so soil stays put and animals can climb out.
- A rim that is not level. If the rim is out even by 20mm, a strip of black liner shows above the water on the low side forever. Check with a plank and spirit level before the liner goes in, not after.
- Buying too small a liner. Guessing the size instead of using the formula leaves you short with no way to stretch the rubber. Measure the deepest point, apply the formula, and round up.
- No wildlife exit. Sheer-sided ponds drown hedgehogs and frogs. Build a pebble beach or lean a plank into the water on at least one side. It costs nothing and saves lives.
- Adding fish to fresh tap water. Chlorine and chloramine kill fish and filter bacteria. Let the pond stand, dechlorinate, plant it, and wait two to four weeks before any fish. A pond is a living system, not a bucket.
For the wider technical picture on pond construction and safety, the Freshwater Habitats Trust publishes clean-water pond advice, and the RHS pond guidance is a useful cross-check on siting and planting. Both are worth a read before you dig.
Frequently asked questions
What size pond liner do I need?
Add twice your maximum depth plus 60cm to both the length and width. For a pond 3m long, 2m wide and 60cm deep, that means a liner 4.8m by 3.8m. Always measure the deepest point, not the rim, and round the finished figure up rather than down.
What is the best pond liner material?
EPDM rubber is the best all-round pond liner for UK gardens. It lasts 30 to 50 years, stays flexible in frost, and moulds into awkward shapes. Butyl performs similarly but costs more per square metre. PVC is cheaper but lasts only 15 to 20 years and stiffens in cold weather.
Do I need underlay under a pond liner?
Yes, underlay is essential and stops stones and roots puncturing the liner. Use proprietary pond fleece, old carpet, or a 5cm layer of soft sand over every dug surface. Skipping the underlay is the single most common cause of a slow leak in a home pond.
How deep should a garden pond be?
A garden pond needs a central zone at least 45 to 60cm deep. That depth keeps water frost-free at the bottom so fish can overwinter below the ice. Add a marginal shelf around 23cm deep for planting and a gently sloping side so wildlife can climb out.
Can I put fish straight into a new pond?
No, never add fish to fresh tap water. Let the filled pond stand at least a few days so chlorine off-gasses, and use a dechlorinator to neutralise chloramine. Wait two to four weeks so plants and beneficial bacteria establish before any fish go in.
How do I stop the liner showing above the water?
Trim the liner to leave about 30cm all round, then hide the edge under turf, paving, stones or soil. Fold any visible black rubber back behind the edging so it sits below eye level. A low lip of stone holds the water level up and keeps the liner out of sight.
When is the best time to install a pond liner?
Late spring to early autumn is best, when the ground is workable and dry. April to September lets you dig easily and gives plants a full season to establish. Avoid waterlogged winter soil and hard frost, both of which make digging and liner handling much harder.
Our team produces practical UK gardening guidance from source research, contributor records and established horticultural practice. Editorial standards are overseen by Matt W.