New-Build Garden Aftercare: 3-Year UK Plan
A new-build garden looks finished on handover but the soil is wrecked. A 3-year UK aftercare plan: soil repair, watering, mulch, replants, lawn recovery.
Key takeaways
- New-build soil is typically compacted subsoil with a 50 to 150mm topsoil veneer, not real garden soil
- Year 1: water deeply twice weekly through first summer, mulch in autumn, monitor
- Year 2: add 50mm compost mulch to all beds, scarify and feed the lawn, replant failures
- Year 3: first proper prune, soil test, mature-stage design adjustments
- Plant losses of 10 to 25 percent in year 1 are normal for a developer-handover garden
- Skip aftercare and the garden often goes backwards by year 4 as plants fail in compacted soil
- Budget 200 to 400 pounds a year for 3 years on compost, mulch, replacements, and feed
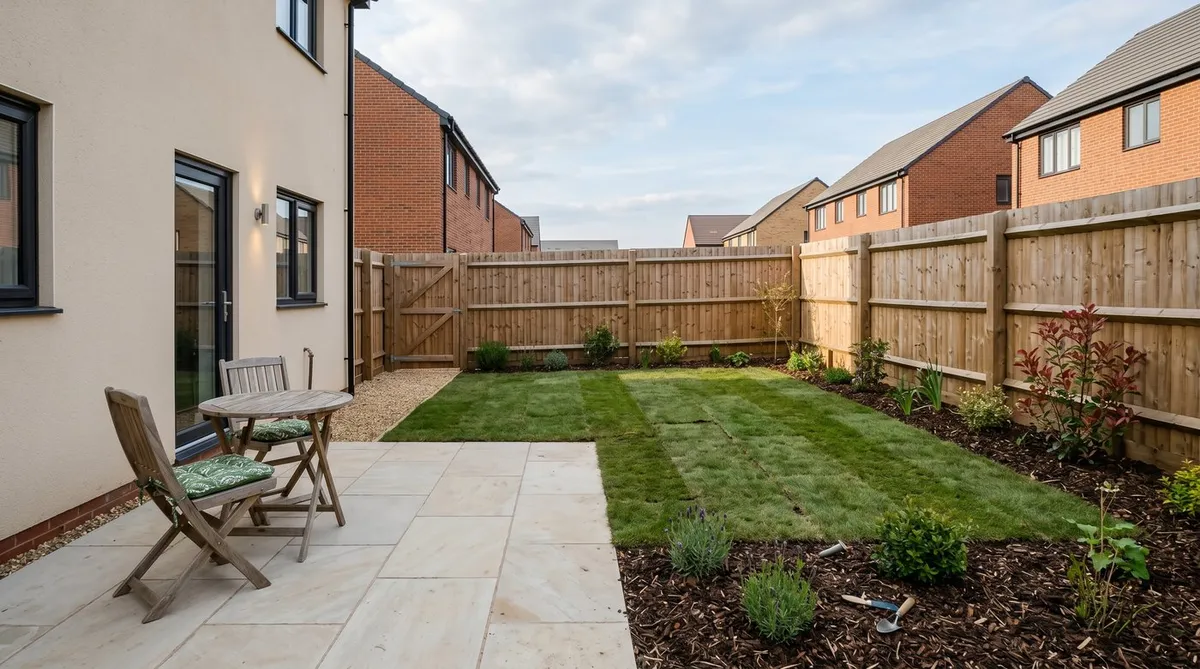
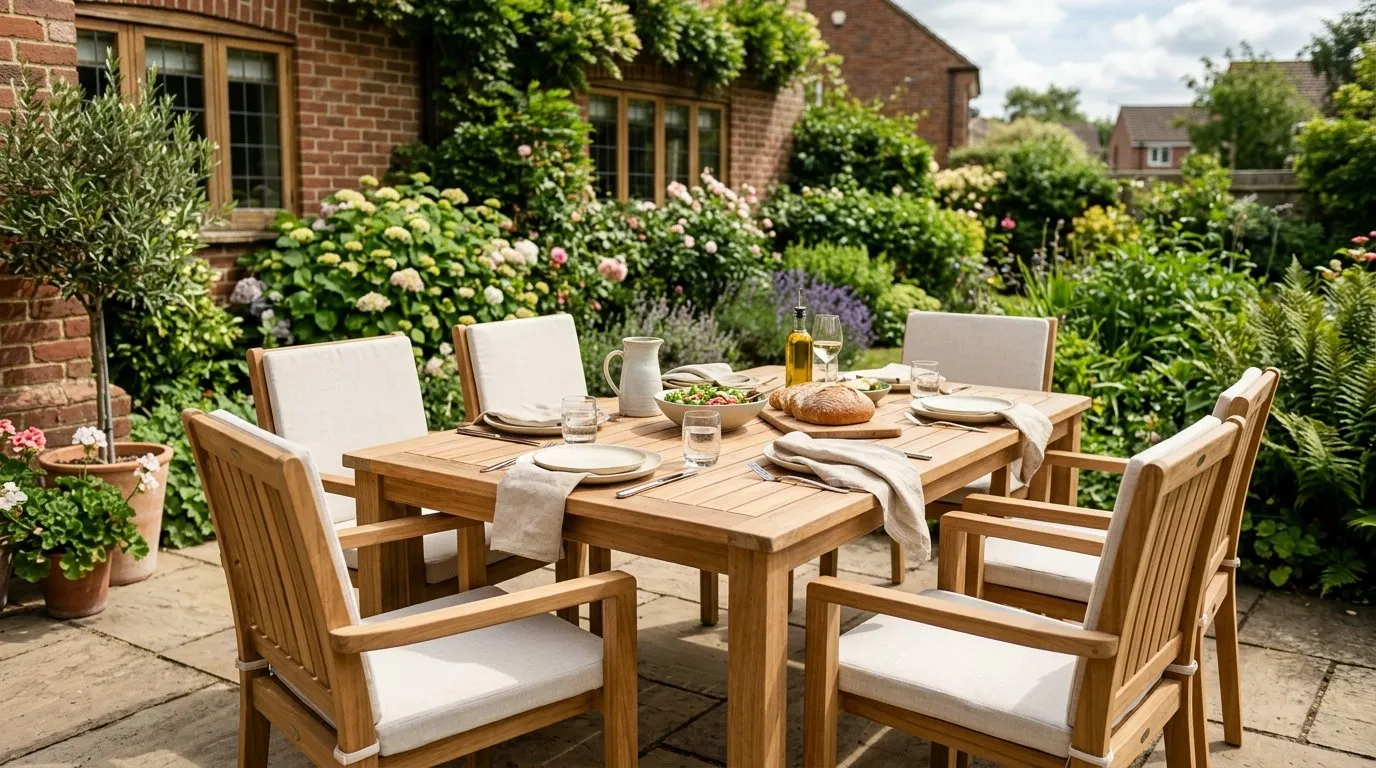
The day the developer hands over a new-build garden, it looks finished. Patio laid. Lawn turfed. Beds planted. A wooden bench, a path, a small specimen tree. The brochure photo is now your reality. What the brochure does not show is the soil underneath. In most UK new-build gardens the topsoil layer is 50 to 150mm deep, spread over compacted subsoil that has been driven over by diggers, dumpers, and skips for 18 months. The plants sit in the topsoil. Their roots hit the compacted layer. They struggle. By year 3 or 4, half of them are gone.
The fix is a 3-year aftercare plan that rebuilds the soil from the top down, gets the plants properly established, and refines the design as you see what works. Heartwood Garden Design’s aftercare brief makes the point bluntly: “Aftercare is just as important as Design and Build.” This guide is the practical version of that statement, written from looking after four new-build UK gardens through their first 3 years.
It is distinct from our new-build garden design UK guide, which covers the initial design and build. This guide picks up where that leaves off, on the morning after handover.
What is actually wrong with a new-build garden
Before fixing anything, understand what you are working with. A typical UK new-build garden in 2026 has been on the site for 18 to 30 months. The sequence is almost always:
- The plot was scraped flat at the start of construction, topsoil stripped and stored in a heap (often badly).
- The house, drives, and access roads were built. The garden area was a working compound: machinery turning, materials stacked, skips parked.
- Near the end of construction, the topsoil was spread back at 50 to 150mm deep over the now-compacted subsoil. Sometimes the topsoil is the original stripped material, sometimes it is bought-in builder’s-grade topsoil.
- The garden contractor laid the patio, turfed the lawn, and planted the beds in a one to three day rush.
The result is a garden that looks complete but has three structural problems:
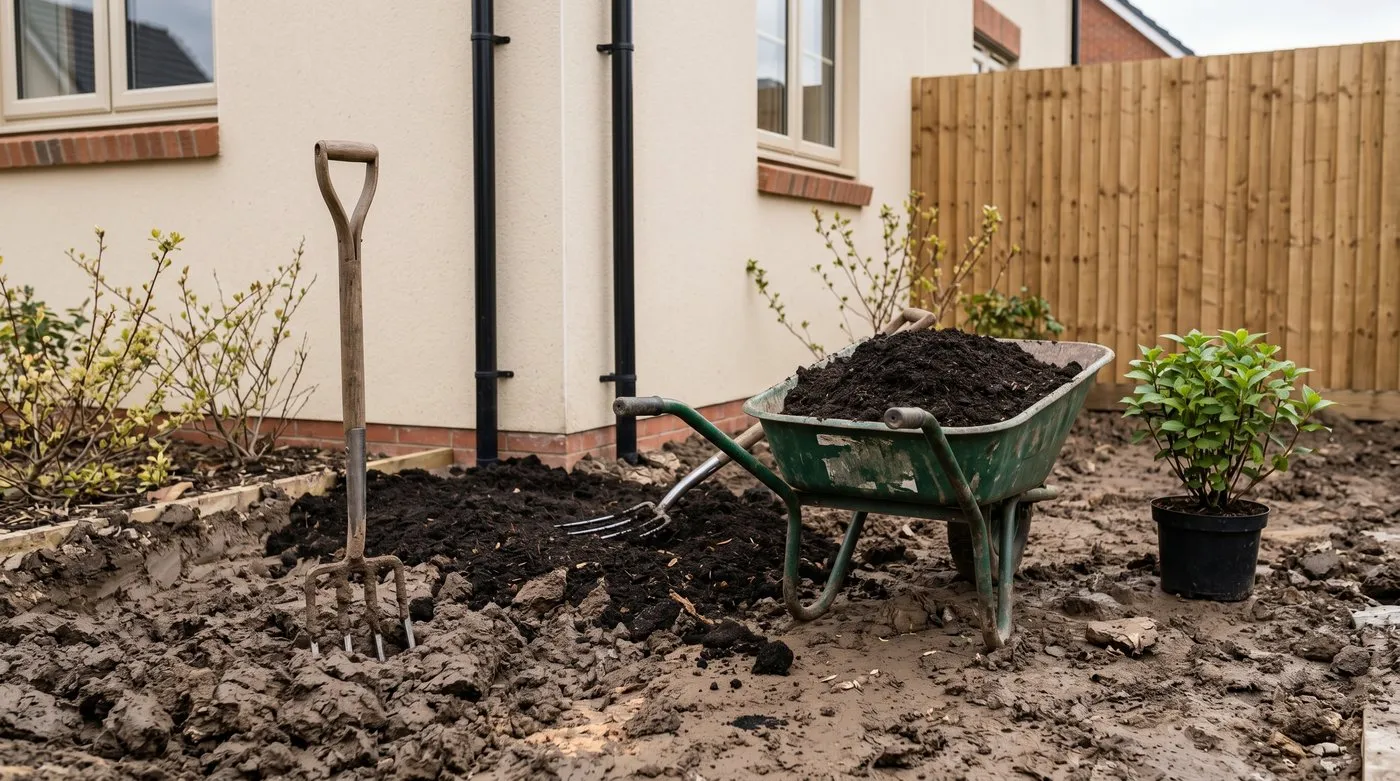
Compacted subsoil. Heavy machinery has compressed the soil under the topsoil to densities of 1.6 to 1.8 g/cm3 (good growing soil is 1.0 to 1.3). Plant roots cannot push through. Water does not drain through. The garden becomes alternately waterlogged and bone-dry.
Builder’s debris. Buried bricks, mortar lumps, plastic offcuts, paint pots, occasionally larger items like buried concrete or rubble. The Royal Horticultural Society has documented debris levels in new-build gardens typically running 5 to 15 percent of soil volume in the top 300mm.
Thin or stressed plants. Developer planting budgets are tight. Plants are typically the cheapest commercially available at the time of planting, sometimes pot-bound, sometimes planted in dry conditions, often into the compacted layer without proper soil preparation. A 10 to 25 percent first-year failure rate is normal.
A garden that comes through 3 years of proper aftercare is a different garden. The soil profile is fixed. The plants that survived are well-rooted. The replacements you chose are better suited. The lawn is uniform. By year 5 most of the original problems have been undone.
Year 1: survival mode
Year 1 is about getting the plants the developer put in through their first summer. Focus on three things only.
Watering
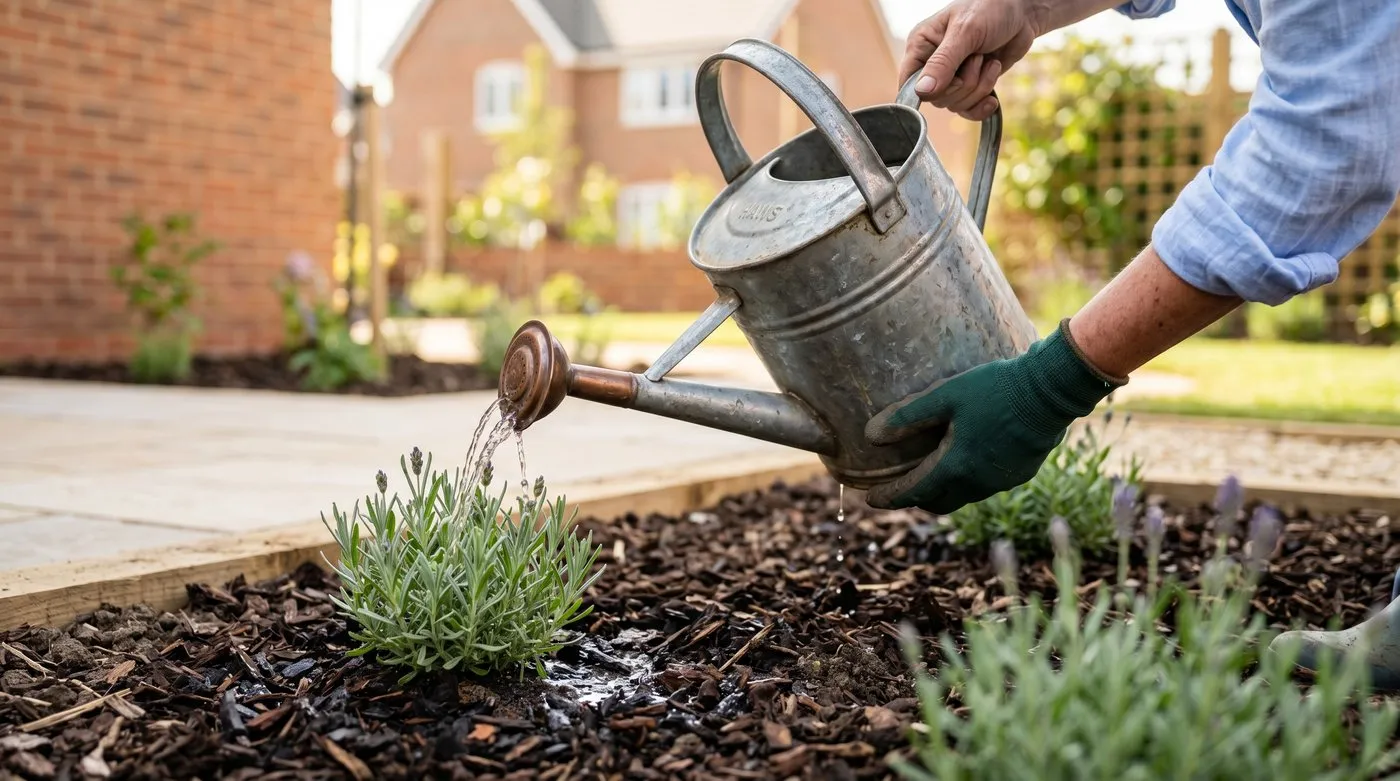
This is the single biggest year 1 task. New plants need deep watering twice a week through their first growing season (April to September). Deep means 5 litres per shrub, 10 litres per tree, applied slowly to soak through. Surface sprinkling helps grass but not shrubs, which need water down at the root ball.
The most reliable schedule for a UK new-build:
- April: watch the weather. If 7 days dry, water all shrubs and the lawn.
- May: water every 5 to 7 days if dry. New trees need 10 litres each.
- June, July, August: water twice a week unless the weather is genuinely wet. Most UK summers are not “genuinely wet” enough.
- September: ease back to once a week. Stop late September.
Our watering garden properly UK guide covers technique, timing of day, and how to check whether the water actually reached the root zone.
Light soil improvement around plants
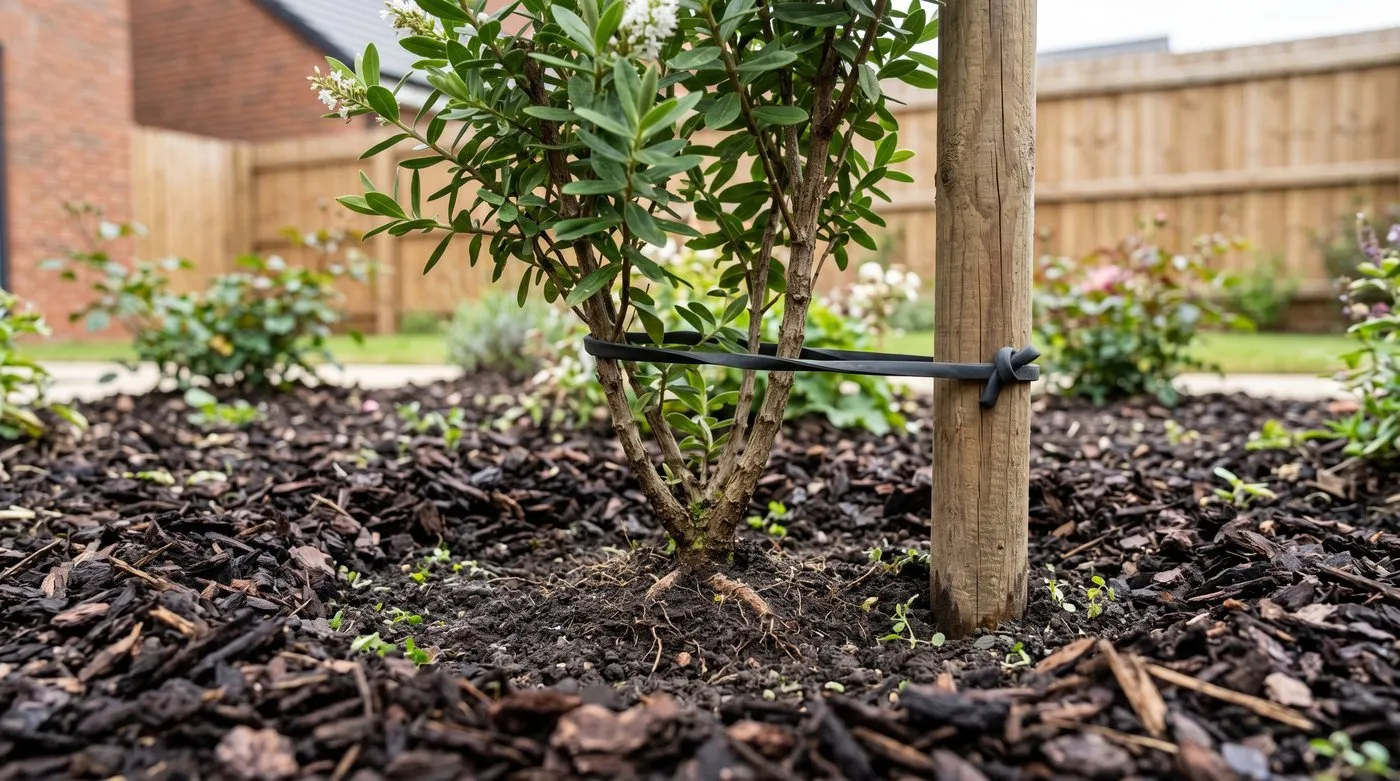
In autumn of year 1, apply 30 to 50mm of well-rotted garden compost around every shrub and tree. Keep the mulch 50mm clear of the stem. This protects the root zone from frost, retains moisture, suppresses weeds, and starts the longer-term soil rebuild.
Do not dig. Disturbing roots in year 1 is one of the most common ways to kill plants that would otherwise have made it.
Monitoring losses
Walk the garden every fortnight in year 1. Note which plants are thriving, which are struggling, which are dying. By autumn you will have a clear picture of the failures. Make a list with the position, the variety, and what you think went wrong (drought stress, root rot, dug up by foxes, plant-quality issue). This list is the basis for year 2 replanting.
Year 1 to year 2 watch points
| Month | Job | Common issue |
|---|---|---|
| Apr-May | Start watering schedule | Plants already drought-stressed from low spring rainfall |
| Jun-Aug | Deep water twice weekly | Wilt in heatwave, hose-ban risk |
| Sep | Note failures, plan replacements | Plant losses now visible |
| Oct-Nov | 30 to 50mm compost mulch around shrubs | Mulch piled against stems causing rot |
| Dec-Feb | Plan year 2 replants and soil-rebuild scope | Buried debris emerging during winter dig-overs |
Year 2: soil structure and replanting
Year 2 is the big rebuild year. The garden has been through one full cycle. Year 1 failures are clear. The lawn has shown its weak spots. Now the proper work starts.
Compost mulch on every bed
Spread 50mm of well-rotted compost over every bed in autumn or early spring. Two cubic metres delivered (typically 60 to 120 pounds for the bag, more for green-waste municipal compost) covers around 40 square metres at 50mm. Apply on top, do not dig in. Worms will move it down through the soil over the next 12 months.
This is the core of the no-dig approach to new-build soil rebuild. Annual top-up mulches gradually build up a deeper rooting layer. After 3 years of 50mm annual mulches you have effectively added 150mm of new topsoil to the garden, without disturbing the existing soil structure.
For broader compost and mulch options on new-build clay, our no-dig heavy clay soil UK guide covers the specifics.
Replanting year 1 failures
Use the failure list from year 1. For each gap, decide:
- Replace with the same variety (if the failure was an isolated plant-quality issue)
- Replace with a different variety (if the original was wrong for the position)
- Leave empty as a planting gap (if the bed was over-planted)
Better plant choices for new-build conditions are typically: tougher than the developer’s choice, more drought-tolerant, better suited to the soil pH and aspect, sourced from a proper nursery rather than a chain garden centre. For specific suggestions matched to your soil type, see our soil-specific plant guides for clay, chalk, sand, and acid gardens.
Plant in autumn (October to November) or early spring (March), not summer. Water in well at planting and follow the year 1 watering rules for the new shrubs.
Lawn rebuild
Most new-build turf shows its weak spots by the end of year 1: dead patches over compacted areas, joint gaps where turves shrank in summer, moss in shaded corners, builder’s debris emerging at the surface.
Year 2 lawn rebuild:
- Scarify in early autumn to remove dead thatch and surface moss.
- Core aerate (hollow tines, 10cm deep) over compacted patches.
- Top-dress with sandy loam and brush in.
- Overseed bare patches with a hard-wearing perennial ryegrass blend.
- Apply an autumn lawn feed (high in potassium).
- Repeat aeration in spring if drainage is still poor.
Our scarify and aerate lawn guide and lay turf UK guide cover the technique. For full annual lawn planning, see the lawn care calendar UK.
Watering in year 2
Once-a-week deep watering through summer is usually enough by year 2. Plants that survived year 1 have established roots. Reduce gradually so plants learn to find water in the deeper soil layers. Continue checking after long dry spells through summer.
Soil improvement on heavy clay
If your new-build sits on heavy clay (common across the West Midlands, much of South-East England, and parts of Scotland), the compacted layer will need physical breaking up over time. The mulch-on-top approach helps but is slow.
For accelerated clay improvement:
- Hand-fork in sharp grit (5 to 10mm horticultural grit) at 20 percent by volume on small bed areas. Avoid the wholesale dig that brings debris up.
- Use a broadfork (or even a regular fork) to gently aerate beds without turning the soil. Push tines in 200mm, rock gently, lift out.
- Add 30 to 50 percent leaf mould to compost mulches. Leaf mould breaks down slowly and builds organic matter at depth.
Our improving clay soil guide covers the slower whole-garden methods. For sandy or chalky new-builds, improving sandy soil and the chalky soil articles apply respectively.
Year 3: maturity work
By year 3 the garden looks transformed compared to handover. The plants are established. The lawn is uniform. The soil has had two compost mulches and is rebuilding.
Year 3 is when the work shifts from rescue to refinement.
First proper prune
Most shrubs are ready for their first structural prune in year 3. The basic categories:
- Spring-flowering shrubs (forsythia, weigela, philadelphus): prune immediately after flowering.
- Summer-flowering shrubs (buddleja, lavatera, hardy fuchsia): hard prune in March.
- Evergreens (box, yew, photinia): light shape in late spring or early autumn.
- Roses: hard prune in February or March.
- Climbers: vary by type, see specific guidance per species.
Year 3 pruning is structural. Aim to set the shape that will carry through years 4 onwards. Remove crossing branches, weak growth, anything growing into a path or door.
First soil test
Year 3 is the right time for a proper soil test. Send a sample to a UK lab (around 20 to 35 pounds) for pH, nutrient levels, and texture analysis. The result tells you whether the compost mulches and any planting choices need adjusting.
Our soil testing and pH adjustment guide covers how to take the sample correctly and how to interpret the results.
Design refinements
By year 3 you can see what works and what does not. The plants that have outgrown their position. The colour combinations that clash. The bed that gets dry-shadow you did not notice in years 1 and 2. The lawn corner where the dog has worn a path.
This is the right time for small design tweaks: moving a shrub that has been planted too close to a path, splitting a perennial that has bulked up, adding a feature plant in a gap that opened up. The garden has matured enough to show its true shape. Bigger structural changes (a new bed, a path realignment, a pond) are usually best in year 3 or later, not year 1 or 2 when the plants are still settling.
Planting technique that matters at every stage
Whether year 1 replants, year 2 fills, or year 3 design refinements, planting technique on a new-build garden matters more than on an established garden because the soil profile is weak. The basics:
- Dig the hole twice the width of the rootball, only as deep as the rootball is tall.
- If the subsoil is compacted, break it up at the bottom of the hole with a fork (do not just dig deeper).
- Mix the excavated soil 50:50 with well-rotted compost.
- Set the plant so the soil mark on the stem matches the surrounding soil level (not higher, not lower).
- Backfill, firm gently with the foot, water in with at least 5 litres.
- Mulch 30 to 50mm around the plant, keep 50mm clear of the stem.
- Stake trees only if needed, on the windward side, with a flexible tie.
For trees, the planting hole should be square not round (encourages roots to push out into surrounding soil rather than circling).
A realistic 3-year budget
Across four new-build gardens, the aftercare costs have averaged:
| Item | Year 1 | Year 2 | Year 3 | 3-year total |
|---|---|---|---|---|
| Compost mulch (delivered) | 60 to 120 pounds | 80 to 150 pounds | 60 to 100 pounds | 200 to 370 pounds |
| Replacement plants | 50 to 150 pounds | 100 to 200 pounds | 30 to 80 pounds | 180 to 430 pounds |
| Lawn feed, seed, top-dress | 20 to 40 pounds | 50 to 100 pounds | 30 to 60 pounds | 100 to 200 pounds |
| Soil test, pH adjuster, grit | - | 10 to 20 pounds | 30 to 60 pounds | 40 to 80 pounds |
| Tools (one-off, year 1) | 60 to 120 pounds | - | - | 60 to 120 pounds |
| Annual total | 190 to 430 | 240 to 470 | 150 to 300 | 580 to 1,200 |
That budget assumes you do the labour yourself. Hiring a contractor for the same work would add 800 to 1,500 pounds in labour across the 3 years. A garden that comes through this 3-year programme is generally worth 5,000 to 15,000 pounds more on resale than an identical neighbour’s garden that was left to fend for itself.
What “done” looks like at year 3
By the end of year 3 the garden should be at the point where annual maintenance settles into a steady pattern:
- 50mm compost mulch on beds each autumn (smaller volume than years 1 to 3)
- Scarify and feed the lawn each autumn
- Watering only in dry summers
- One or two structural prunes per year
- Plant losses below 5 percent per year
- Soil that worms and tilth in the top 100mm, not the compacted layer it started as
That is a garden. From there it gets better year on year for the next decade.
For lower-input long-term planting that complements the soil-improvement work, see our low-maintenance UK garden guide and the water-efficient gardening guide.
Frequently asked questions
The questions below cover the points new-build owners ask most often in the first year after handover.
Lawrie has been gardening in the West Midlands for over 30 years. He grows his own veg using no-dig methods, keeps a wildlife-friendly garden, and writes practical advice based on real UK growing conditions.