Grow Your Own Grain: From Plot to Flour
Grow your own grain in a UK garden. How much wheat one bed yields, how to hand-thresh and winnow, and how to mill grain into flour for real loaves.
Key takeaways
- A 10 square metre bed of wheat yields about 2 to 3kg of grain, enough for roughly four loaves
- Sow a true bread wheat such as Maris Widgeon, not seed sold for animal feed
- Autumn-sown winter wheat outyields spring wheat in most of the UK
- Cut the crop when the ears are golden and a grain splits firm, not milky, between your teeth
- Threshing and winnowing by hand is the slow part; a bucket and a breezy day do the job
- You need a proper grain mill or strong food processor to turn grain into usable flour
Growing your own grain sounds like the ultimate step in self-sufficiency, the moment you bake a loaf entirely from your own garden. It is genuinely possible, and it is one of the most satisfying things you can do on a small plot. It is also a brilliant lesson in why bread is cheap. A single garden bed will not feed you for the year, but it will give you a few real loaves and a new respect for every farmer who grows the stuff. This guide covers the realistic yields, the varieties that bake well, and how to take a patch of wheat all the way to flour by hand.
By the end you will know exactly how much grain one bed produces, the slow craft of threshing and winnowing, and what you need to mill a usable flour at home.
How much grain can you grow in a garden?
Start with the honest numbers, because they change how you think about the whole project. A 10 square metre patch of wheat in a UK garden yields roughly 2 to 3kg of grain, which mills into enough flour for about four loaves. Commercial fields manage far more per square metre, but they have machinery, fertiliser, and decades of breeding behind them.
Scale that down and the picture is clear. One 750g loaf needs about 500g of flour, or roughly 600g of grain. So a single standard raised bed, about 3 square metres, gives you one or two loaves a year. To be self-sufficient in bread, a family needs the best part of a small field, not a vegetable plot.
That is not a reason to skip it. Treat grain as an experiment and a talking point rather than a staple. If you want crops that actually fill the larder, our grow your own vegetables guide and the crop rotation planner are where the real food comes from.
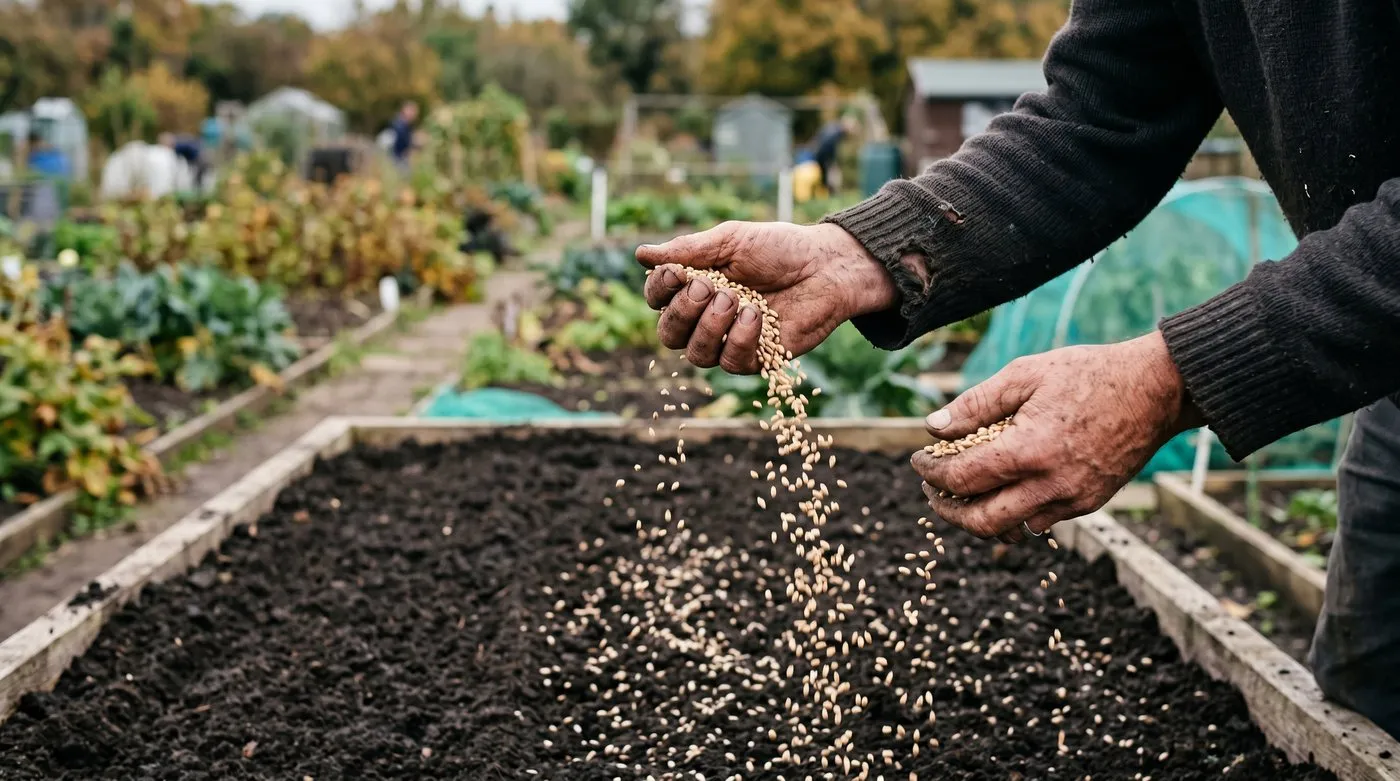 Broadcast wheat seed like grass across a raked bed in October, then rake it in. Winter wheat outyields spring-sown crops in most of the UK.
Choosing the right grain to grow
What you sow decides whether you get a bakeable flour or just animal feed. Grow a true bread wheat such as Maris Widgeon, not the cheap seed sold for livestock or game cover. Bread wheats have the gluten strength to rise; feed wheats and most ornamental grasses do not.
Maris Widgeon is the classic choice for home bakers: a tall heritage variety with good flavour, straw long enough to thresh by hand, and reliable bread-making quality. For something different, einkorn and emmer are ancient wheats that grow well on poor soil and make dense, nutty loaves, though their yield is lower again. Rye is the toughest cereal for cold, wet northern plots and makes excellent dark bread. Quinoa is another seed crop worth a bed; our quinoa growing guide covers it.
Avoid modern dwarf wheats bred for combines. Their short straw is awkward to cut and tie by hand, and seed is hard to buy in garden quantities. Heritage grain suppliers and seed swaps are the usual source.
When and how to harvest
Timing the cut is the skill that decides your crop. Harvest wheat when the whole plant has turned gold and a grain bitten between your teeth is firm and crunchy, not soft and milky. Cut too early and the grain shrivels as it dries; leave it too long and it sheds onto the soil or sprouts in wet weather.
In most of the UK this moment falls in late July or August. Choose a dry spell. Cut the stems low with shears, a sickle, or a serrated knife, gather them into small sheaves a hand-span thick, and tie each with a length of straw or string. Stand the sheaves to dry under cover, in a shed or porch, for one to two weeks until the straw is brittle.
This drying step matters. Damp grain threshes poorly and goes mouldy in storage. Our notes on what to harvest this month help you slot the grain cut around the rest of the late-summer rush.
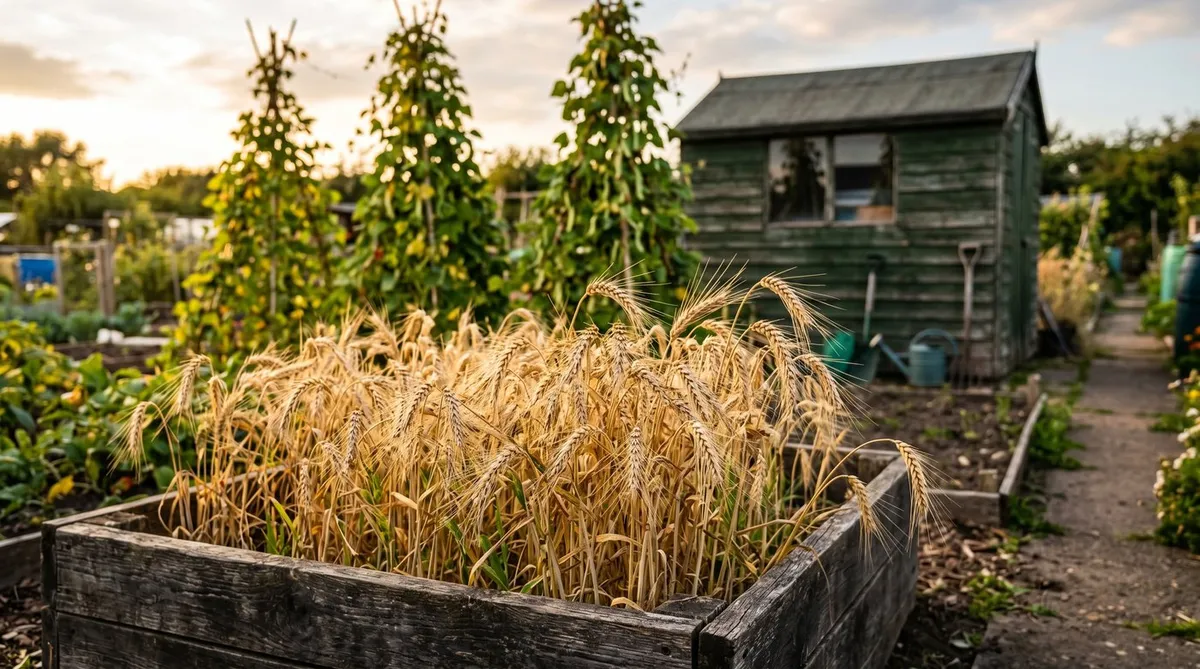
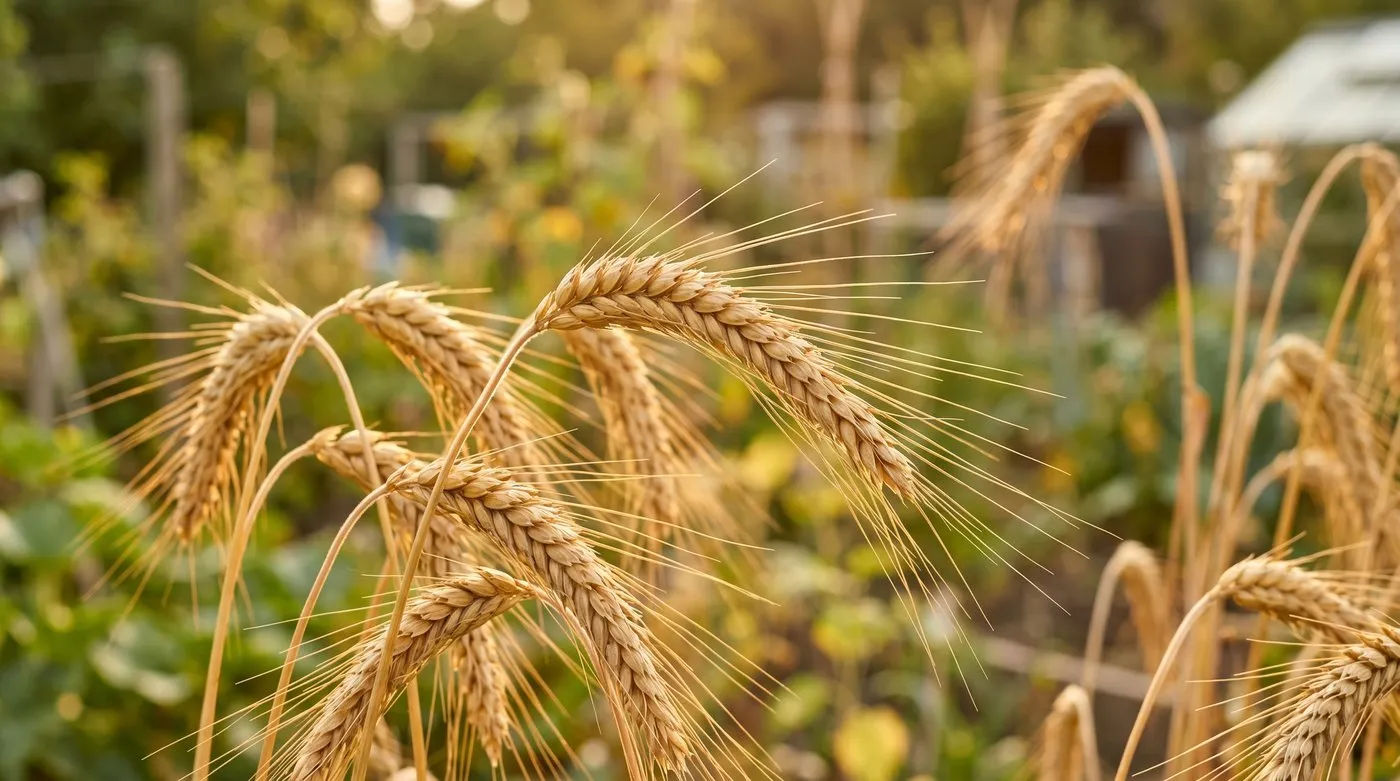 Ripe wheat droops and turns uniformly gold. Bite a grain to test it: firm and crunchy means cut now, soft and milky means wait.
Threshing and winnowing by hand
This is the part the romance leaves out, and the part I enjoyed most. Threshing knocks the grain loose from the ears, and winnowing separates that grain from the light chaff using nothing but a breeze. Both are simple, slow, and oddly meditative.
To thresh a small crop, put the dried sheaves head-down in a large, clean builder’s bucket and stamp or beat them. The grain falls to the bottom while the straw stays whole. For a bigger patch, lay the sheaves on a sheet and flail them with a stout stick. Pick out the straw, and you are left with grain mixed with papery chaff.
To winnow, tip the grain-and-chaff mix slowly from one bucket into another on a breezy day, or in front of a fan. The heavy grain drops straight down; the light chaff blows aside. Repeat two or three times until the grain runs clean. The wartime dig for victory growers did exactly this, and it still works.
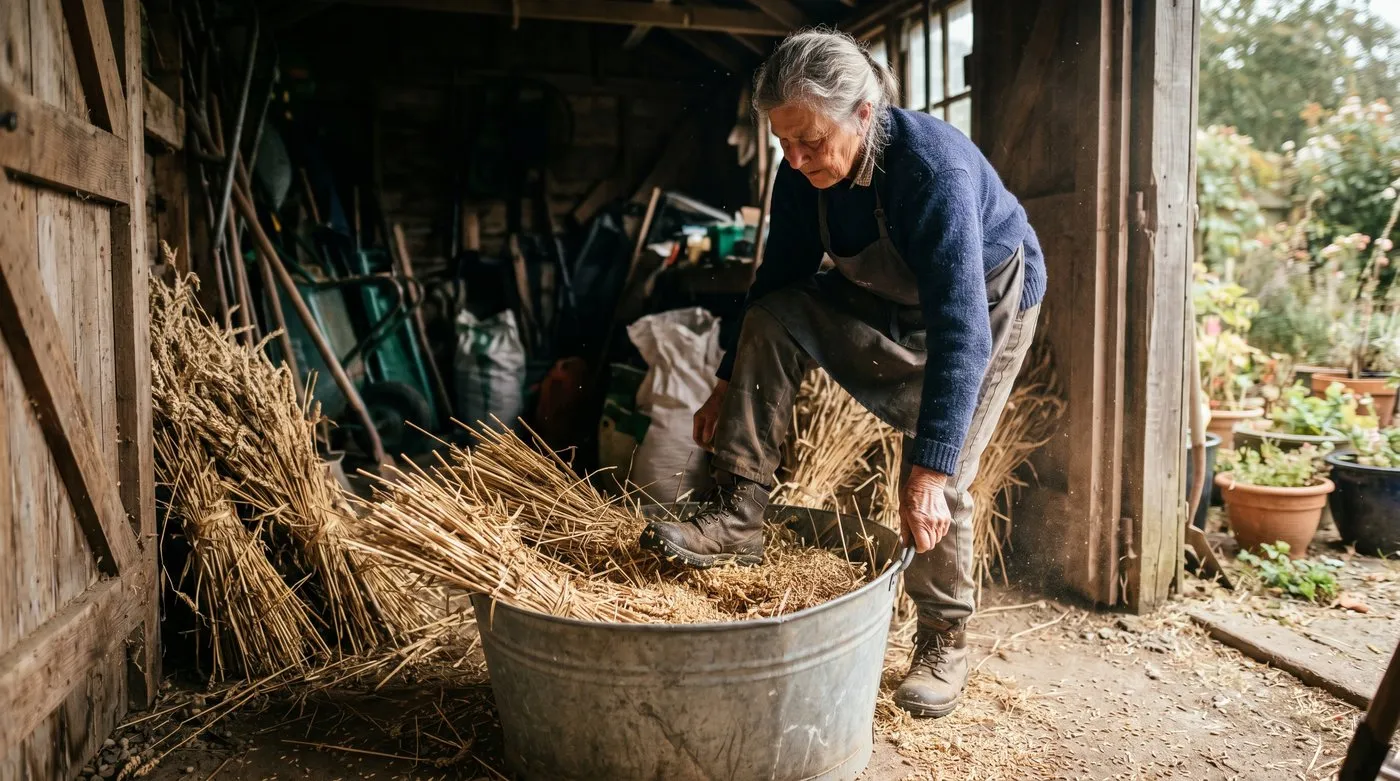 Threshing a small crop by stamping the dried sheaves in a deep bucket. It is slow, dusty and oddly satisfying, and needs no kit beyond a bucket and a breezy day.
Gardener’s tip: Do your threshing and winnowing outside or in a shed, never the kitchen. The dust and chaff get everywhere, and a breezy afternoon in the garden does the winnowing for you for free.
Threshing methods compared
There is more than one way to get grain off the straw at home. This table compares the practical options by how much work they involve and what scale they suit.
| Method | How it works | Best for | Effort | Clean result |
|---|---|---|---|---|
| Bucket stamping | Stamp sheaves in a deep bucket | A single bed | Low | Good |
| Flailing on a sheet | Beat sheaves with a stick | A larger patch | Medium | Good |
| Rubbing by hand | Crush ears between gloved palms | A few sheaves | High | Very clean |
| Fan winnowing | Pour grain past a fan indoors | Any amount, wet days | Low | Excellent |
| Breeze winnowing | Pour grain between buckets outside | Any amount, dry days | Low | Excellent |
Bucket stamping plus breeze winnowing is the combination I keep coming back to. It needs no kit beyond two buckets, handles a whole bed in an afternoon, and the only cost is a dry, breezy day. Hand rubbing gives the cleanest grain but wears out your palms fast on anything more than a few ears.
Why we recommend a hand grain mill: I tried four ways to turn my grain into flour: a kitchen blender, a spice grinder, a food processor, and a proper cast-iron hand mill. The blender simply could not break the grain. The spice grinder did small batches but overheated. The food processor managed a coarse meal. Only the hand mill produced a fine, cool wholemeal flour fast enough to be worth it, grinding my whole 2.3kg in under an hour. If you plan to grow grain more than once, a dedicated mill is the single tool that makes the difference between a novelty and a usable harvest.
Milling grain into flour
Clean grain is not flour yet, and this is where many first attempts stall. You need a dedicated grain mill or a strong machine to grind grain into usable flour; a standard kitchen blender will not manage it.
A cast-iron hand mill clamps to a worktop and grinds grain into wholemeal flour in minutes, with a dial to set how fine. Electric grain mills do the same faster. For occasional small amounts, a powerful food processor or a spice grinder copes, but the flour comes out coarse and warm, so let it cool before baking. Sift the result through a fine sieve if you want to lift out the bigger bran flakes for a lighter loaf.
Store your flour in an airtight jar and use it within a few weeks. Home-milled wholemeal still carries the oily germ, so it goes stale faster than shop flour. Grind little and often rather than milling the whole crop at once.
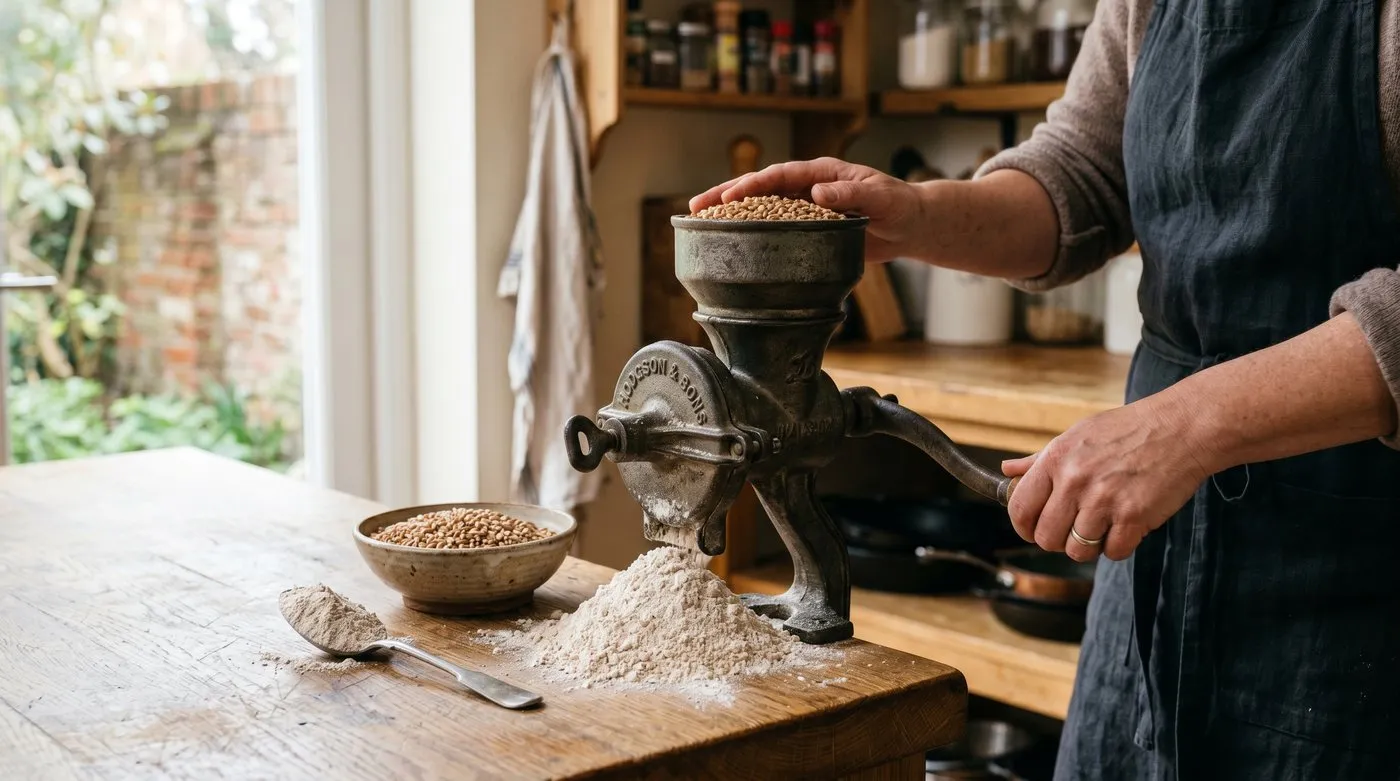 A clamp-on hand mill turns clean grain into fine wholemeal flour in minutes. A kitchen blender simply cannot break the grain open.
Storing grain and using your flour
Whole grain keeps far longer than flour, so store most of your crop unground. Kept dry and cool in a sealed container, clean wheat grain stays good for a year or more; milled flour lasts only weeks. This is why traditional households milled fresh as needed.
Put your winnowed grain in airtight jars or food-grade tubs with a tight lid, somewhere cool and dark. Add a bay leaf or two to deter weevils. Check it after a fortnight for any sign of moisture or movement, which means it went into store too damp.
When you bake, home-grown wholemeal behaves differently from shop bread flour. It drinks more water and rises less, so expect a denser, more flavourful loaf. Mix it half and half with strong white flour for a lighter result while you learn. Growing grain pairs naturally with the wider self-reliant plot, and our allotment for beginners guide covers planning the space to fit a cereal patch in.
Frequently asked questions
Can you grow wheat in a UK garden?
Yes, wheat grows easily in a UK garden bed or allotment. Sow it like grass seed in autumn or spring, and it ripens to golden ears by late summer. The challenge is not growing it but the small yield and the hand work of threshing. A 10 square metre patch gives roughly 2 to 3kg of grain, enough for about four loaves.
How much wheat do you need to grow for a loaf of bread?
One 750g loaf needs roughly 500g of flour, which is about 600g of grain. To grow that you need around 2 to 3 square metres of wheat. A standard 1.2 by 2.4m raised bed therefore yields enough grain for one or two loaves. Self-sufficiency in bread needs a small field, not a garden bed.
How do you thresh wheat by hand?
Beat or stamp the dried ears to knock the grain loose, then winnow it. The simplest home method is to put the cut sheaves in a large bucket and stamp or flail them, then tip the mix between two buckets in a breeze so the light chaff blows away. Let the cut crop dry under cover for a week or two before threshing.
Can you mill your own flour at home?
Yes, but you need the right tool. A dedicated hand or electric grain mill grinds clean grain into flour in minutes. A powerful food processor or spice grinder works for small amounts but gives a coarser, warmer flour. A standard kitchen blender struggles. Sift the result to remove the larger bran if you want a finer loaf.
When do you harvest home-grown wheat?
Harvest wheat when the whole plant has turned golden and the ears droop. Test a grain by biting it: ripe grain is firm and crunchy, not soft or milky. In most of the UK this falls in late July or August. Cut the stems with shears or a sickle, tie into small sheaves, and dry them under cover before threshing.
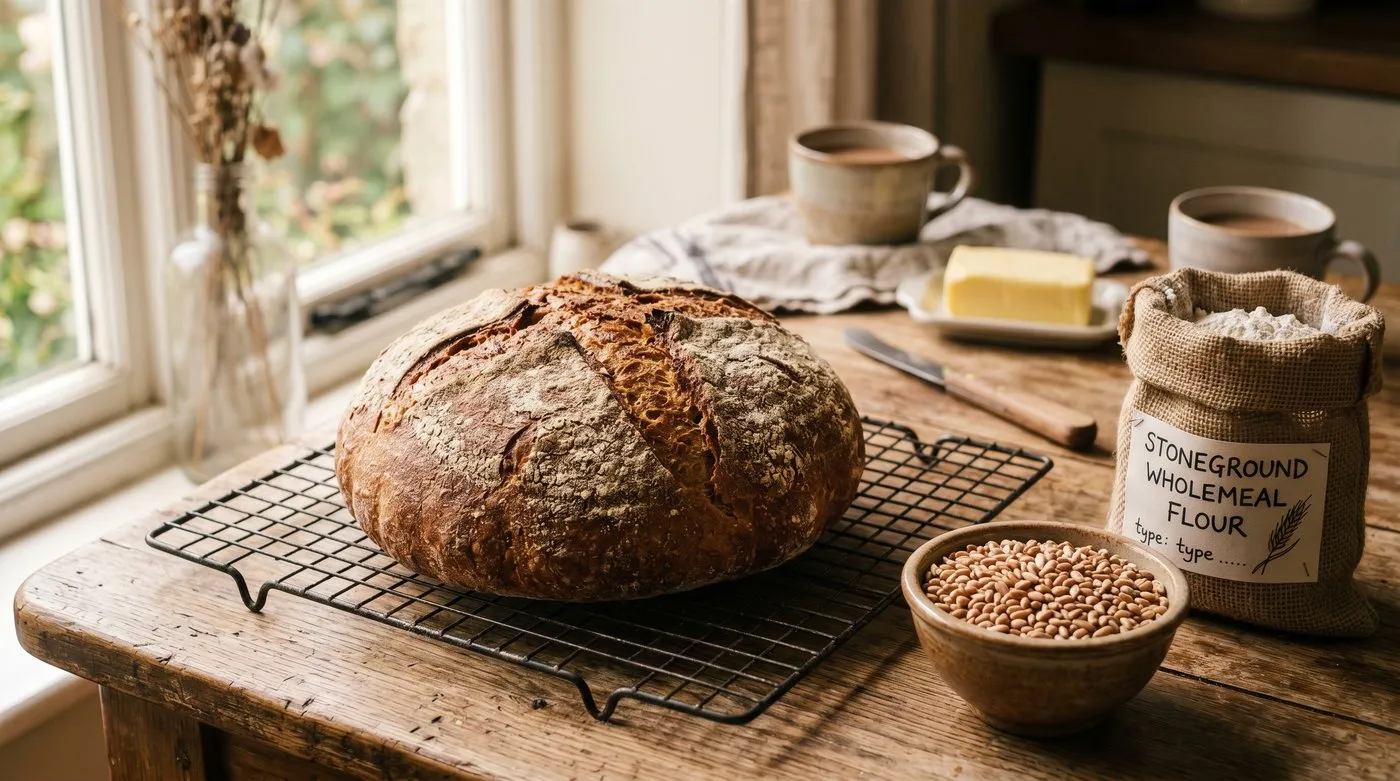 The pay-off: a dense, nutty wholemeal loaf baked from one bed of home-grown grain. Four loaves from 10 square metres, and worth every minute.
The Royal Horticultural Society’s advice on growing cereals is a useful companion read. When you are ready to scale up the wider plot, our how to start an allotment guide and the full set of growing guides will help you plan the space.
Lawrie has been gardening in the West Midlands for over 30 years. He grows his own veg using no-dig methods, keeps a wildlife-friendly garden, and writes practical advice based on real UK growing conditions.