11 Plant Placement Mistakes That Ruin Gardens
The 11 plant placement mistakes that wreck UK borders, from spacing and height to ignoring soil and aspect, with the fix for each and a spacing guide.
Key takeaways
- The single biggest mistake is matching the plant to your wish, not to the sun, soil and moisture you actually have
- Space plants at their mature spread; three shrubs at 60cm beat ten crammed at 20cm
- Layer height back to front: tall at the back, mid-height in the middle, low at the edge
- Repeat plants in odd-numbered drifts of three, five or seven for a calm, designed look
- Keep at least a third of a border evergreen so it does not vanish in winter
- Check a tree or shrub's mature size before planting near walls, drains or foundations
A garden can hold beautiful plants and still look wrong. The reason is almost always placement: the right plants in the wrong spots, too close together, or fighting conditions they were never built for. Plant placement is the difference between a border that thrives and one that limps along losing plants every year.

These are the eleven placement mistakes I see most often in UK gardens, with the fix for each. Get them right and plants grow into healthy, settled communities. Get them wrong and you spend every season propping up, moving and replacing. This guide draws on fifteen years of reworking borders that were not working.
Get placement right before you plant
The fix for nearly every mistake below is a short survey done before a single plant goes in. Spend an hour reading the site and you avoid years of failure.
Work through four steps. First, measure the light: count the hours of direct sun a spot gets in summer, because full sun means six hours or more, partial shade three to six. Second, know your soil: dig a hole, feel whether it is clay, sand or loam, and test the pH. Third, check drainage: fill that hole with water and see if it drains in a few hours or sits overnight. Fourth, note the extremes: frost pockets, wind funnels, dry rain-shadow under walls. Only then choose plants. Our guide to garden design principles for beginners sets out how to turn that survey into a plan.
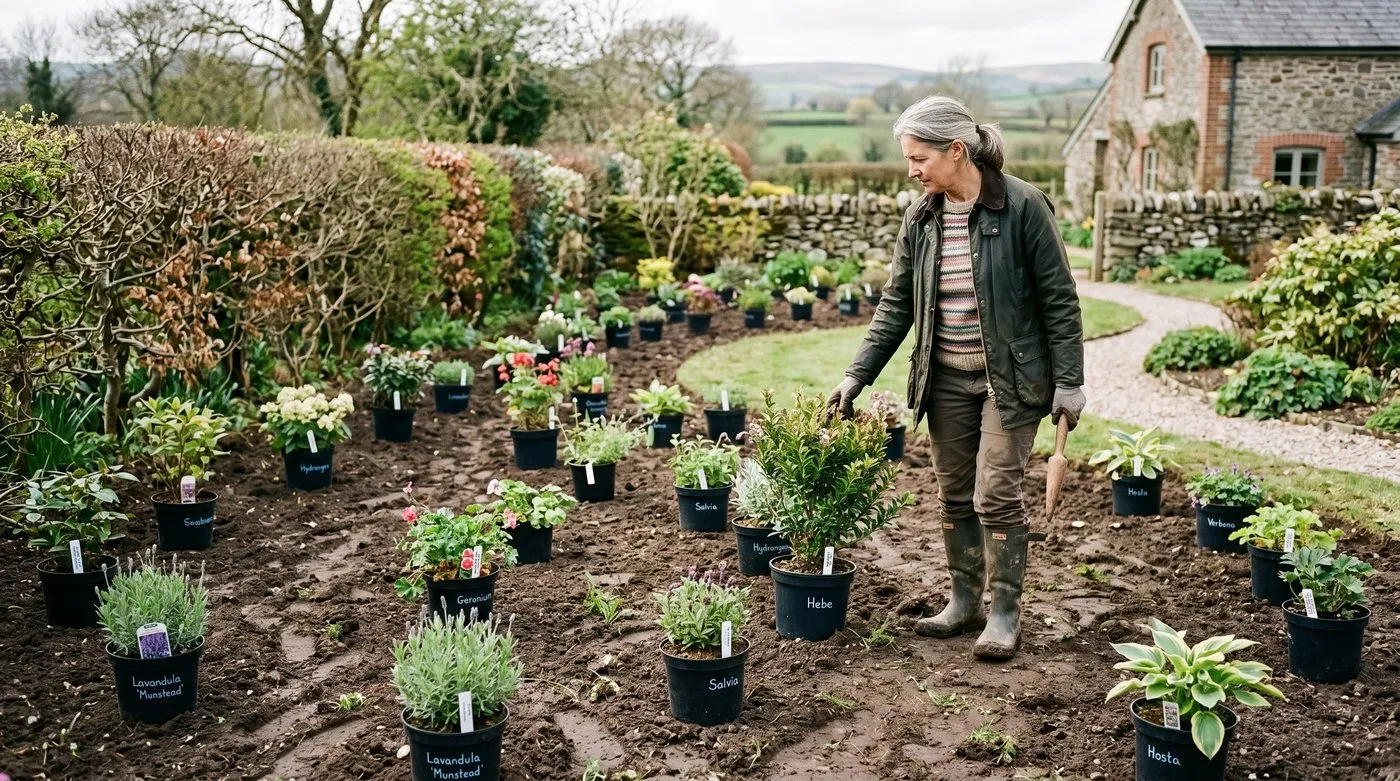 Stand the plants in their pots on the bed first, spaced at mature width. It looks sparse, and that is correct. This five-minute habit prevents most placement mistakes.
The 11 plant placement mistakes
1. Ignoring the conditions
The root of most failures. A plant chosen for its looks rather than the site will always struggle. A sun-lover in shade grows leggy and pale; a moisture-lover on dry sand crisps. Read the spot first, then choose plants proven to thrive in exactly those conditions. This habit alone prevents the majority of losses.
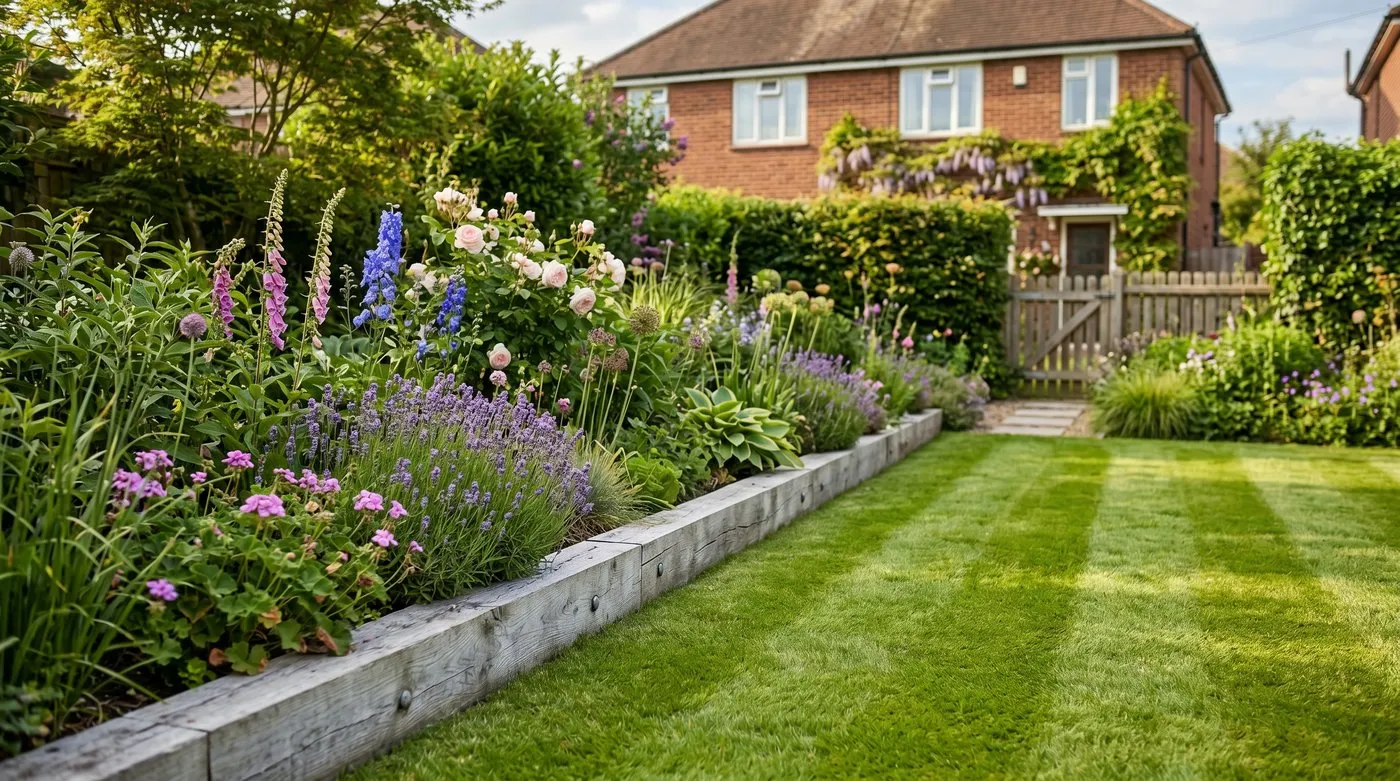
2. Planting too close together
New beds look bare, so people cram. Plants spaced at 20cm that need 60cm smother each other within two years, trapping damp air and inviting mildew. Space every plant at its mature spread. Fill the temporary gaps with annuals and bulbs while the permanent plants grow in. Patience here saves money and disease.
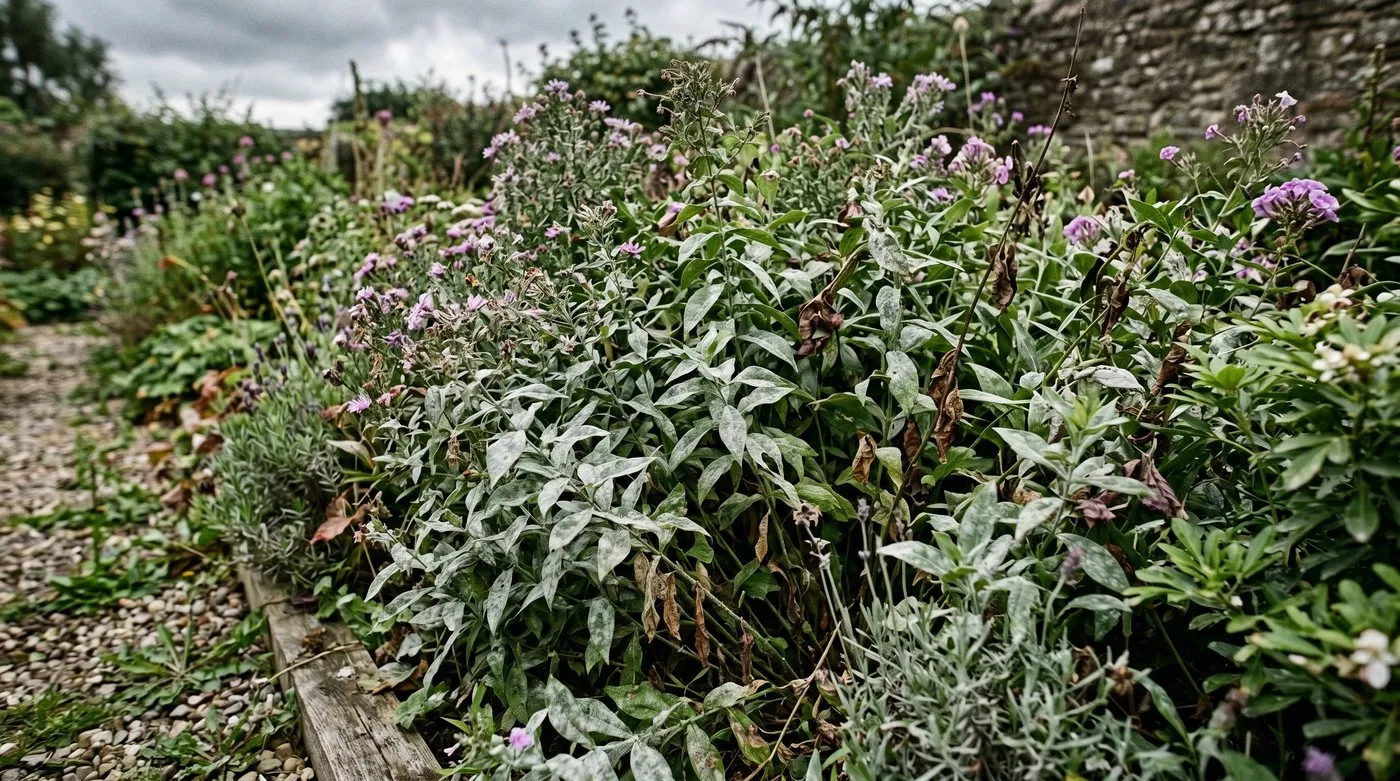 Planted too close: these perennials are smothering each other within two seasons, trapping damp air and inviting mildew. Space at mature width instead.
3. Reverse height layering
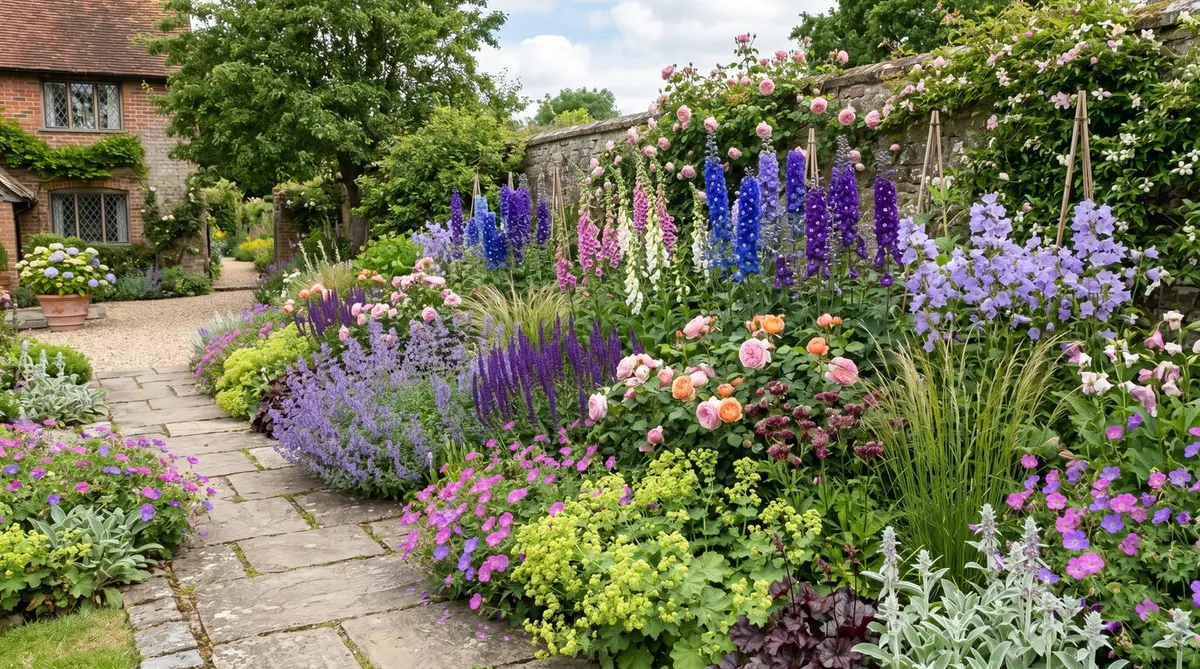
Tall plants at the front hide everything behind them. In a one-sided border, put tall at the back, mid-height in the middle and low at the front edge. In an island bed seen from all sides, the tallest go in the centre. A few see-through plants like Verbena bonariensis can break the rule for effect, but the structure should hold.
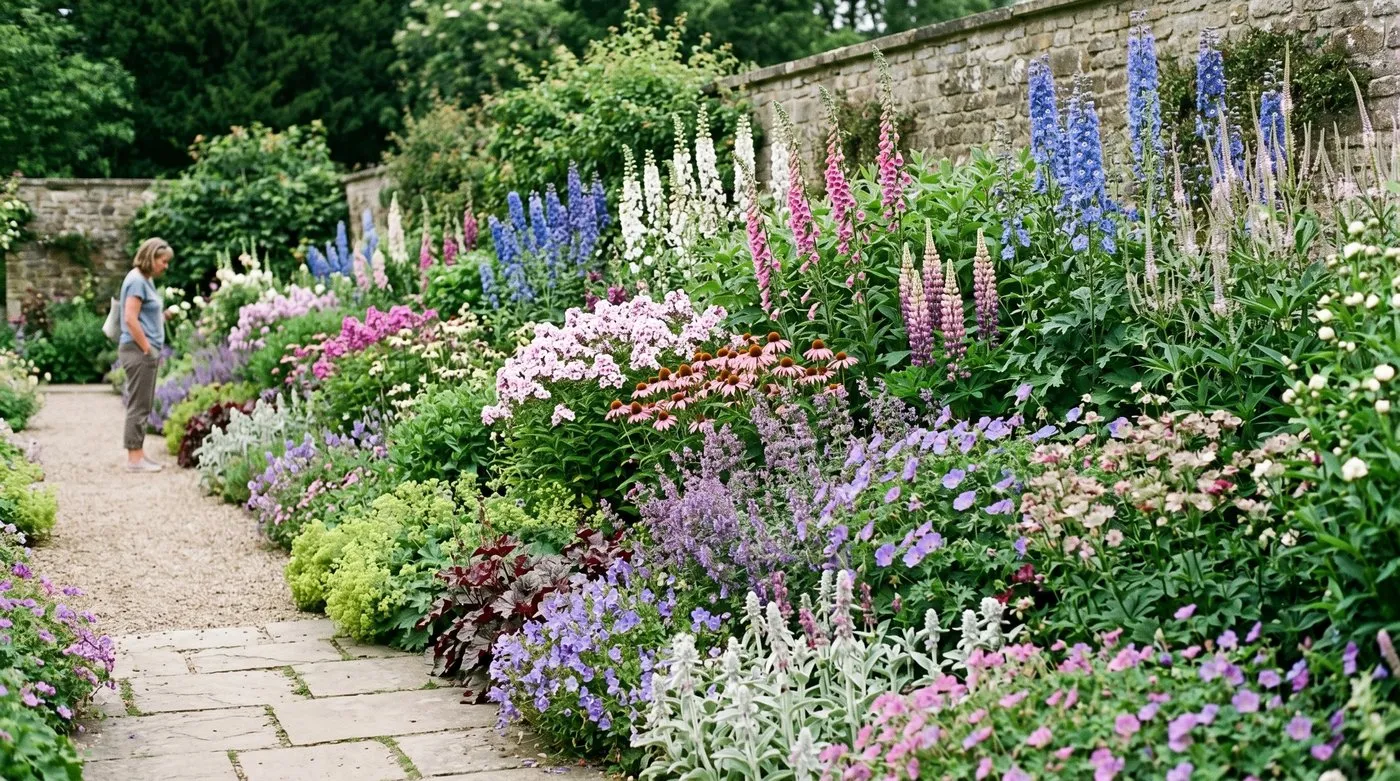 Correct height layering in a one-sided border: tall at the back, mid-height in the middle, low at the front. Every plant is visible.
4. Ignoring soil pH
A camellia or blueberry in alkaline soil yellows and fades however you feed it. Acid-lovers need a pH of 4.5 to 5.5, and no amount of fertiliser overrides the wrong pH. Test the soil before planting. If it is alkaline and you want acid-lovers, grow them in pots of ericaceous compost rather than fighting the ground.
5. No evergreen backbone
A border of summer perennials is a bare patch of earth from November to March. Keep at least a third of the planting evergreen so the bones hold through winter. Clipped box, a few structural shrubs, and evergreen grasses carry the off-season. The flowers then read as decoration on a frame that never disappears.
6. One of everything
A single plant of twenty kinds looks like a jumble sale. Repeat plants in odd-numbered drifts of three, five or seven, and weave those groups through the border. Repetition is what makes planting look calm and intentional. Our guide to the best plant combinations for borders shows how repeated groups tie a scheme together.
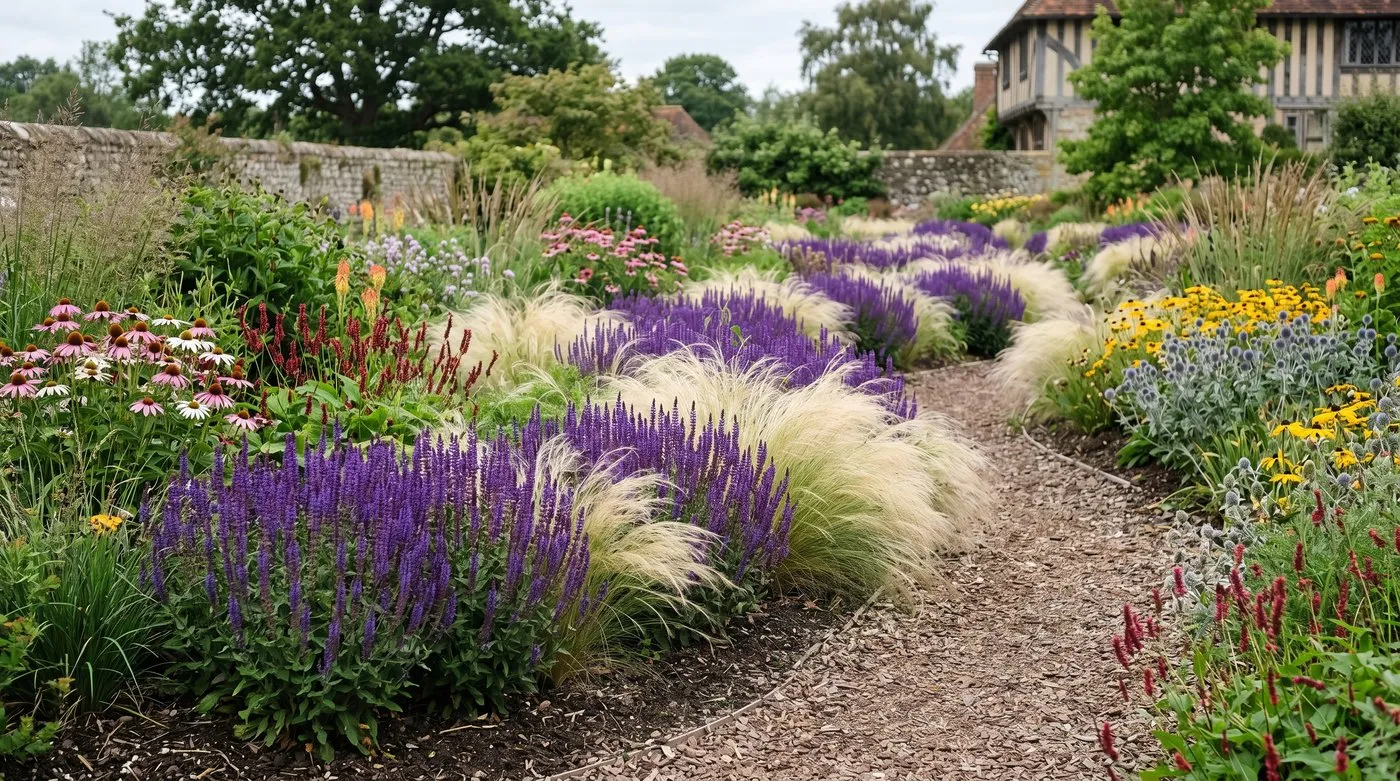 Repetition in drifts of three, five and seven ties a border together and reads as calm and designed, not a spotty collection.
7. Ignoring aspect and microclimate
The same garden holds warm and cold corners. A frost pocket at the bottom of a slope, or a baking rain-shadow against a south wall, needs plants matched to it. Tender plants die in the dip; moisture-lovers crisp by the wall. Map the microclimates and place plants accordingly. A warm wall is a chance to grow something half-hardy you could not risk in the open.
8. No succession of interest
An all-June border is glorious for three weeks and dull for forty-nine. Plan for something happening in every season: spring bulbs, early perennials, summer flowers, autumn seed heads and grasses, winter structure. Layering bulbs through perennial borders is the easiest way to stretch the show across the year.
9. Planting thugs beside delicate plants
Mint, bamboo, Alchemilla and some geraniums spread fast and swamp slower neighbours. Keep vigorous spreaders away from choice, slow plants, or contain their roots. A delicate alpine next to running mint loses every time. Group plants of similar vigour together so none gets bullied.
10. Forgetting the mature size
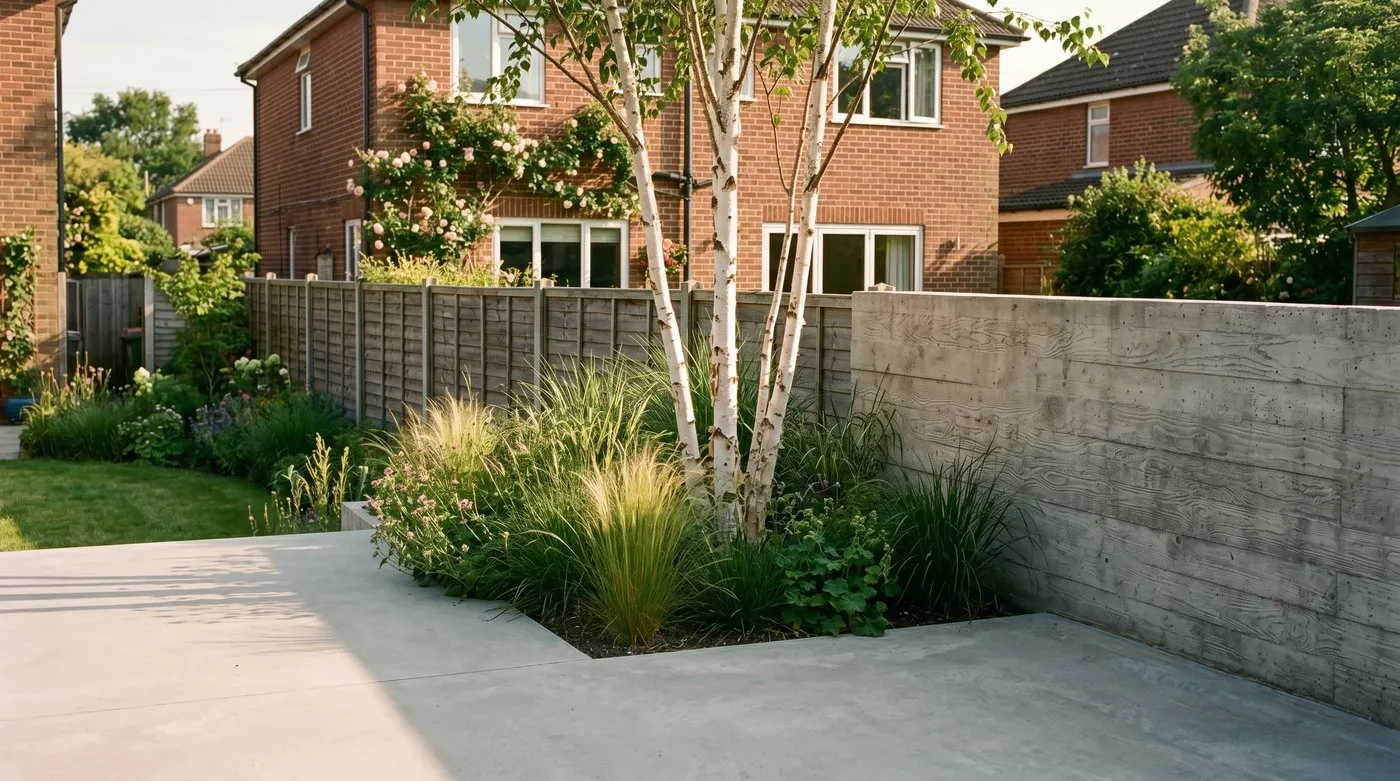
A shrub sold at 30cm may reach 3m. Plant trees and large shrubs well clear of walls, drains and foundations, allowing for the full mature width. The cute conifer by the door becomes a light-blocking monster in a decade. Check the final height and spread before buying, not after the roots reach the drains.
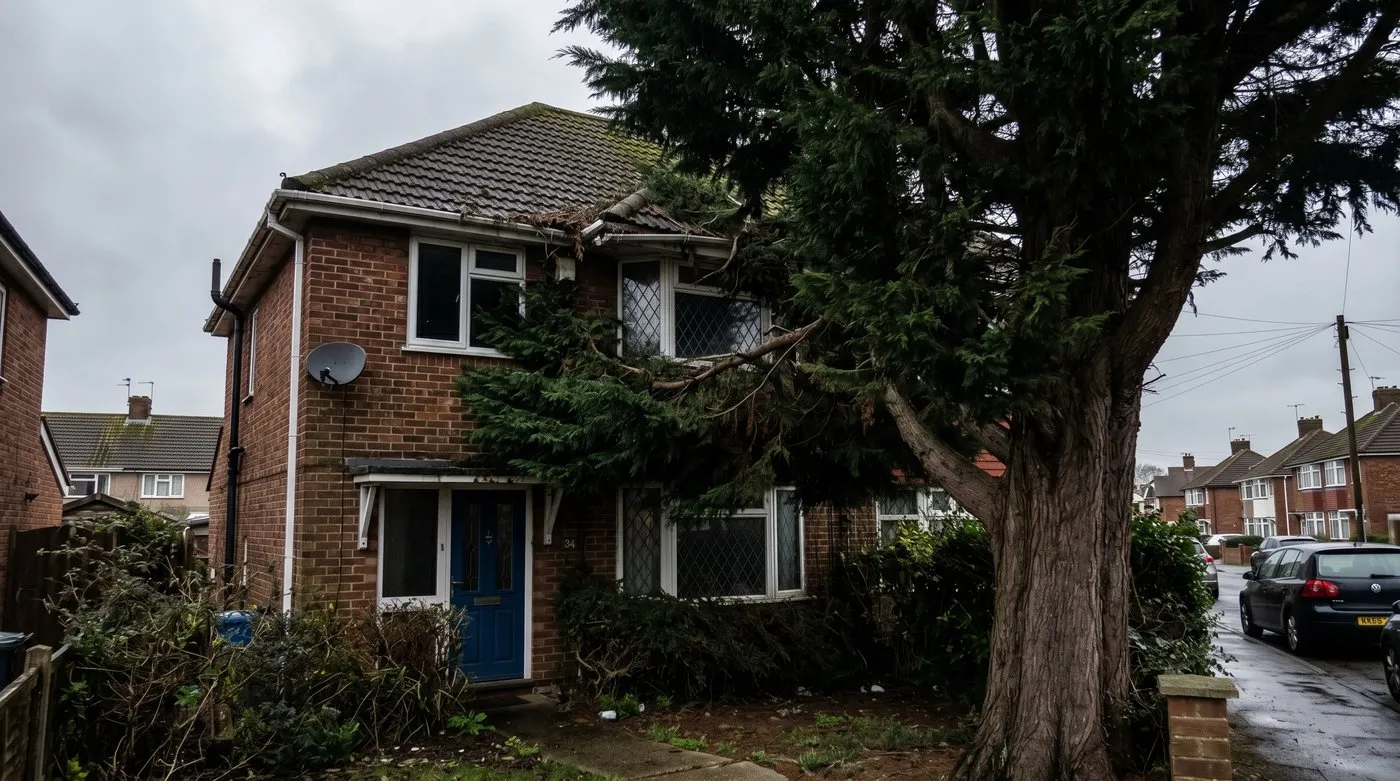 Planted too close to the house: a shrub sold small has reached the window and gutters. Check mature height and spread before planting near a building.
11. The wrong plant for wind and exposure
Large soft leaves shred on an exposed or coastal site. Match plants to the wind they will face: tough, small-leaved and flexible species for exposed gardens, lush broad-leaved ones only where there is shelter. A windbreak of resilient shrubs lets you grow softer plants behind it. Fighting the wind with the wrong plant never works.
Right plant, right place at a glance
This matrix turns the conditions you surveyed into plant choices. Read across from your spot to the plant types that thrive there.
| Conditions | Thrives here | Avoid |
|---|---|---|
| Full sun, free-draining | Lavender, salvia, sedum, Mediterranean herbs | Hosta, fern, astilbe |
| Full sun, moist soil | Roses, dahlias, daylilies, phlox | Lavender, cistus |
| Partial shade, moist | Hosta, astilbe, hydrangea, foxglove | Lavender, sedum |
| Dry shade | Epimedium, dryopteris fern, geranium, vinca | Astilbe, primula |
| Acid soil | Rhododendron, camellia, blueberry, pieris | Clematis, dianthus |
| Exposed or coastal | Escallonia, hebe, eryngium, ornamental grasses | Acer, large-leaved hosta |
 Right plant, right place: hostas and ferns thriving in shade where sun-lovers would fail. Match the plant to the conditions you actually have.
Spacing by plant type
Spacing at mature width is the fix for the most common single mistake. Use these working figures, measured edge to edge.
| Plant type | Typical spacing | Plants per square metre |
|---|---|---|
| Bedding and annuals | 15-25cm | 16-40 |
| Herbaceous perennials | 30-45cm | 5-9 |
| Small shrubs | 60-90cm | 1-2 |
| Large shrubs | 1-2m | spaced individually |
| Ornamental grasses | 45-60cm | 3-5 |
Which fixes deliver the biggest impact
Not all corrections are equal: some transform a border overnight, others matter most long term. Ranked by impact and ease.
| Fix | Impact | Effort | Priority |
|---|---|---|---|
| Match plants to the conditions | Very high | Low, before planting | Do first |
| Space at mature width | High | Low | Do first |
| Repeat plants in drifts | High | Low | Quick win |
| Add evergreen structure | High | Moderate | Core |
| Layer height correctly | Moderate | Low | Quick win |
| Plan for succession | Moderate | Moderate | Ongoing |
| Allow for mature tree size | Critical long term | Low | Do first |
The pattern is clear. Matching the plant to the site and spacing it properly are the cheapest, highest-impact fixes, and both happen before you plant. Everything else builds on those two. If you do nothing else, get the conditions and the spacing right.
The cause behind every placement mistake
Strip the eleven mistakes back and they share one root: choosing plants before reading the site. People fall for a plant in a nursery, bring it home and look for a gap, instead of starting with the gap and its conditions.
The permanent fix is to reverse that order. Survey the spot, list its conditions, then choose plants that already suit it. This is why we recommend a written planting plan for any new border.
Why we recommend a written planting plan: Across fifteen years of reworking failing borders, the ones that lasted were always planned on paper first. In one Midlands garden, a planned bed lost two plants in five years; an unplanned bed of similar size next door lost more than twenty to wrong placement over the same period. A plan forces you to face spacing, height and conditions before you spend a penny. Our guide to writing a planting plan walks through the method.
Gardener’s tip: Before planting, stand every plant in its pot on the bed, spaced at mature width, and live with it for a day. You will spot the spacing, height and grouping problems while they are still free to fix.
Common questions answered fast
For a wider look at design errors beyond planting, see our guide to the biggest garden design mistakes, and for putting colour together well, read using colour in garden design.
Frequently asked questions
What is the most common planting mistake?
Choosing a plant for its looks, not for the conditions. A sun-lover in shade or a moisture-lover on dry sand will sulk whatever you do. Always read the spot first: how many hours of sun, what soil, how wet. Then pick plants that already thrive in those conditions. This single habit prevents most planting failures and saves money.
How far apart should I space plants?
Space each plant at its expected mature spread, edge to edge. For perennials that is often 30-45cm, for small shrubs 60-90cm, for large shrubs 1-2m. It looks sparse at first. Fill the gaps with annuals or bulbs for the first two years while permanent plants grow into the space, rather than planting permanently too close.
Why does my border look messy and unplanned?
Usually because it has one of everything dotted about. A single plant of many kinds reads as spotty and busy. Repeat the same plant in groups of three, five or seven, and let those drifts weave through the border. Repetition is what makes a planting look calm and designed rather than like a collection.
Should tall plants go at the back of a border?
Yes, in a one-sided border viewed from the front. Put tall plants at the back, mid-height in the middle and low plants at the front edge. In an island bed seen from all sides, put the tallest in the centre. Allow exceptions: a few see-through tall plants like Verbena bonariensis can come forward for effect.
How do I stop plants outgrowing their space?
Check the mature height and spread on the label before you buy. Many shrubs sold small reach 2-3m. Plant trees and large shrubs well away from walls, drains and foundations, allowing for the full mature width. Choosing the right size from the start beats years of hard pruning to keep an over-large plant in check.
Why do my plants keep dying in the same spot?
The conditions in that spot do not suit what you keep planting there. A frost pocket, dry shade under a tree, or waterlogged clay will kill plant after plant. Diagnose the spot: test drainage, note the sun and frost, and check the soil. Then choose plants proven for those exact conditions instead of fighting the site.
Now you know the placement traps, the next step is putting plants together well. Read our guide to planning a mixed border for the layout method, and the RHS garden design advice for further reading.
Lawrie has been gardening in the West Midlands for over 30 years. He grows his own veg using no-dig methods, keeps a wildlife-friendly garden, and writes practical advice based on real UK growing conditions.