Key takeaways
- Lay brown corrugated cardboard with 100mm overlaps over wet soil
- Top with 75-100mm of fresh grass clippings as the active mulch
- Suppresses bindweed and couch in 8-12 weeks on UK clay
- Wet the cardboard before and after laying so worms move in fast
- Avoid glossy printed packaging; brown corrugated only
- Edge to stop wind lift, top up clippings monthly through summer
A cardboard and grass clipping mulch is the cheapest reliable weed-kill on a UK allotment. Both ingredients are free. The chemistry works: cardboard blocks light, grass adds nitrogen and rapid decomposition, worms move in within weeks. This guide covers the exact technique, the order of layers, the avoidable mistakes, and the timing that turns a weedy plot into a clean bed inside 8-12 weeks.
How Cardboard and Grass Clippings Kill Weeds Together
The mulch works on three mechanisms that single-layer mulches cannot match.
Light exclusion. Brown corrugated cardboard blocks 99.9% of light to the soil. Weeds that depend on photosynthesis die within 2-4 weeks. Perennial weeds with deep food reserves (bindweed, couch grass, ground elder) take longer because their roots can push 6-10 new shoots before exhausting reserves. Most UK perennial weeds give up at 8-12 weeks of full darkness.
Nitrogen feed. Fresh grass clippings supply 4-5% nitrogen by dry weight. As the clippings rot down, this nitrogen leaches through the cardboard into the soil below. Bacteria multiply, worm activity rises, and the cardboard itself breaks down twice as fast as it would under leafmould or straw.
The combined effect produces a clean, planting-ready bed in 8-12 weeks on UK clay and 6-8 weeks on UK loam. Sand-based plots take similar time but need the layer topped up more often because the grass decomposes faster.
| Mulch type | Weed kill (UK clay) | Cost per m² | Worm count change | Lifespan |
|---|---|---|---|---|
| Cardboard + grass | 8-12 weeks | £0 | +350% | 6-9 months |
| Cardboard alone | 18-22 weeks | £0 | +180% | 9-12 months |
| Grass alone | 12-18 weeks | £0 | +120% | 2-4 months |
| Black plastic | 10-14 weeks | £4-£8 | -20% | 5-8 years |
| Woven membrane | 12-16 weeks | £6-£12 | -10% | 10-15 years |
| Straw bale (chopped) | 16-24 weeks | £8-£15 | +90% | 6-12 months |
| Leafmould | 24-36 weeks | £0 | +200% | 12-18 months |
How to Lay the Mulch Step by Step
Six steps, two hours for a 10m² bed.
Step 1: Cut existing weeds to ground level. Use shears or a strimmer. Do not pull or dig the weeds out. Leaving the roots in place adds organic matter and removes the temptation to disturb the soil. Compost or burn any seeding weed tops.
Step 2: Wet the soil thoroughly. Pour 10-15 litres of water per square metre, more in dry weather. The cardboard pulls moisture upward as it breaks down, so the underlying soil must start wet.
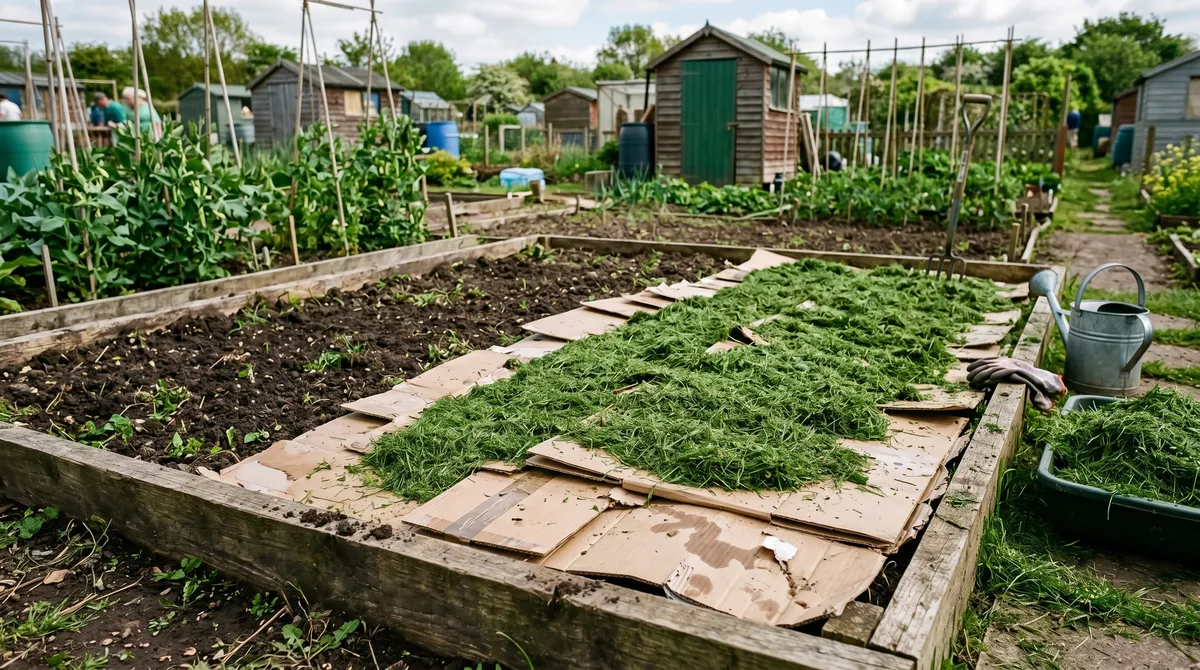
Step 3: Lay flattened brown cardboard. Use plain brown corrugated boxes. Remove all tape, staples and plastic strapping. Overlap edges by 100mm minimum and corners by 150-200mm. Allow no gaps. A 10m² bed needs roughly 8-12 large boxes flattened, easy to collect free from any UK supermarket or appliance shop.
Step 4: Wet the cardboard. Pour another 5-10 litres per square metre directly onto the cardboard. The cardboard should be uniformly damp but not floating. This is the step most no-dig guides skip and it is the difference between 8 weeks and 20 weeks for the cardboard to break down.
Step 5: Spread 75-100mm of fresh grass clippings. Fresh is best because the active decomposition heats the layer and accelerates the cardboard rot. Bagged dry clippings work but take 30-50% longer. Apply evenly. Walk the bed once to settle the clippings.
Step 6: Edge the bed. Wind lift is the main failure mode in week 1-2. Edge with timber boards, bricks, paving slabs, or trimmed-in turf to lock the cardboard down. A 10m² bed needs roughly 14m of edging.
After 7-14 days the grass settles to 25-40mm and the cardboard begins to soften. Top up with another 25-50mm of fresh clippings every 3-4 weeks through the active growing season.
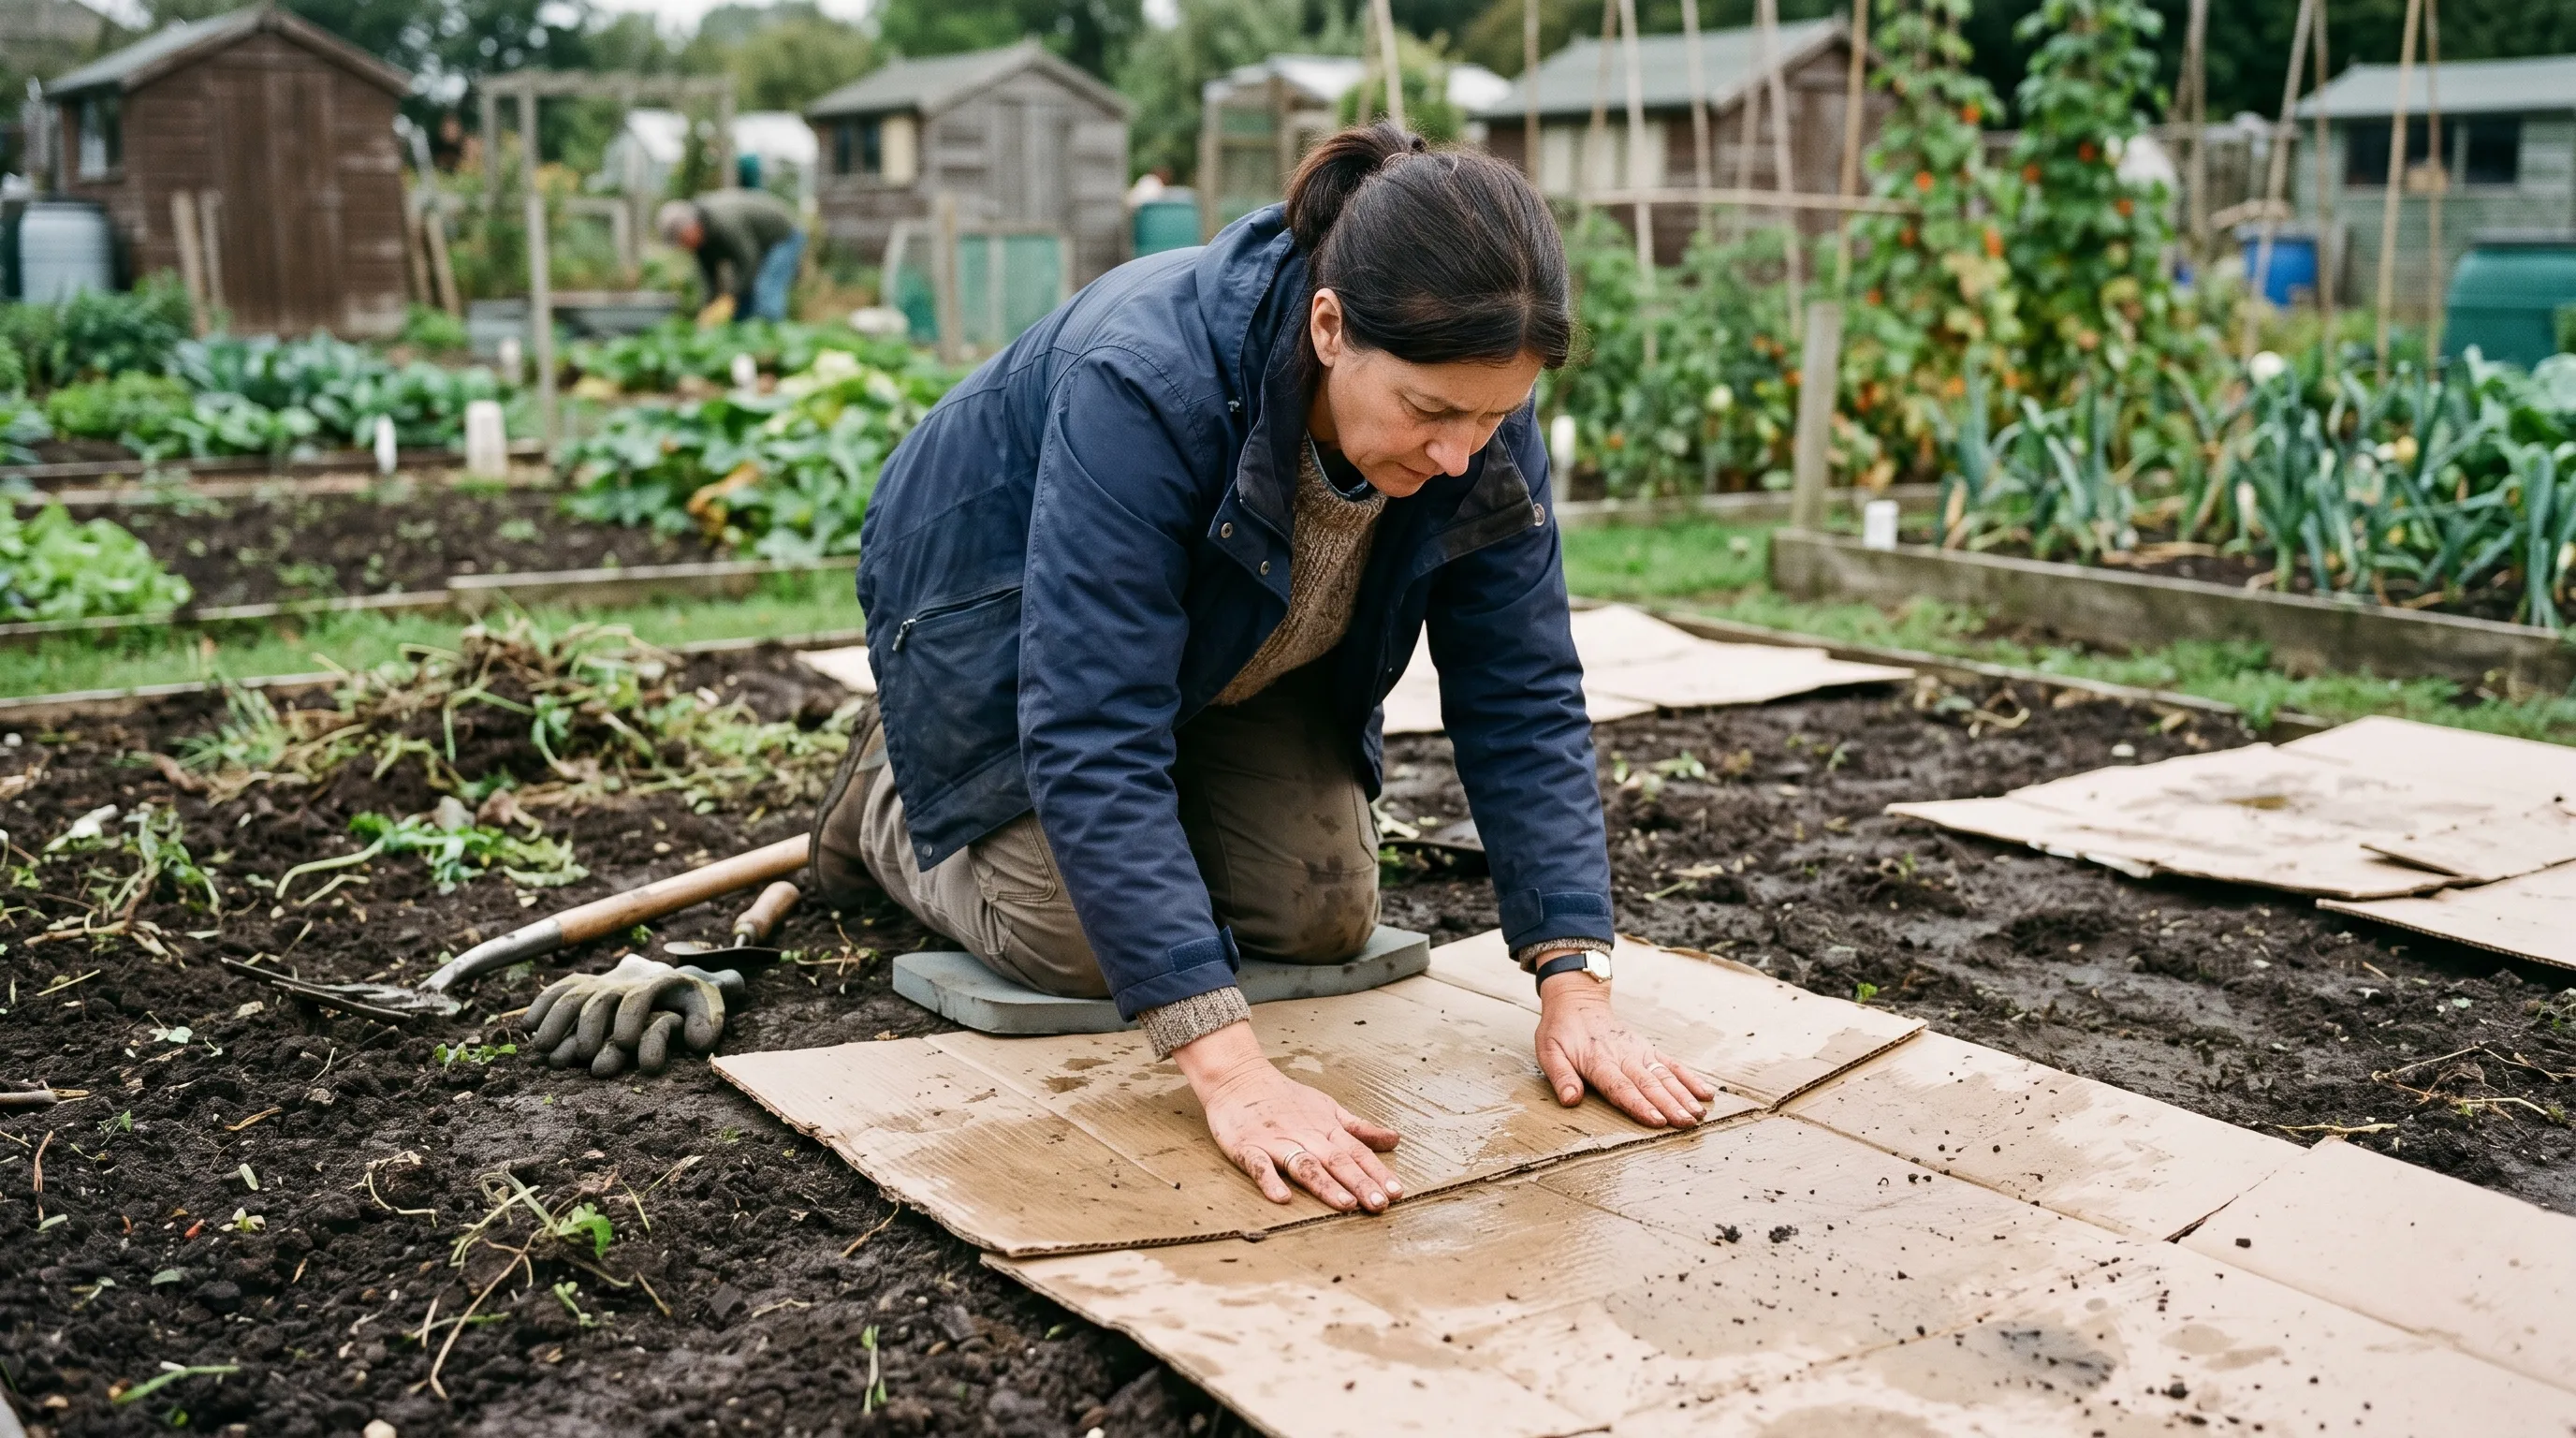 Critical step: 100mm minimum overlap at every joint. Gaps let perennial weeds push through and undo the whole job. Wet the cardboard immediately after laying so worms move up to feed.
What Cardboard to Use and What to Avoid
Not all cardboard is safe for garden use. The key distinction is brown corrugated versus printed or plastic-coated.
Safe to use:
- Plain brown shipping boxes (Amazon, supermarket online deliveries, appliance boxes)
- Plain corrugated trays from greengrocers
- Brown packing paper and unbleached craft paper
- Unwaxed brown pizza boxes (though grease attracts vermin)
Avoid:
- Glossy retail cartons (cereal boxes, toy boxes, branded packaging)
- Anything with metallic foil, holograms, or plastic film
- Waxed boxes (former milk or fruit boxes)
- Boxes with synthetic tape that won’t tear by hand
- Cardboard with lots of coloured printing on it
Modern UK printing inks for plain brown packaging are typically soy-based and safe. The concerning ingredient is the plastic laminate on glossy outer cartons, which takes 15-25 years to break down and releases micro-plastics into the soil.
Remove all packing tape before laying. Sticky tape does not break down and creates plastic strips through the soil for years. A 1m roll of cardboard yields roughly 0.8m² of useable mulch after tape removal.
For a UK allotment plot of 250m², a complete first-time mulch needs 200-250 medium-large boxes. Collect over 4-6 weeks from supermarket recycling areas (most accept gardener requests during quiet hours) or from local Facebook Marketplace and Freegle posts.
Grass Clippings: Fresh vs Bagged, Plus Heat Risk
Fresh clippings outperform any bagged or pre-stored alternative. The heat generated by active decomposition is the engine of the system.
| Clipping state | Decomposition speed | Heat | Worm activity | Notes |
|---|---|---|---|---|
| Fresh, same-day | Days 1-21 active heat | 35-55C peak | Highest | Best choice |
| Day-old, wet | Days 3-25 active heat | 30-50C peak | High | Almost as good |
| Bagged, dried (1-2 weeks) | 6-10 weeks | 20-30C peak | Moderate | Workable |
| Composted (1-3 months) | 10-16 weeks slow | Near ambient | Low | Use as final mulch only |
| Hay (cut and field-dried) | 16-24 weeks slow | None | Low | Different product |
The peak heat under a 100mm fresh grass layer is 35-55C for 5-10 days. This is enough to scorch tender plants if the clippings touch stems or foliage. Keep a 100mm clear ring around any existing plant. For new plantings, wait 3 weeks after laying before transplanting into the bed.
The smell of ammonia in week 1-2 indicates anaerobic decomposition under a too-thick layer. Rake the surface to introduce air. The smell clears within 48 hours.
Sources of fresh clippings for a UK plot:
- Your own lawn (one weekly mow yields 30-50kg from a 100m² lawn)
- Neighbours’ lawns (most are happy to donate; collect immediately after mowing)
- Local park maintenance crews (council parks teams often dump clippings; ask permission)
- Allotment committee general mowing
- Sports club maintenance (cricket pavilions, bowling greens)
If your own lawn produces more clippings than the beds can take, our guide on whether to leave grass clippings on the lawn covers when to mulch them back in place instead. Avoid clippings from any lawn treated with synthetic weedkiller (herbicide) within the previous 12 months. Aminopyralid and clopyralid residues persist in clippings for 18-24 months and damage tomato, bean and pea crops.
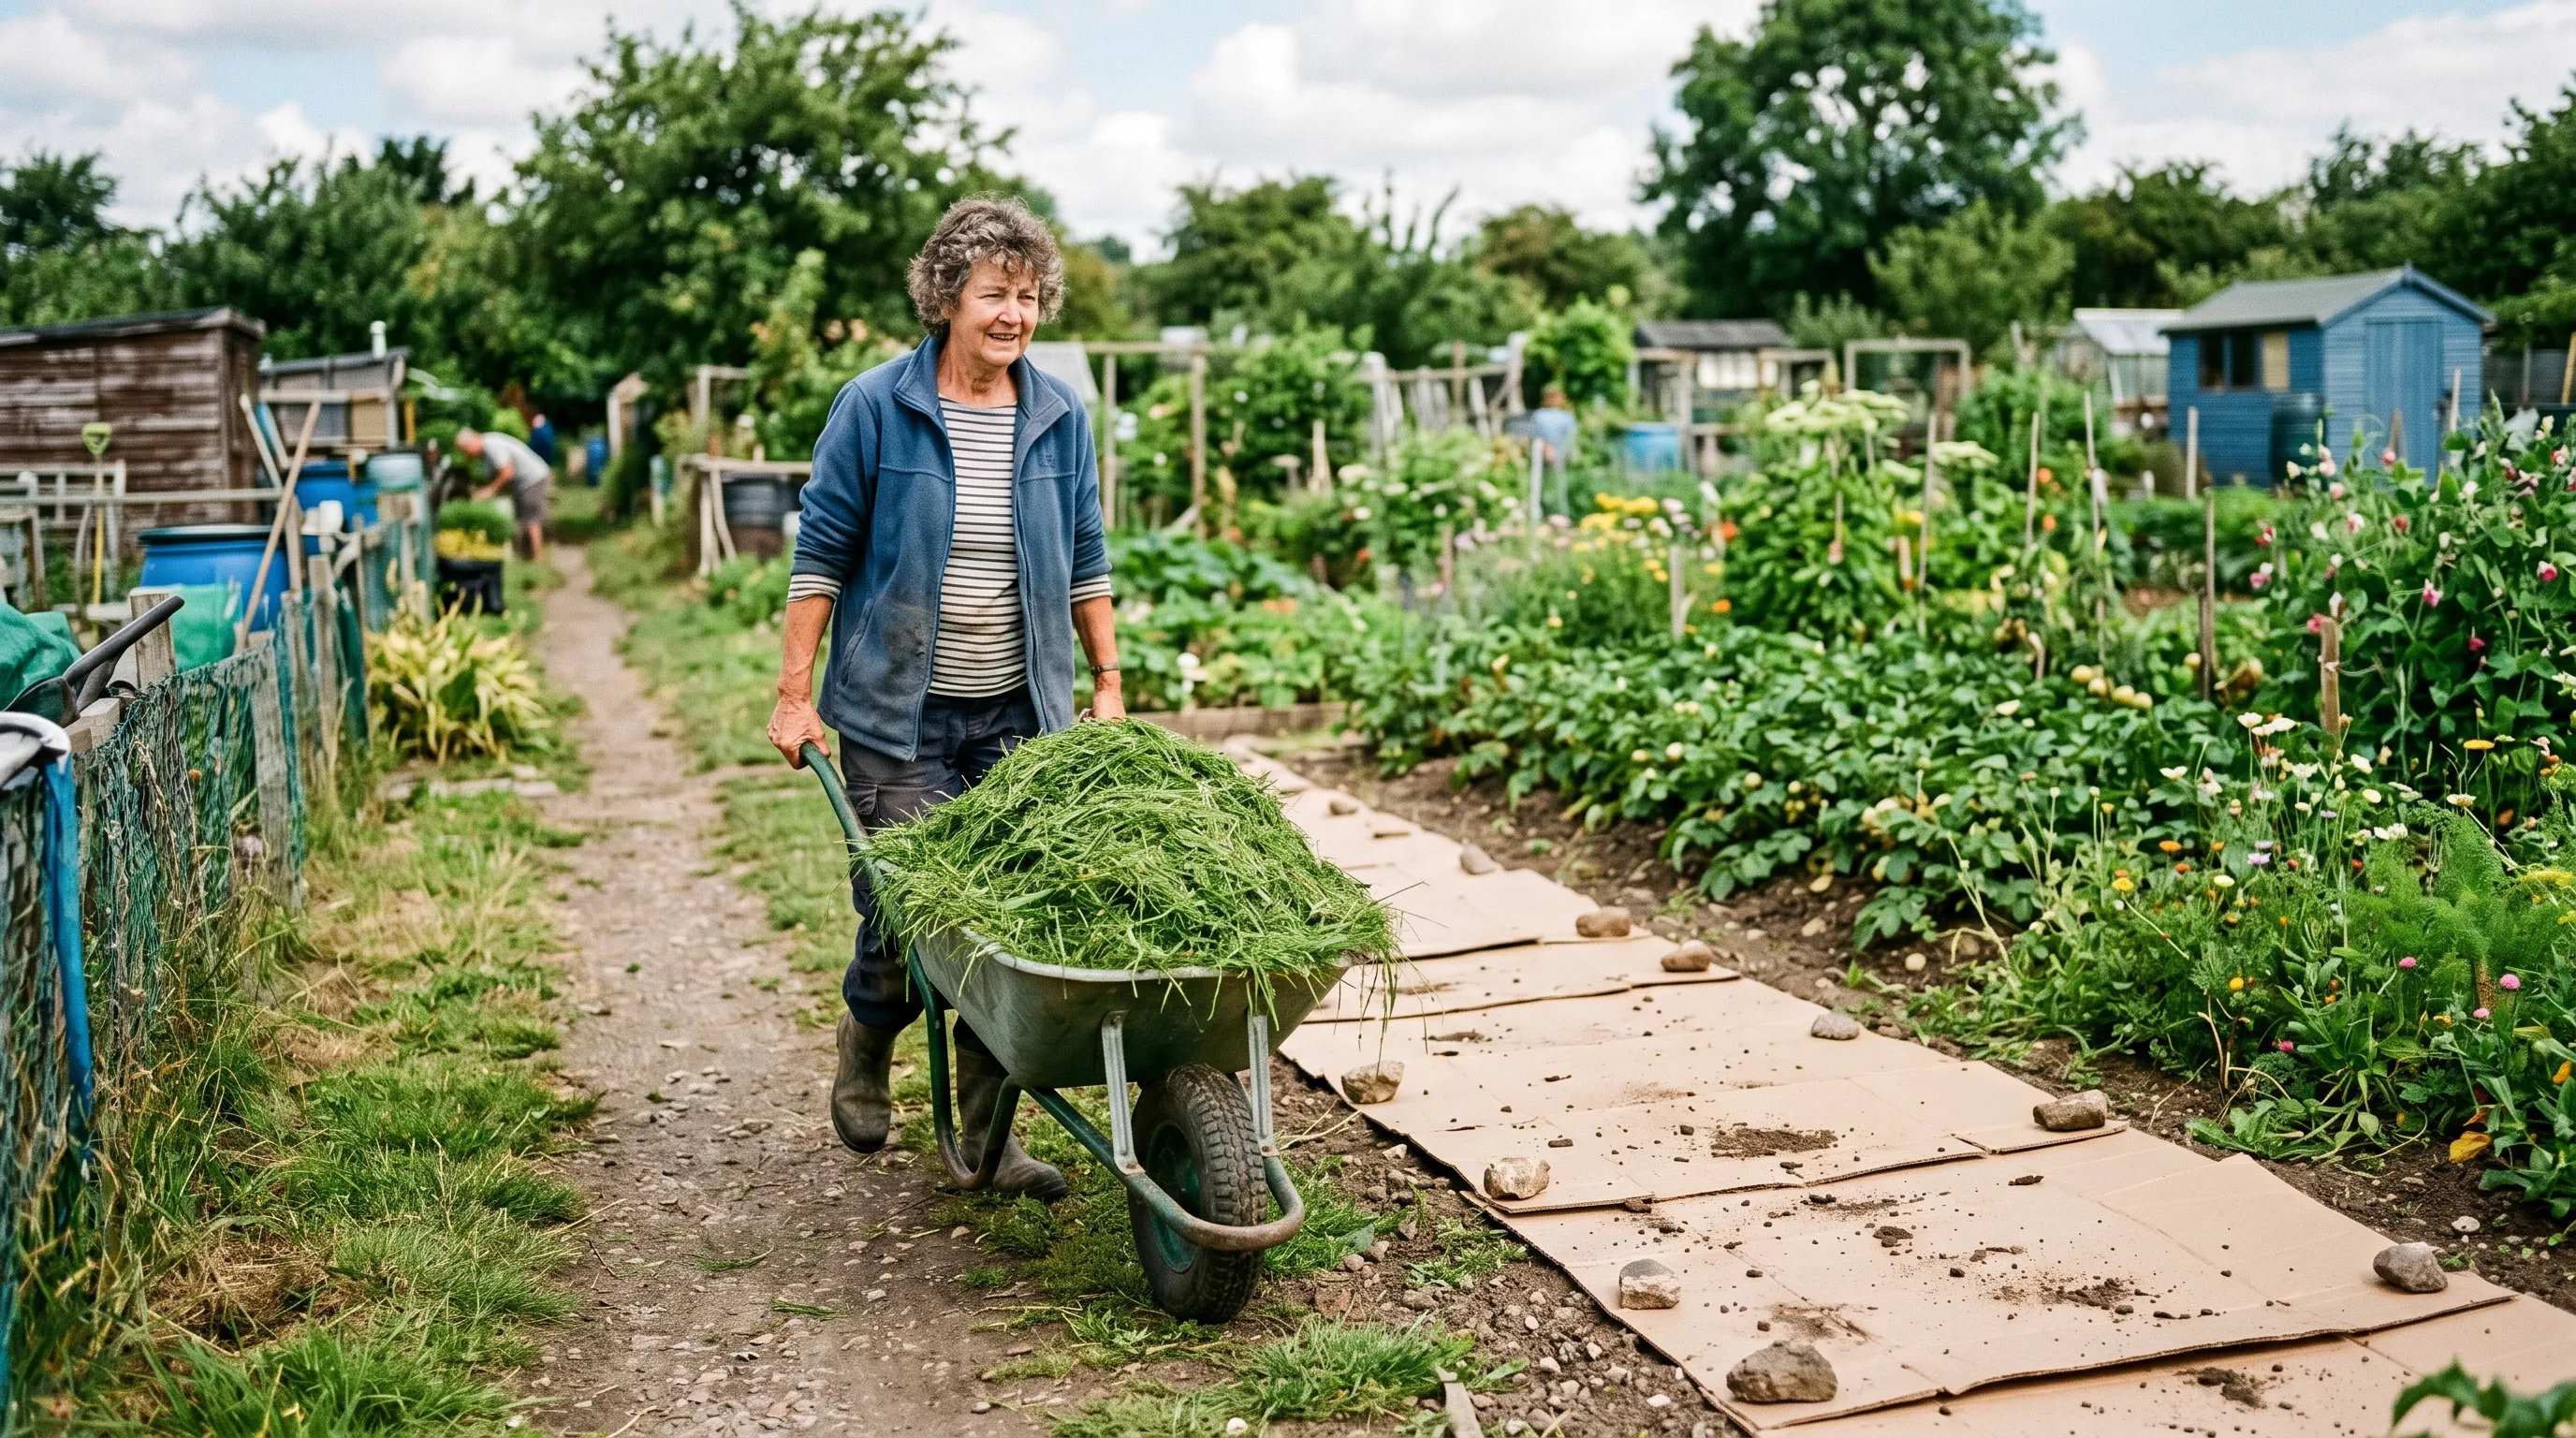 One barrow load of fresh clippings covers 4-6 square metres at 75-100mm depth. Collect and apply within 24 hours of mowing for the strongest heat and fastest worm response.
Where Cardboard and Grass Clippings Fall Short
Five situations where this mulch is the wrong choice.
1. Established perennial flower beds with shallow-rooted ornamentals. The 75-100mm grass layer suppresses fine-rooted plants like aubretia, alpine phlox and dwarf bulbs. Use a thinner leafmould mulch instead.
2. Beds where you want to direct-sow next month. Cardboard takes 8-12 weeks minimum to break down enough for direct sowing. Either plan ahead or use transplant modules instead.
3. Strong dock and Japanese knotweed infestations. Dock tap roots push through wet cardboard within 6-8 weeks. Japanese knotweed shoots cut through almost any mulch. Both need direct herbicide treatment or repeated annual digging.
4. Slug-pressure on tender summer crops. The damp cardboard layer is prime slug habitat for the first 4-6 weeks. If you must mulch a slug-prone area, set up beer traps and nematode treatment alongside.
5. Steep slopes. Grass clippings slide off slopes steeper than 1 in 8. Use composted leaf mould or terracing instead.
For UK clay plots where bindweed, couch grass and creeping buttercup dominate, the cardboard plus grass mulch is the right tool. Our no-dig on heavy clay guide covers the wider no-dig system that builds on this mulch.
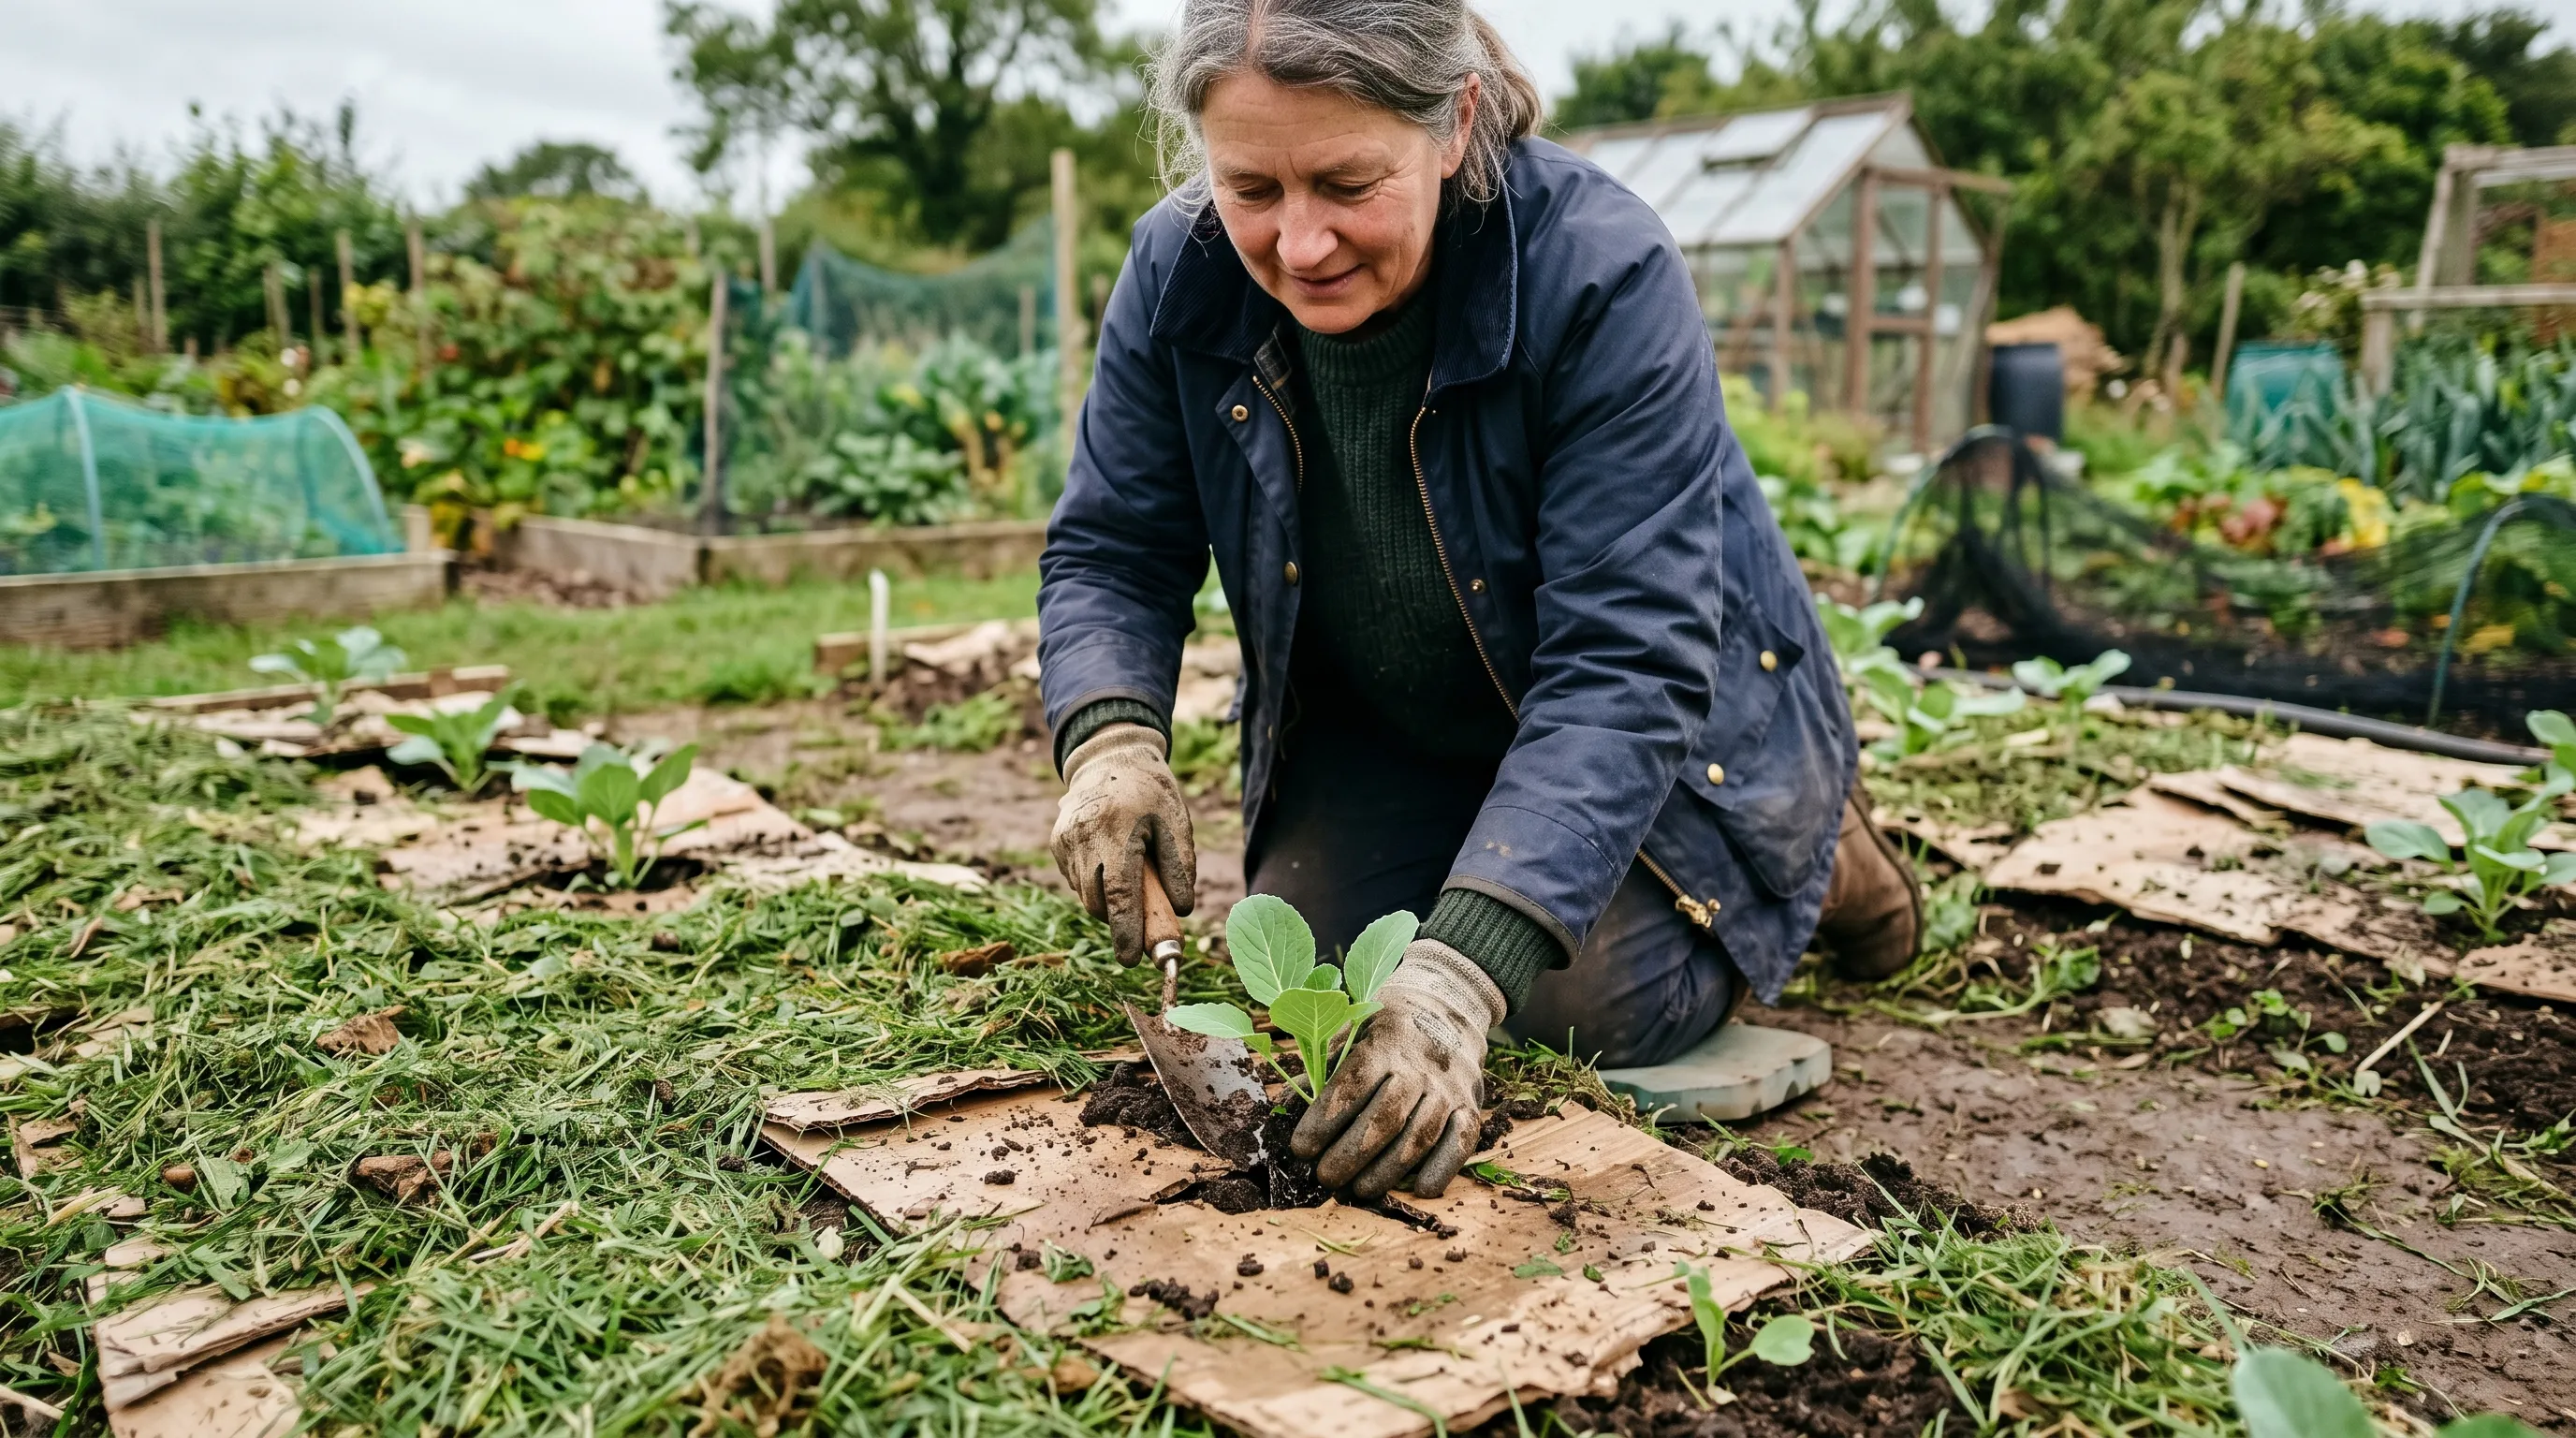 Planting through the mulch after 10 weeks. The cardboard has broken down enough to plant through with a sharp knife slit. The grass layer continues to suppress weeds while the brassica establishes.
Mulching Calendar for UK Plots Month-by-Month
| Month | Cardboard and grass task |
|---|---|
| January | Collect cardboard from holiday-season deliveries |
| February | Order beer traps and slug nematodes for spring use |
| March | Plan beds to mulch this season. Build cardboard stockpile |
| April | First mowing of the season. Begin small-area trials |
| May | Main laying month. Best clippings volume and weed pressure |
| June | Top up clippings every 3-4 weeks. Monitor slug activity |
| July | Continue top-ups. Soak in dry weeks |
| August | Plant brassicas direct through holes cut in the mulch |
| September | Lay autumn mulch beds before winter rain |
| October | Top up clippings before frost arrives |
| November | Final layer before winter. Walk beds for wind-lift checks |
| December | Plan next year’s beds. Save large boxes through gift season |
The May and October application windows are the cornerstone of UK no-dig mulching. May gives the strongest weed kill before peak summer growth. October sets up beds for direct spring planting after winter break-down.
Common Mistakes With Cardboard and Grass Mulch
Mistake 1: dry-laying the cardboard. Without moisture, cardboard sits inert for months and does not feed the worms below. Soak the soil first, lay the cardboard, soak it again. The 5 minutes of watering saves 12 weeks of waiting.
Mistake 2: using glossy or printed packaging. Plastic-coated outer cartons release micro-plastics into soil. The brown ink on most UK packaging is safe but the plastic film is not. Stick to plain brown corrugated.
Mistake 3: clippings too thin or too thick. Below 50mm and weeds push through. Above 100mm and the layer goes anaerobic, smelling of ammonia and burning plant stems. Aim for 75-100mm fresh, settling to 25-40mm in 2-3 weeks.
Mistake 4: ignoring slug pressure. The first 4-6 weeks are peak slug habitat. Set up beer traps and nematode treatment from day 1. Hostas, lettuces and seedling brassicas are the main casualties.
Mistake 5: planting too soon. Direct-planting into uncomposted cardboard plus hot grass scorches roots. Wait 3 weeks minimum from laying before transplanting. For seed sowing, wait 8-12 weeks.
For the wider no-dig system across full plots, our no-dig on heavy clay guide covers bed building, follow-on mulches and yield expectations across the first three years.
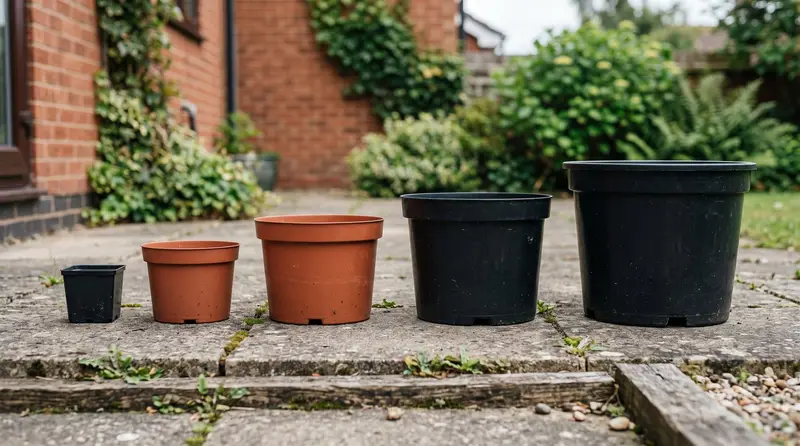
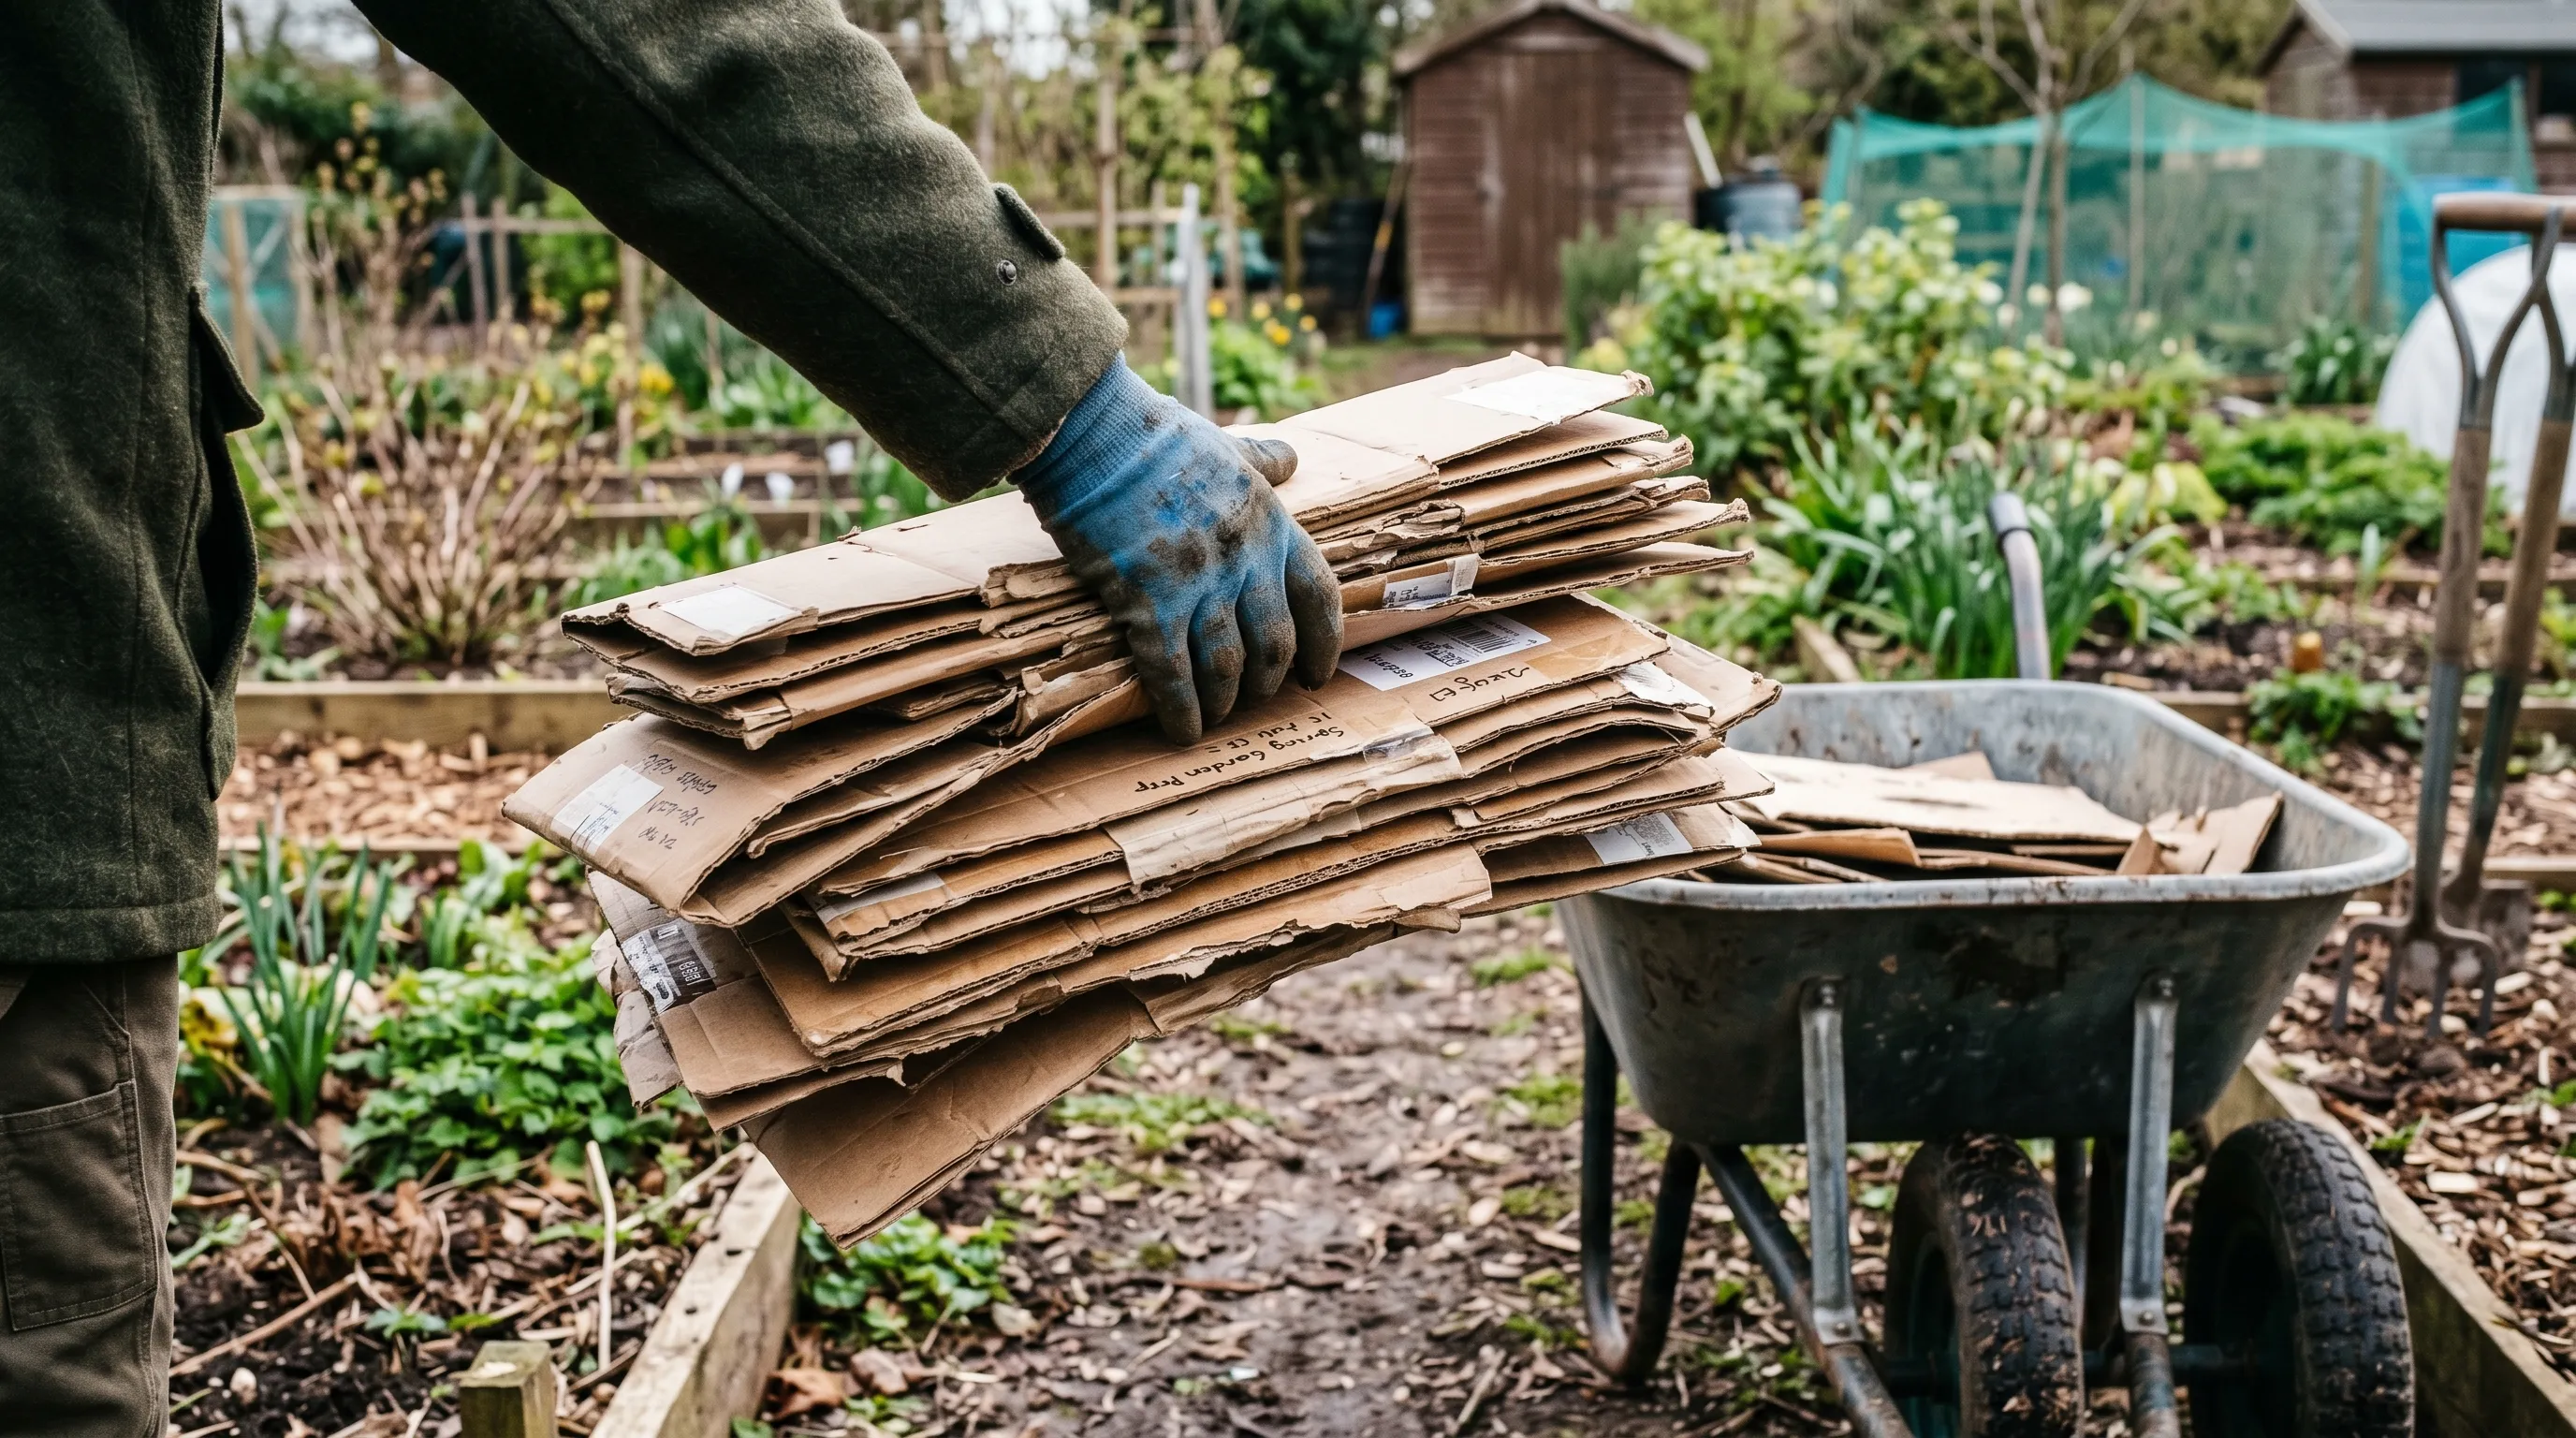 A typical UK household cardboard stockpile for mulching, collected over 3-4 weeks from online deliveries and supermarket recycling. Enough for 4-6 square metres of fresh mulch. Tape removed, glossy cartons rejected.
Frequently asked questions
Will cardboard and grass clippings kill weeds in a UK allotment?
Yes. Brown cardboard with 100mm overlaps plus 75-100mm of grass clippings on top suppresses bindweed, couch, dandelion and creeping buttercup in 8-12 weeks on UK clay. Wet thoroughly before laying. Edge to stop wind lift.
Is glossy or printed cardboard safe for the garden?
No for glossy cartons with plastic film. Yes for plain brown corrugated cardboard. Modern UK soy-based printing inks are safe, but plastic-coated outer packaging takes years to break down and leaches micro-plastics into soil.
How thick should grass clippings be as mulch?
75-100mm fresh, settling to 25-40mm after 2-3 weeks. Too thin and weeds push through. Too thick and the clippings go anaerobic, smell of ammonia, and burn plant stems. Top up monthly through summer to keep the layer working.
Do cardboard and grass clippings attract slugs?
Cardboard creates a damp slug habitat for the first 4-6 weeks. Set up beer traps and nematode treatment alongside the mulch. After 8 weeks, slug numbers drop as the cardboard breaks down. Hostas, lettuce and seedling brassicas are most at risk during the establishment phase.
When is the best time to lay a cardboard mulch in the UK?
Late spring (May-June) for fastest weed kill, or early autumn (September-October) for overwintering a new bed. Avoid mid-summer dry weeks: cardboard needs constant moisture to break down. Avoid mid-winter: worms are dormant and the cardboard sits inert.
Now plan the full no-dig year
Our team produces practical UK gardening guidance from source research, contributor records and established horticultural practice. Editorial standards are overseen by Matt W.