Drying Apples and Pears UK: 3 Methods
Drying apples and pears in the UK: air dry, oven and dehydrator methods compared on time, energy and shelf life, with prep, conditioning and storage.
Key takeaways
- Slice 3-5mm thick - thicker pieces case-harden on the outside and stay damp in the middle
- Use Cox, Egremont Russet, Kidd's Orange Red, James Grieve for apples; Conference and Comice for pears
- Dip slices in lemon water (1 tbsp lemon juice per litre) for 30 seconds to stop browning
- Bend test: a finished slice should be leathery and pliable with no moisture beading when squeezed
- Condition for 7 days in a jar shaken daily - this is the step UK home dryers most often skip
- Store in glass with a silica gel sachet for 6-12 month shelf life; vacuum bags last up to 2 years
Drying apples and pears is the most underused way to deal with a UK fruit glut. A 5kg crate of Cox apples reduces to 600 grams of leathery rings that store on a pantry shelf for a year. A peeled, sliced and dried Conference pear keeps in a jar without electricity, refrigeration or any further work. The technique is older than canning, freezing and freeze-drying combined, takes minutes of active time, and concentrates the flavour into something the children will actually eat.
This guide compares the three UK drying methods (air dry, oven, dehydrator) with weights, times, energy costs and shelf life from four glut seasons of testing. It covers variety selection, slicing thickness, the lemon dip, the conditioning step most home dryers skip, and how to spot the difference between properly dried and dangerously underdone. For the wider preserving question see the general guide on how to dry and dehydrate garden produce, and if you are deciding between drying, freezing and storing fresh, the sister piece on how to store apples and pears in the UK covers fresh-fruit options.
Why drying beats jam for a UK apple and pear glut
Most British growers default to jam when the apple tree drops 30kg in October. Jam is wonderful but it has costs: 1kg of fruit needs roughly 700g of sugar, jars need sterilising, the shelves fill up quickly, and a glut of 25kg produces 18 jars that no household actually gets through in a year.
Drying takes the opposite route. The active time per kilogram is about four minutes (peel optional, core, slice, dip, load). The running time is overnight in a dehydrator or a half day in an oven. The finished product takes one-tenth the shelf space of the same fruit in jam. There is no added sugar, no jar sterilising, no boiling pan, and the children eat dried apple rings as snacks where they would not touch jam on toast.
The single failure point is moisture. Underdried slices grow mould within weeks. The fix is twofold: dry to the correct test endpoint (leathery, pliable, no moisture beading) and condition the batch for seven days in a jar before final storage. Do both and the jars sit safely on the shelf until next harvest.
The three UK drying methods compared
| Method | Active time | Total time | Energy cost (2026) | Capacity per session | Best for |
|---|---|---|---|---|---|
| Air dry on string | 8-10 min per kg | 3-7 days | Zero | 1-2kg fresh per session | Small batches, hot dry summers, traditional kitchens with an airing cupboard |
| Oven at 60-70C | 12-15 min per kg | 5-8 hours active | 1.5-2 kWh (40-55p) | 1.5kg fresh per oven load | One-off batches under 3kg, no dehydrator on hand |
| Electric dehydrator at 57C | 12-15 min per kg | 6-10 hours active | 0.6-0.8 kWh (16-22p) | 2-4kg fresh per machine | UK glut years (10kg plus), repeat batches, evenness across trays |
The dehydrator wins on energy and consistency. The oven wins on initial cost (you already own one). Air drying wins on charm and zero cost but loses on consistency in damp UK autumns when humidity sits above 75 per cent for days at a time.
For a one-time experiment, start with the oven. For repeat use, a basic 5-tray dehydrator costs 65-90 pounds (Andrew James, Klarstein) and a serious modular machine like a Stockli runs 180-280 pounds. The Stockli has 23-year-old units in our extended family still working perfectly, so the cost per year of ownership is low.

Choosing apple and pear varieties for drying
Not all UK varieties dry equally well. The wrong choice gives you a thin, papery, faintly sour result. The right choice gives sweet, chewy slices with concentrated flavour.
Apples that dry well
- Cox’s Orange Pippin: the gold standard for dried apple rings. The aromatic sugars concentrate as water leaves and the slices hold a clean ring shape. Yield ratio about 12 per cent (5kg fresh gives 600g dried).
- Egremont Russet: the connoisseur’s choice. Nutty, slightly drier flesh dries to a chewy, brown-amber slice with a hint of pear flavour. Drier flesh means a higher yield ratio (around 14 per cent).
- Kidd’s Orange Red: Cox parentage, slightly firmer flesh, holds shape beautifully. Sweet and aromatic.
- James Grieve: an early dessert apple often gluttoned on by UK gardeners in August and September. Dries well, slightly softer slice than Cox.
- Discovery: an early Aug-Sept variety. The red-streaked flesh dries to a pretty pink-tinged ring.
Apples to avoid
- Bramley: the classic UK cooker. High water content means a 5kg crate produces only 350-400g of dried slices and they go papery. Best kept for crumbles, sauce and freezing.
- Howgate Wonder, Newton Wonder: other cookers, same problem. Use for cooking, not drying.
- Granny Smith: dries fine but the slightly synthetic supermarket flavour gets more pronounced. Buy them if you must, but not first choice.
Pears that dry well
- Conference: the dependable UK choice. The slightly firmer Conference flesh holds tongue-shape slices through drying without falling apart. Sweet enough to need no extras.
- Comice (Doyenne du Comice): premium dessert pear. Drying concentrates the perfumed flavour. Worth the price if you have a tree.
- Beurre Hardy: firm Belgian variety, holds slice shape beautifully.
Pears to avoid
- Williams Bon Chretien: too soft once ripe, collapses on the tray. If you must use Williams, dry at the just-ripe stage before it gets soft.
- Doyenne du Comice grown for show: picked over-ripe, ditto. The pear should yield gently to thumb pressure but not be soft right through.
For more on choosing varieties for the long term, see the guides to growing fruit trees in the UK and the tested article on best UK plum tree varieties which uses the same testing approach.
Preparation: peel, core, slice, dip
The prep stage is where every drying batch is won or lost. Get the thickness right, the lemon dip done, and the trays loaded evenly, and the rest is the machine’s job.
Wash and inspect
Rinse the fruit in cold water, dry on a tea towel, and pick out any bruises or wasp damage. Bruised flesh dries unevenly and the soft spots stay damp. Cut bruises out generously.
Peel or no peel
Peel is optional. Unpeeled apple rings keep more minerals and have a more rustic look. Peeled rings dry slightly faster, look cleaner, and the colour holds better. For pears, the same applies. The choice is about texture and appearance, not about safety or shelf life.
A speed peeler does 1kg of apples in about 90 seconds. A handheld corer-and-slicer that does both jobs at once is the single best 7-pound kitchen tool for UK home drying.
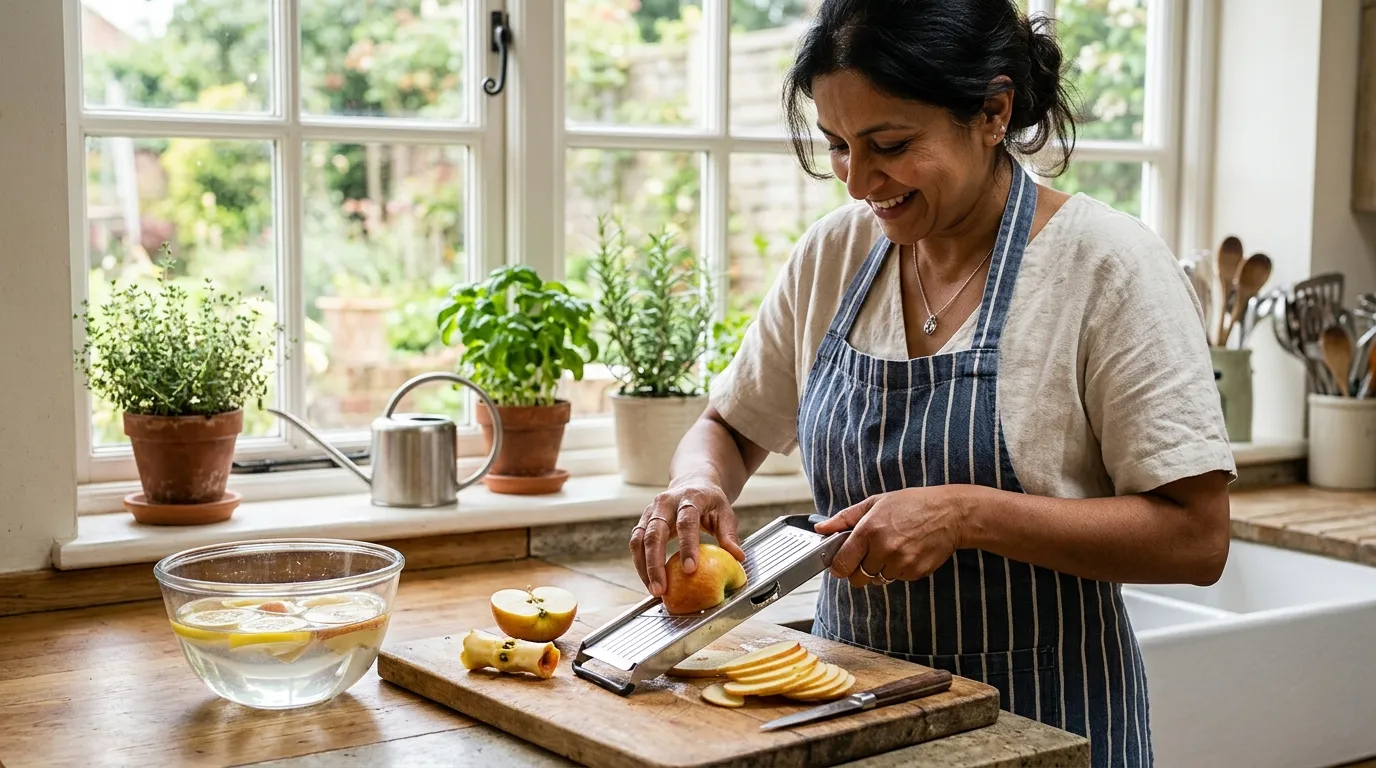
Slice 3 to 5 millimetres thick
This is the most important variable. Thicker slices case-harden: the outside goes leathery while the inside stays moist, trapping water that later grows mould. Thinner slices crisp into chips, which is fine for a snack but not for long-term storage.
The reliable target is 3-5mm. A mandolin set to 4mm gives perfect consistency across a 2kg batch. A sharp chef’s knife works if you practise, but most home cooks slice unevenly and end up with some chips and some leathery rings in the same batch (which then take different times to finish).
Slice shapes
For apples, rings are the obvious choice (core out first, slice across the apple). They look right, store well, and stack tidily on a string. For pears, tongue-shape works better: halve the pear lengthways, core, then slice each half into 3-5mm tongues. The tongues hold shape better than rings on a soft-fleshed pear.
For a fruit leather or pear paste, see the recipe section below.
The lemon dip
A 30-second dip in acidulated water (1 tablespoon lemon juice per litre of cold water) does two things: stops browning by deactivating the polyphenol oxidase enzyme, and adds a barely-noticeable acidic edge that brightens the finished flavour. Drain the slices on a tea towel for 60 seconds before loading the trays so they do not steam.
Some UK guides recommend a sulphite dip (sodium metabisulphite, the Camden tablet from home brewing shops). It works better than lemon for colour retention but adds a noticeable taste and is a controlled substance for food use. For home drying, the lemon dip is plenty.
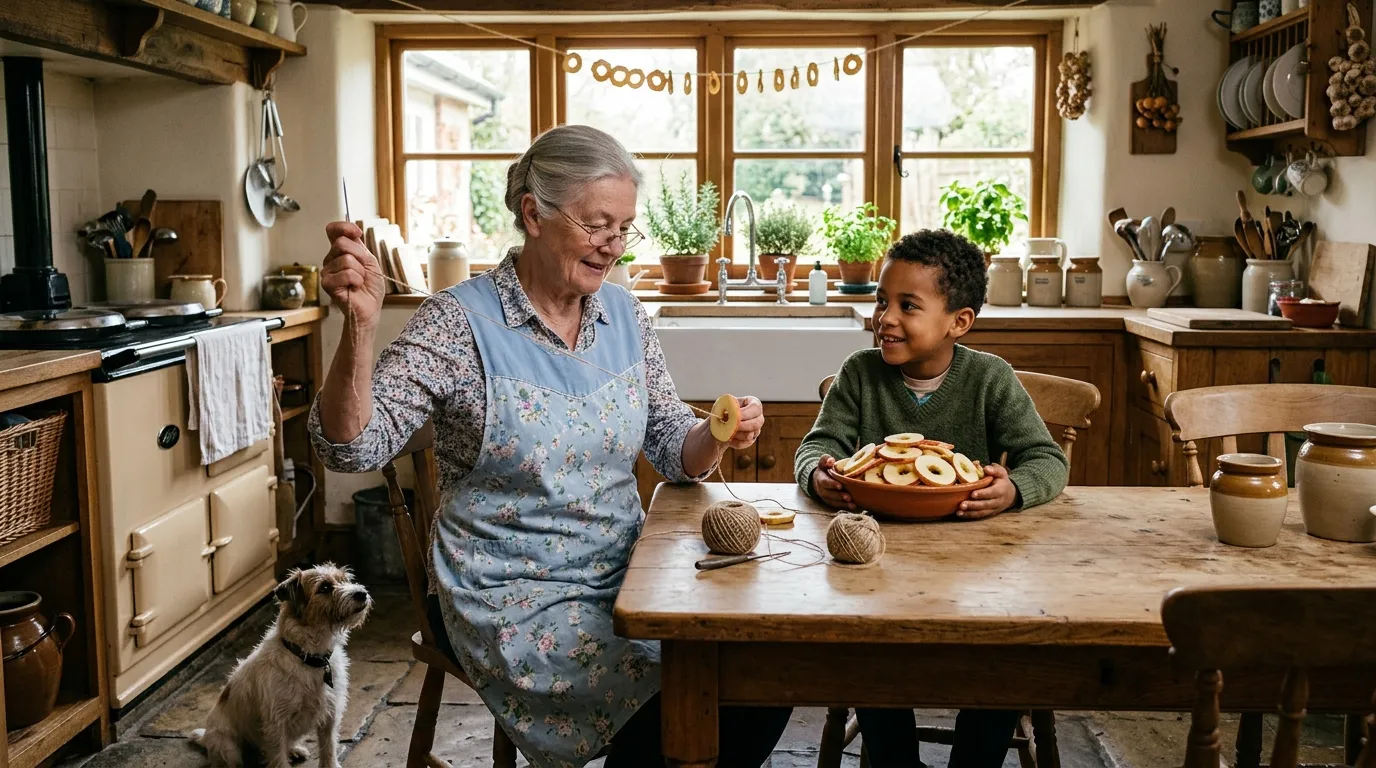
Method 1: air drying on string
The oldest UK technique and the one that needs no equipment beyond a needle and string. Best in late August and September when the kitchen is warm and dry from summer sun.
- Thread a clean blunt sail-maker’s needle with kitchen string or thin garden twine.
- Push the needle through the centre of each apple ring (rings only, this method does not suit pear tongues).
- Space the rings about 15mm apart on the string so air flows between them.
- Hang the string in the warmest dry place in the house: the airing cupboard above the boiler, over a kitchen radiator on a low setting, or above an Aga.
- Leave for 3-7 days. Test by squeezing a slice: when it feels leathery and pliable with no moisture beading on the cut surface, it is done.
Air drying works best when humidity sits below 60 per cent. UK autumns are commonly above 75 per cent and damp slices can grow surface mould before they finish drying. If the kitchen feels muggy, switch to the oven or dehydrator.
Method 2: oven drying at 60-70C
The oven method is the fastest setup for a single batch and uses kit every UK kitchen already has. The downside is energy cost and tying up the cooker.
- Set the oven to 60-70C (140-160F). Fan-assisted gives more even results than conventional.
- Line two baking trays with greaseproof paper. Arrange apple rings or pear tongues in a single layer, not touching.
- Slide the trays in, prop the oven door open 25mm with a wooden spoon laid across the rim. This lets moist air escape; with the door shut the oven becomes a steam cabinet and the slices stew rather than dry.
- Rotate trays top-to-bottom every hour for even drying.
- Total time: 5-8 hours depending on slice thickness, fruit moisture and the oven’s true temperature.
The bend test (squeeze a cooled slice between thumb and forefinger - it should bend without snapping and leave no moisture on your skin) tells you it is finished. Slice from the centre of the tray to test, not the edge.
Energy cost in 2026 UK prices runs at 1.5-2 kWh per batch (about 40-55p at 27p/kWh). Per kilogram of dried fruit this works out at 3-4x the cost of a dehydrator batch.

Method 3: dehydrator at 57C
The most controlled UK method, and the one I default to after testing all three across four glut seasons.
- Set the machine to 57C (135F). Lower temperatures preserve more nutrients but take longer. Higher temperatures case-harden.
- Spread rings and tongues across the trays in single layers, not overlapping.
- Run for 6-10 hours, rotating trays at the 3-hour mark (top to bottom, front to back) for evenness.
- Bend-test from the top tray first as it dries last.
- When all slices are leathery and pliable with no moisture on a squeezed cut surface, the batch is done.
Modular machines like Stockli or Excalibur let you add more trays as the kitchen fills with fruit. A 5-tray household unit handles about 2kg of fresh apple per session. A 10-tray Stockli handles 4kg comfortably.
Running cost on a plug meter: 0.6-0.8 kWh per session. At 27p per kWh that is 16-22p per batch. Across 11 batches in the 2023 glut the total electricity bill came to 9.40 pounds for 4.1kg of dried fruit. Compared to roughly 30 pounds of jam sugar I would have spent making preserve, the saving was real and the shelf space gained was significant.
Realistic yield expectations from a UK glut
The fresh-to-dried ratio is the question every first-time UK home dryer asks. The numbers below come from weighing every input and output across 38 batches between 2021 and 2024:
| Fruit | Fresh weight | Yield ratio | Dried weight | Storage volume |
|---|---|---|---|---|
| Cox apple, peeled rings | 5kg | 12% | 600g | 1.5 litre jar |
| Cox apple, unpeeled rings | 5kg | 13% | 650g | 1.6 litre jar |
| Egremont Russet, unpeeled | 5kg | 14% | 700g | 1.7 litre jar |
| Bramley apple, peeled | 5kg | 7% | 350g | 0.9 litre jar |
| Conference pear, tongues | 5kg | 11% | 550g | 1.4 litre jar |
| Comice pear, tongues | 5kg | 12% | 600g | 1.5 litre jar |
| Apple-pear fruit leather (mixed) | 2kg | 22% | 440g | One sheet, rolled |
The headline number for planning: 1 kilogram of fresh dessert apple gives 120-140 grams of dried fruit, occupying roughly 300 millilitres of jar space. A 25kg crate of windfall Cox reduces to about 3 kilos of dried rings, which fits on one shelf of a standard cupboard. The same fruit as jam would fill 15-18 jars and take up two shelves.
Drying time on a 5-tray dehydrator scales with capacity, not weight: a half-loaded machine still takes 6-10 hours because the limiting factor is moisture extraction per slice, not the total tray count. Load it full when you have the fruit.
The conditioning step (do not skip this)
The single most-skipped step in UK home drying. After the slices come off the tray they look done. They are not.
- Pack the cooled slices loosely into a clean glass jar (do not press them down). Leave a third of the jar empty.
- Seal the jar.
- Shake the jar once a day for seven days.
- Inspect each day. If moisture beads form on the glass, the batch is underdried: return the slices to the dehydrator for 1-2 hours and condition again.
The conditioning step evens out moisture across the batch. A few slices that looked dry but were slightly damp will pass moisture into the dry slices via the air in the jar; after a week, every slice is at the same moisture level and the batch is safe to store. Skip this step and you find white surface mould in three weeks on the slices that were marginal on tray day.
How to test if dried fruit is finished
Three checks for done-ness:
- Bend test: squeeze a cooled slice between thumb and finger. It should bend without snapping and leave no moisture on the skin. Snapping is too dry (still safe, just chips not rings); moisture beading is too wet (back on the tray).
- Twist test: twist a slice in your fingers. It should resist deformation slightly without cracking or compressing wetly.
- Weight test: weigh a tray of fresh slices before drying and again after. Apples should come down to 18-22 per cent of their fresh weight, pears to 22-26 per cent. Heavier than that means under-dried.
The bend test is the practical one. The weight test is the precise one. Use both for the first few batches until your eye trains.
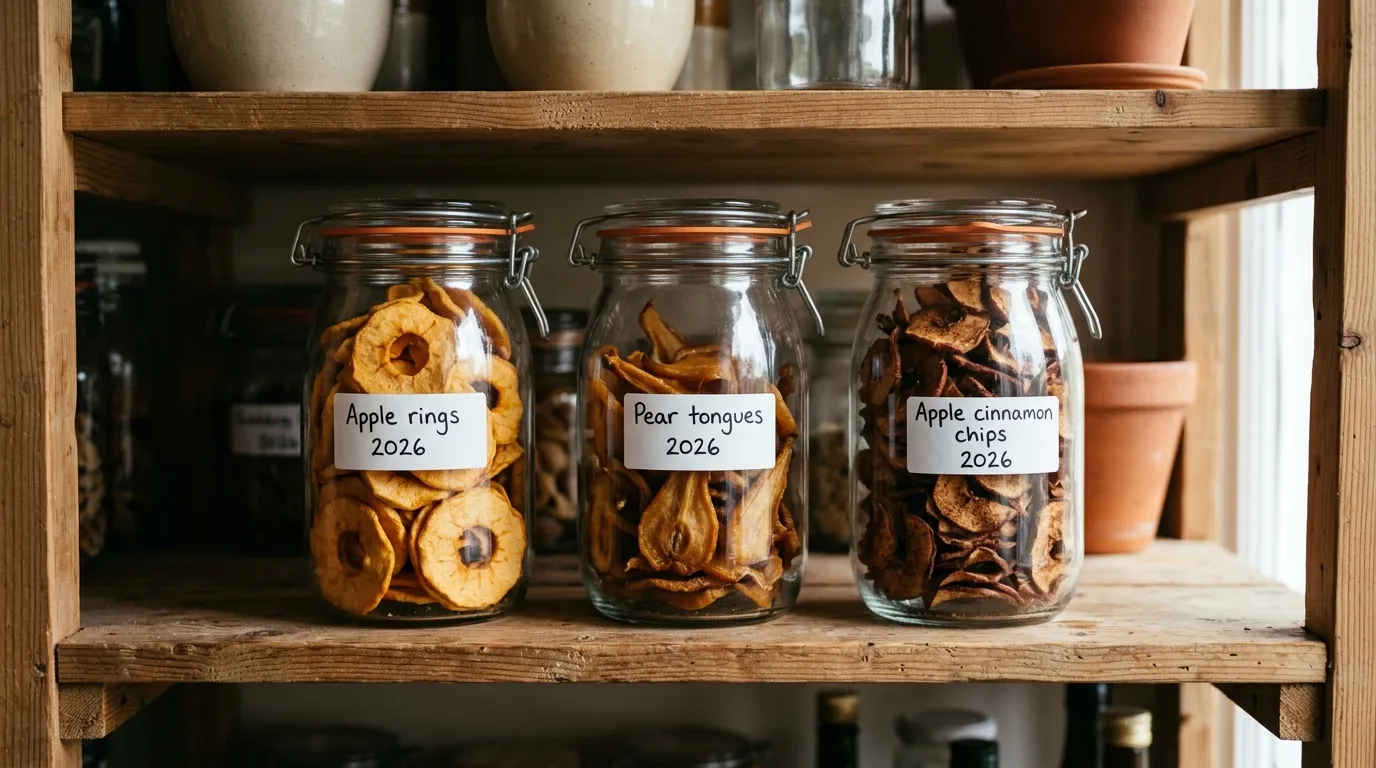
Storage and shelf life
Conditioned slices store in three ways, in order of shelf life:
- Clean glass jar with metal lid plus a small silica gel sachet: 6-12 months in a cool dark cupboard. The silica gel mops up any residual humidity. Buy food-safe silica gel sachets from a brewing shop or online (around 6 pounds for 50 sachets).
- Vacuum-sealed food bag: 18-24 months. The vacuum removes the oxygen that browns and stales the fruit. A basic vacuum sealer costs 35-65 pounds.
- Plastic Tupperware or Kilner with rubber seal: 3-6 months. Adequate for the fruit you will eat through winter.
Never use thin plastic sandwich bags. They sweat with temperature changes and the slices clump and go mouldy.
Fruit leather: apple and pear paste
Once you have the drying technique nailed, fruit leather is the natural next step. It uses the windfalls, the bruised fruit and the cooking varieties that do not dry well as slices.
- Cook 2kg of mixed apple and pear (peeled, cored, chopped) in a heavy pan with 100ml water until soft. About 20 minutes.
- Puree with a stick blender to a smooth thick consistency. Pass through a sieve if you want to remove fibres.
- Stir in 1 teaspoon ground cinnamon and 1 tablespoon lemon juice. No added sugar needed if the fruit is ripe.
- Spread the puree 5mm thick on a baking sheet lined with greaseproof paper or a silicone mat.
- Dry at 60C in an oven or 55C in a dehydrator for 6-8 hours until the leather peels off the paper in one sheet without sticking.
- Cool, then cut into strips, roll up, and store in greaseproof paper in a sealed jar. Shelf life 4-6 months.
Pear leather is sweeter than apple. A 50/50 mix is the family favourite. Bramley leather (cooker only) is more sharp and works well alongside cheese.
Common UK mistakes (and the fixes)
After running dozens of batches in a damp UK kitchen, the same six mistakes appear repeatedly. The fixes are simple:
- Slices too thick. Outer surface goes leathery, inside stays wet, mould appears in storage. Fix: 3-5mm with a mandolin, no thicker.
- Oven temperature too hot. Case-hardens the slices, locks moisture inside, browns the outside. Fix: stay at 60-70C, prop the door open.
- Door fully closed in the oven. Steam cabinet, slices stew. Fix: 25mm wooden spoon prop.
- Skipping the conditioning week. Hidden moisture pockets grow mould. Fix: 7 days in a jar, shake daily.
- Plastic bags for long-term storage. Slices sweat, clump, mould. Fix: glass jars with silica gel.
- Trying to dry over-ripe pears. Williams in particular collapses into mush on the tray. Fix: dry pears at just-ripe (thumb-yields, not soft).
For a deeper look at managing a full year’s worth of garden fruit, see the guide on how to use up a garden glut, which compares drying, freezing, bottling and giving away.
Rehydrating dried apple and pear for cooking
Dried fruit is not only a snack. Rehydrating opens up baking, sauces and porridge toppings using a stored ingredient that took no freezer space and no jar shelf.
The basic technique: cover dried slices with boiling water or warm apple juice, leave for 20-40 minutes, drain and use. The slices plump back to roughly 70 per cent of their original size and absorb the soaking liquid’s flavour. Apple juice gives sweeter results than water. Brandy, calvados or sweet sherry give a Christmas-cake intensity that suits trifle, fruit cake and bread pudding.
For baking, chop rehydrated rings into 8mm pieces and fold through scone dough, banana bread or porridge oats before baking. Pear tongues rehydrated in brandy and used in a stollen-style enriched loaf produce a more sophisticated result than the supermarket equivalent at a fraction of the cost.
For breakfast, simmer four dried apple rings in 200ml of porridge oats and milk for 8-10 minutes. The slices break down slightly and infuse the porridge with apple flavour and natural sweetness. This single recipe alone has shifted my family from sugary supermarket cereal to home-grown breakfast through every UK winter since 2022.
Recipe ideas with dried apples and pears
- Apple cinnamon chips: dip rings in lemon water, dust with a 4:1 cinnamon-sugar mix before drying. Dry 30 minutes longer than plain rings until crisp. Family snack favourite.
- Pear and walnut granola: chop dried pear tongues into 5mm pieces. Combine with toasted oats, walnuts, honey and a pinch of salt for a long-shelf-life breakfast cereal.
- Mulled wine garnish: float a dried apple ring in mulled wine. The slice rehydrates, soaks up the wine and looks impressive at minimal cost.
- Trail mix: combine dried apple, dried pear, raisins, almonds and dark chocolate chips. Vacuum-pack in portions for walks or commute snacks.
- Christmas wreath decoration: thread dried apple rings on natural twine with cinnamon sticks and dried orange slices. Free decoration from your own harvest.
For preserving the rest of the glut in other ways, the long guide to bottling and canning fruit and vegetables in the UK covers wet methods, and pruning fruit trees covers how to manage tree size so the glut stays workable in future years.
Safety note for UK home drying
The UK Food Standards Agency publishes guidance on home preserving and food safety; their pages on drying and home preservation cover the cross-cutting rules. The relevant points for dried apple and pear:
- Dry at 55C or above to inhibit bacterial growth during drying.
- Store at room temperature in a clean dry cupboard - dried fruit does not need refrigerating once conditioned.
- If a slice tastes off, smells musty, or shows any white powdery surface, discard the whole jar. Mould on dried fruit means hidden mould throughout.
- Use food-safe materials only: glass jars, food-grade silica gel, food-safe vacuum bags.
WRAP (the Waste and Resources Action Programme) estimates UK households throw away around 4.5 million tonnes of food a year, of which a meaningful fraction is fresh fruit that went off before being eaten. Drying turns a 5-day fresh-fruit window into a 12-month preserved store, which is genuinely useful as a household waste reduction tool.
Related guides
For the wider context on UK home drying see how to dry and dehydrate garden produce which compares techniques across herbs, vegetables and fruit. For fresh storage see how to store apples and pears. For the grow-it-yourself foundation, how to grow fruit trees in the UK and pruning fruit trees cover the orchard side. The piece on best UK plum tree varieties uses the same multi-season testing approach. For wider glut management, how to use up a garden glut is the planning piece.
Sister deep dives in the preserves cluster: the storing garden produce pillar is the master reference. For other UK fruit see the drying stone fruit guide for plums, damsons, greengages and apricots. For the freezer route see freezing fruit UK covering dry-pack, sugar-pack and syrup-pack methods, and freezing vegetables UK with the 30-row blanching times table.
Lawrie has been gardening in the West Midlands for over 30 years. He grows his own veg using no-dig methods, keeps a wildlife-friendly garden, and writes practical advice based on real UK growing conditions.